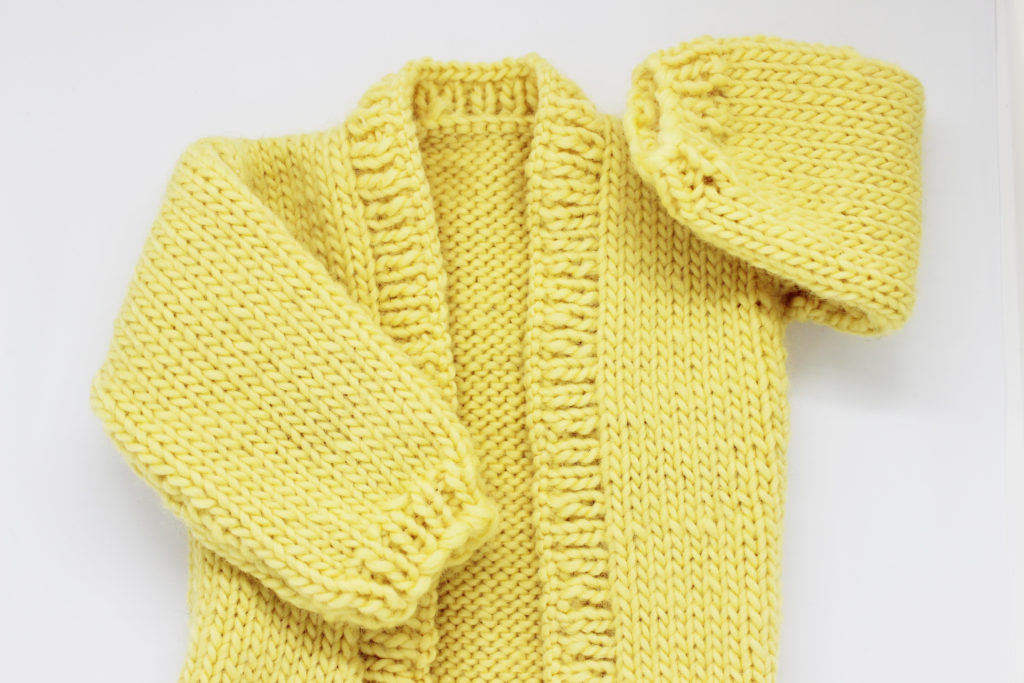
We knitters love making sweaters, especially those chunky ones that keep us warm. They knit up quickly and make perfect projects for the winter days. The only drawback is, always, finishing. We’ve all had that moment when we’re sewing on the sleeves, thinking they will turn out just fine, then realizing the seam is way off. In this tutorial, we’ll show you how to sew your sleeves with live stitches that haven’t been cast off. A perfect finish 🙂
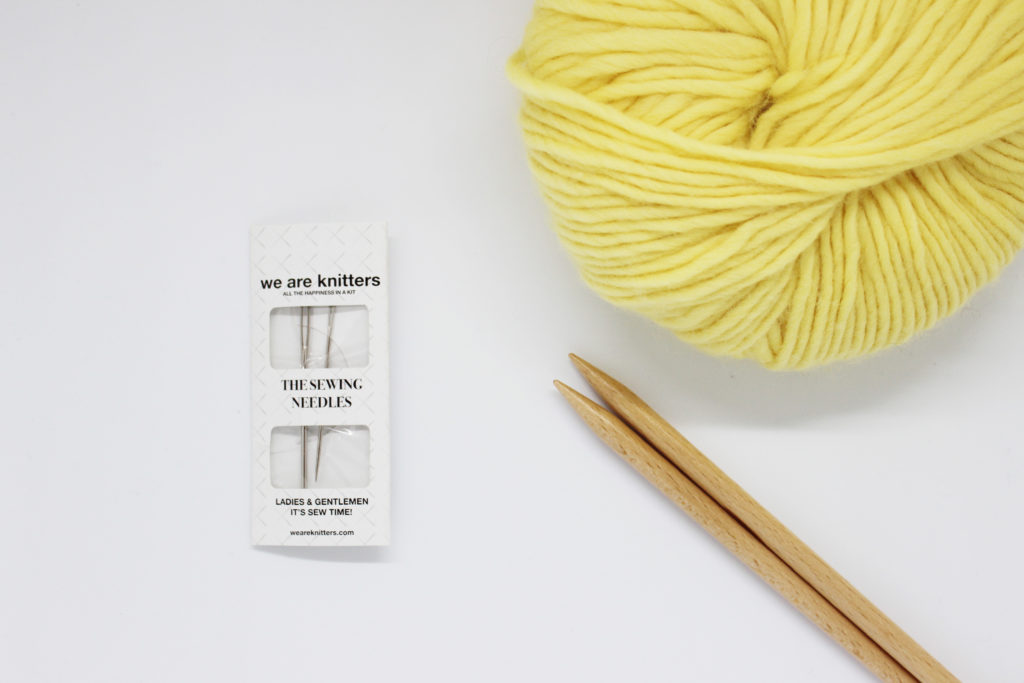
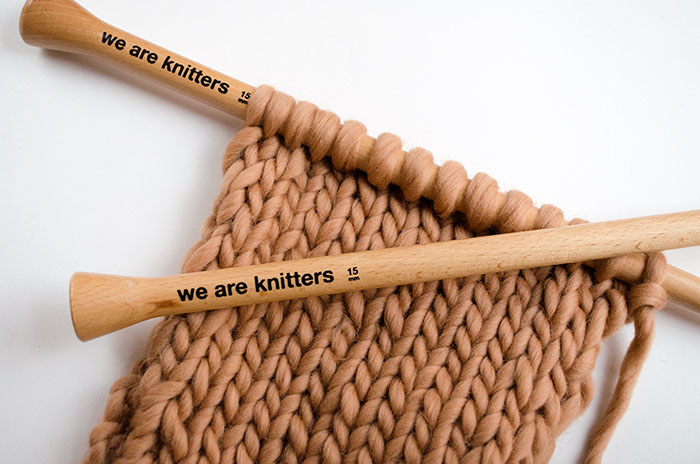
For this step by step, we’re using a tapestry needle and our Petite Wool.
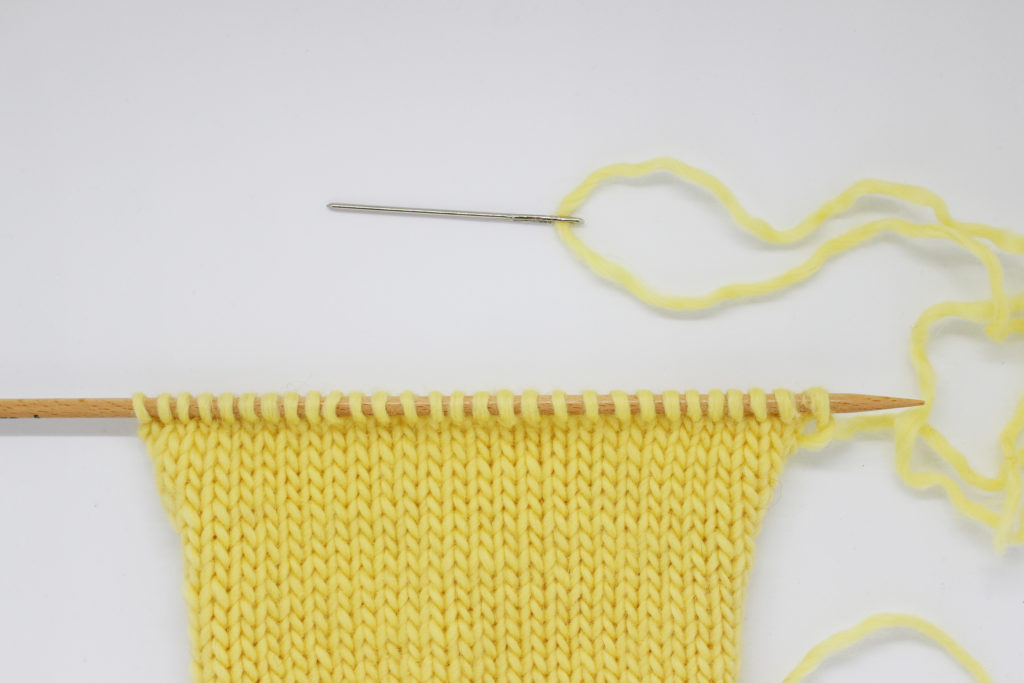
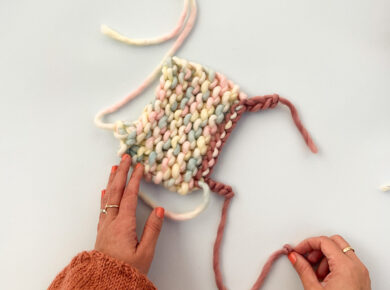
Before starting to sew the sleeve, your work should look like the image above: without casting off a single stitch, as it is after you finish your last row. Cut the strand connected to the skein, leaving a strand long to sew the sleeve to the sweater.
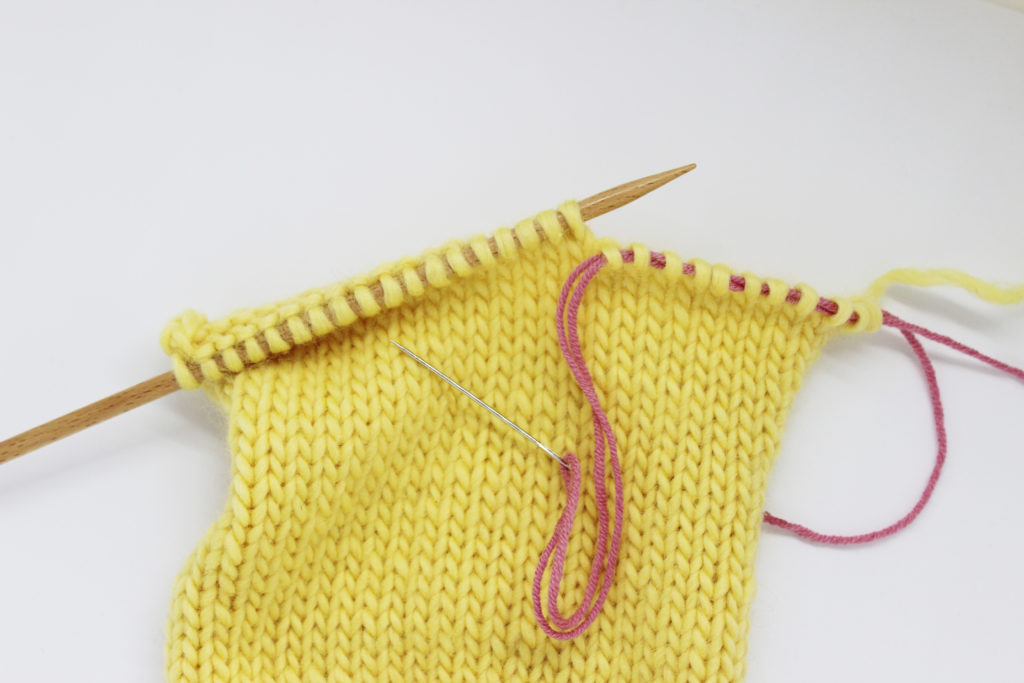
To help you when sewing and to make the process easier for you, thread the tapestry needle with a thread of contrasting color and pass it through the stitches.
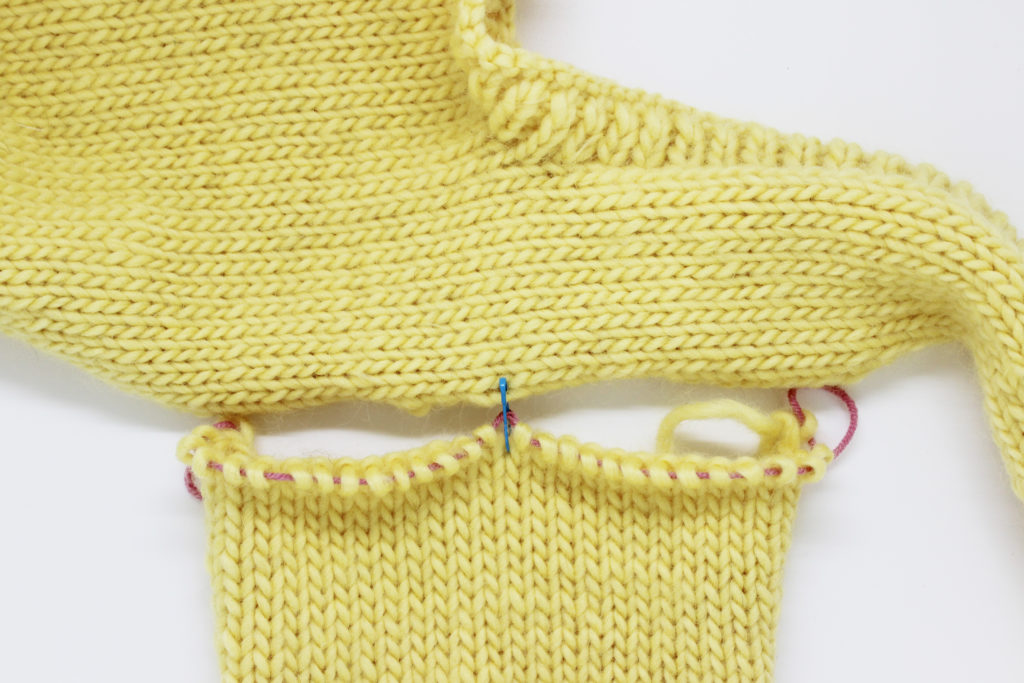
Next, we’ll lay the sleeve on the body of the sweater. The center should line up with the shoulder of the garment and both sides should be the same distance from it.
Now, let’s sew it! We’ve made a video, so you can see the whole process clearly.
Easy, right?
Here we’ll briefly explain the steps we followed:
- Thread the tapestry needle with the yarn you cut after finishing the sleeve.
- Pass the needle from the back through the first stitch at the edge.
- Now, bring the needle to the body of the sweater and insert it into the first row of the shoulder and pull it through the following stitch.
- Come back to the stitches on the sleeve and insert the needle into the same stitch as before, this time coming from the front, then pull it through the next stitch. At the end of this step, you should have made a “V”.
- Return the needle to the body and pass it through the last row you sewed. Instead of sewing into the next row, we’ll work into the one after it, skipping one, as you can see in the image below:
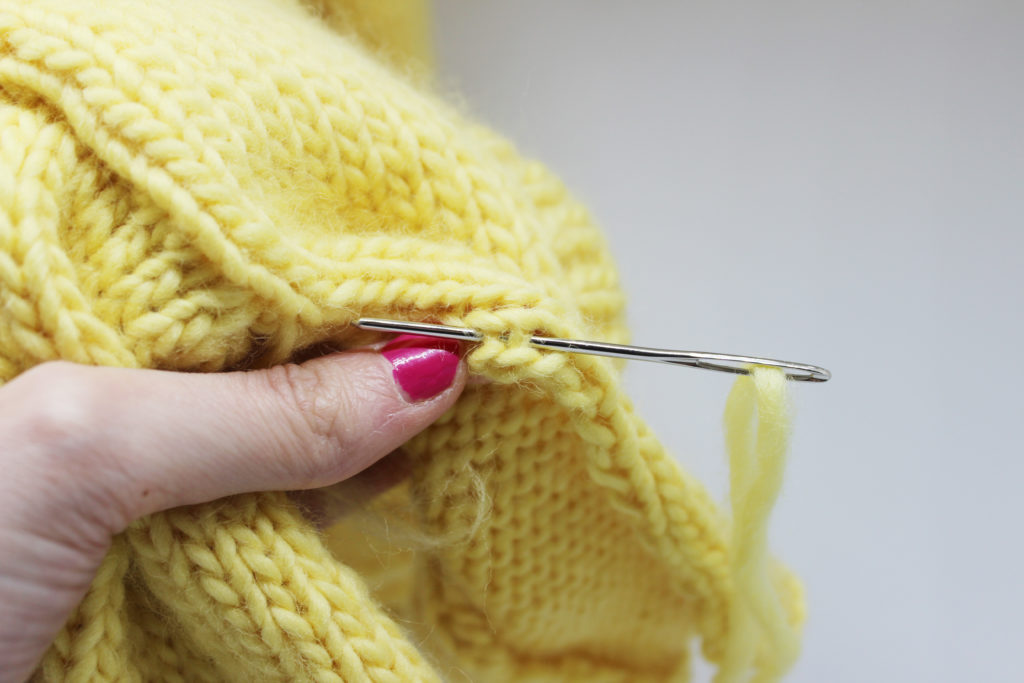
- Come back to the sleeve, insert the needle through the last stitch you sewed and pull it through the next.
Continue repeating the steps above until you’ve sewn the entire sleeve seam.
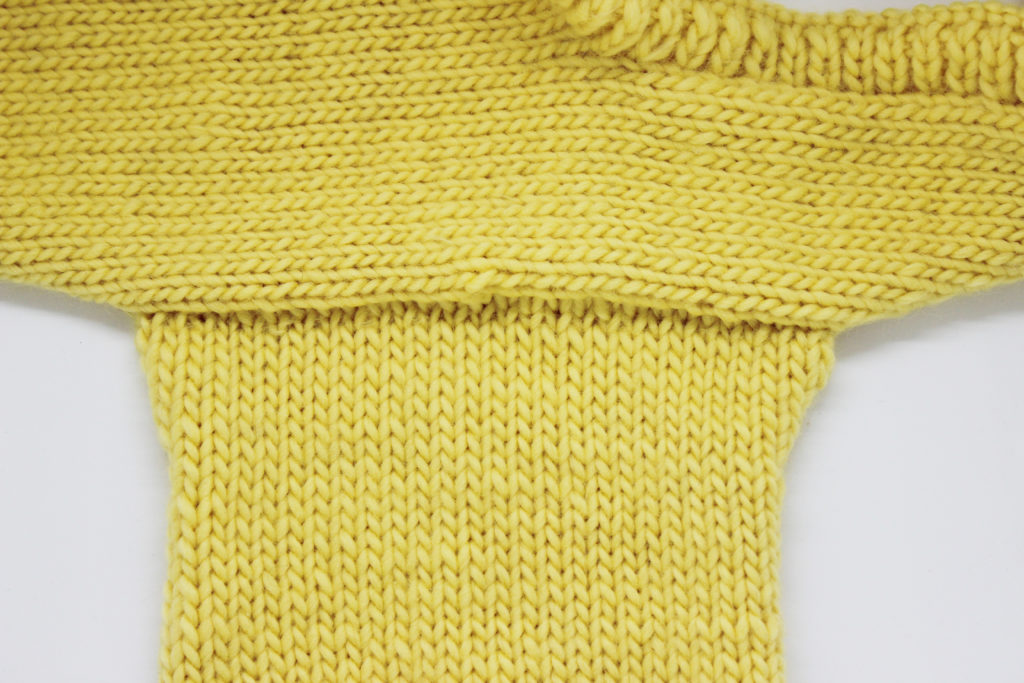
And now, you’ve finished sewing your sleeve.
We hope that this step by step will help you to sew the sleeves of your sweaters, now that you’ve seen that getting a perfect seam is not an impossible mission. 😉 See you in the next post, and until then, we encourage you to share your projects on social media with the hashtag #weareknitters.