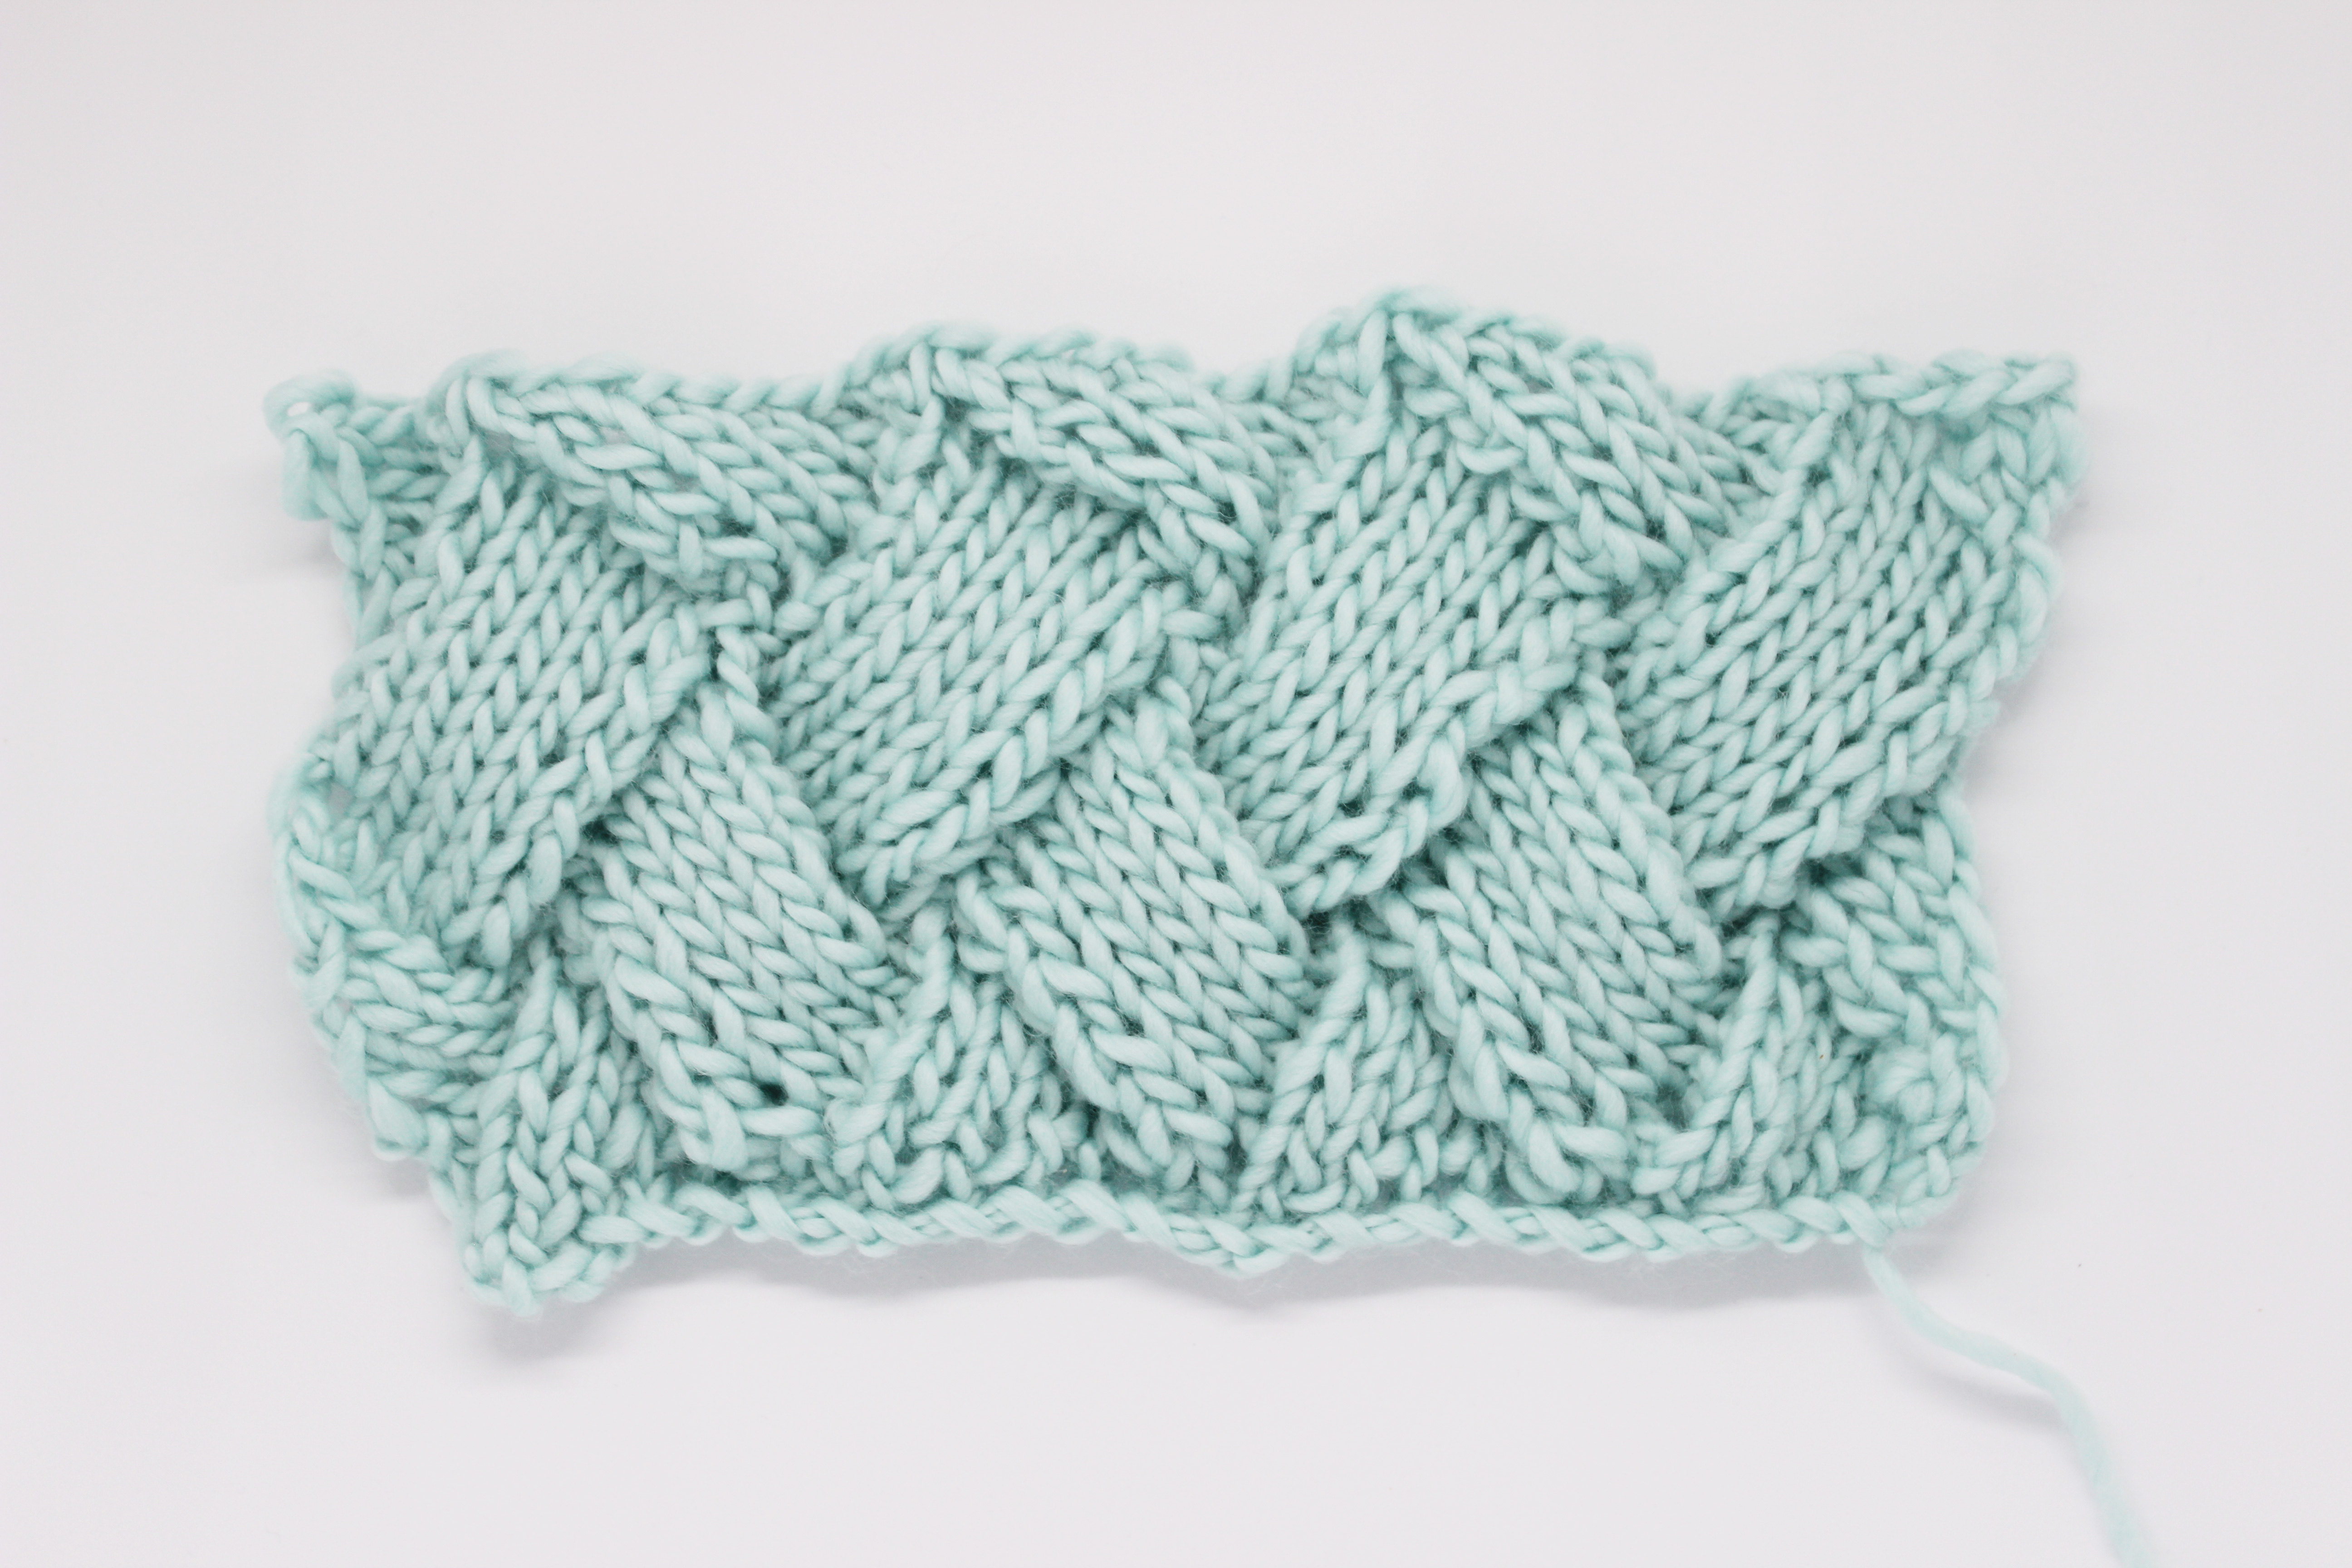
The final part of our megatutorial of how to knit Entrelac! It’s been fantastic to see how, week after week, our fabric has grown, and the time has come to teach you how to make the end triangles– the last step of a very entertaining and fun technique.
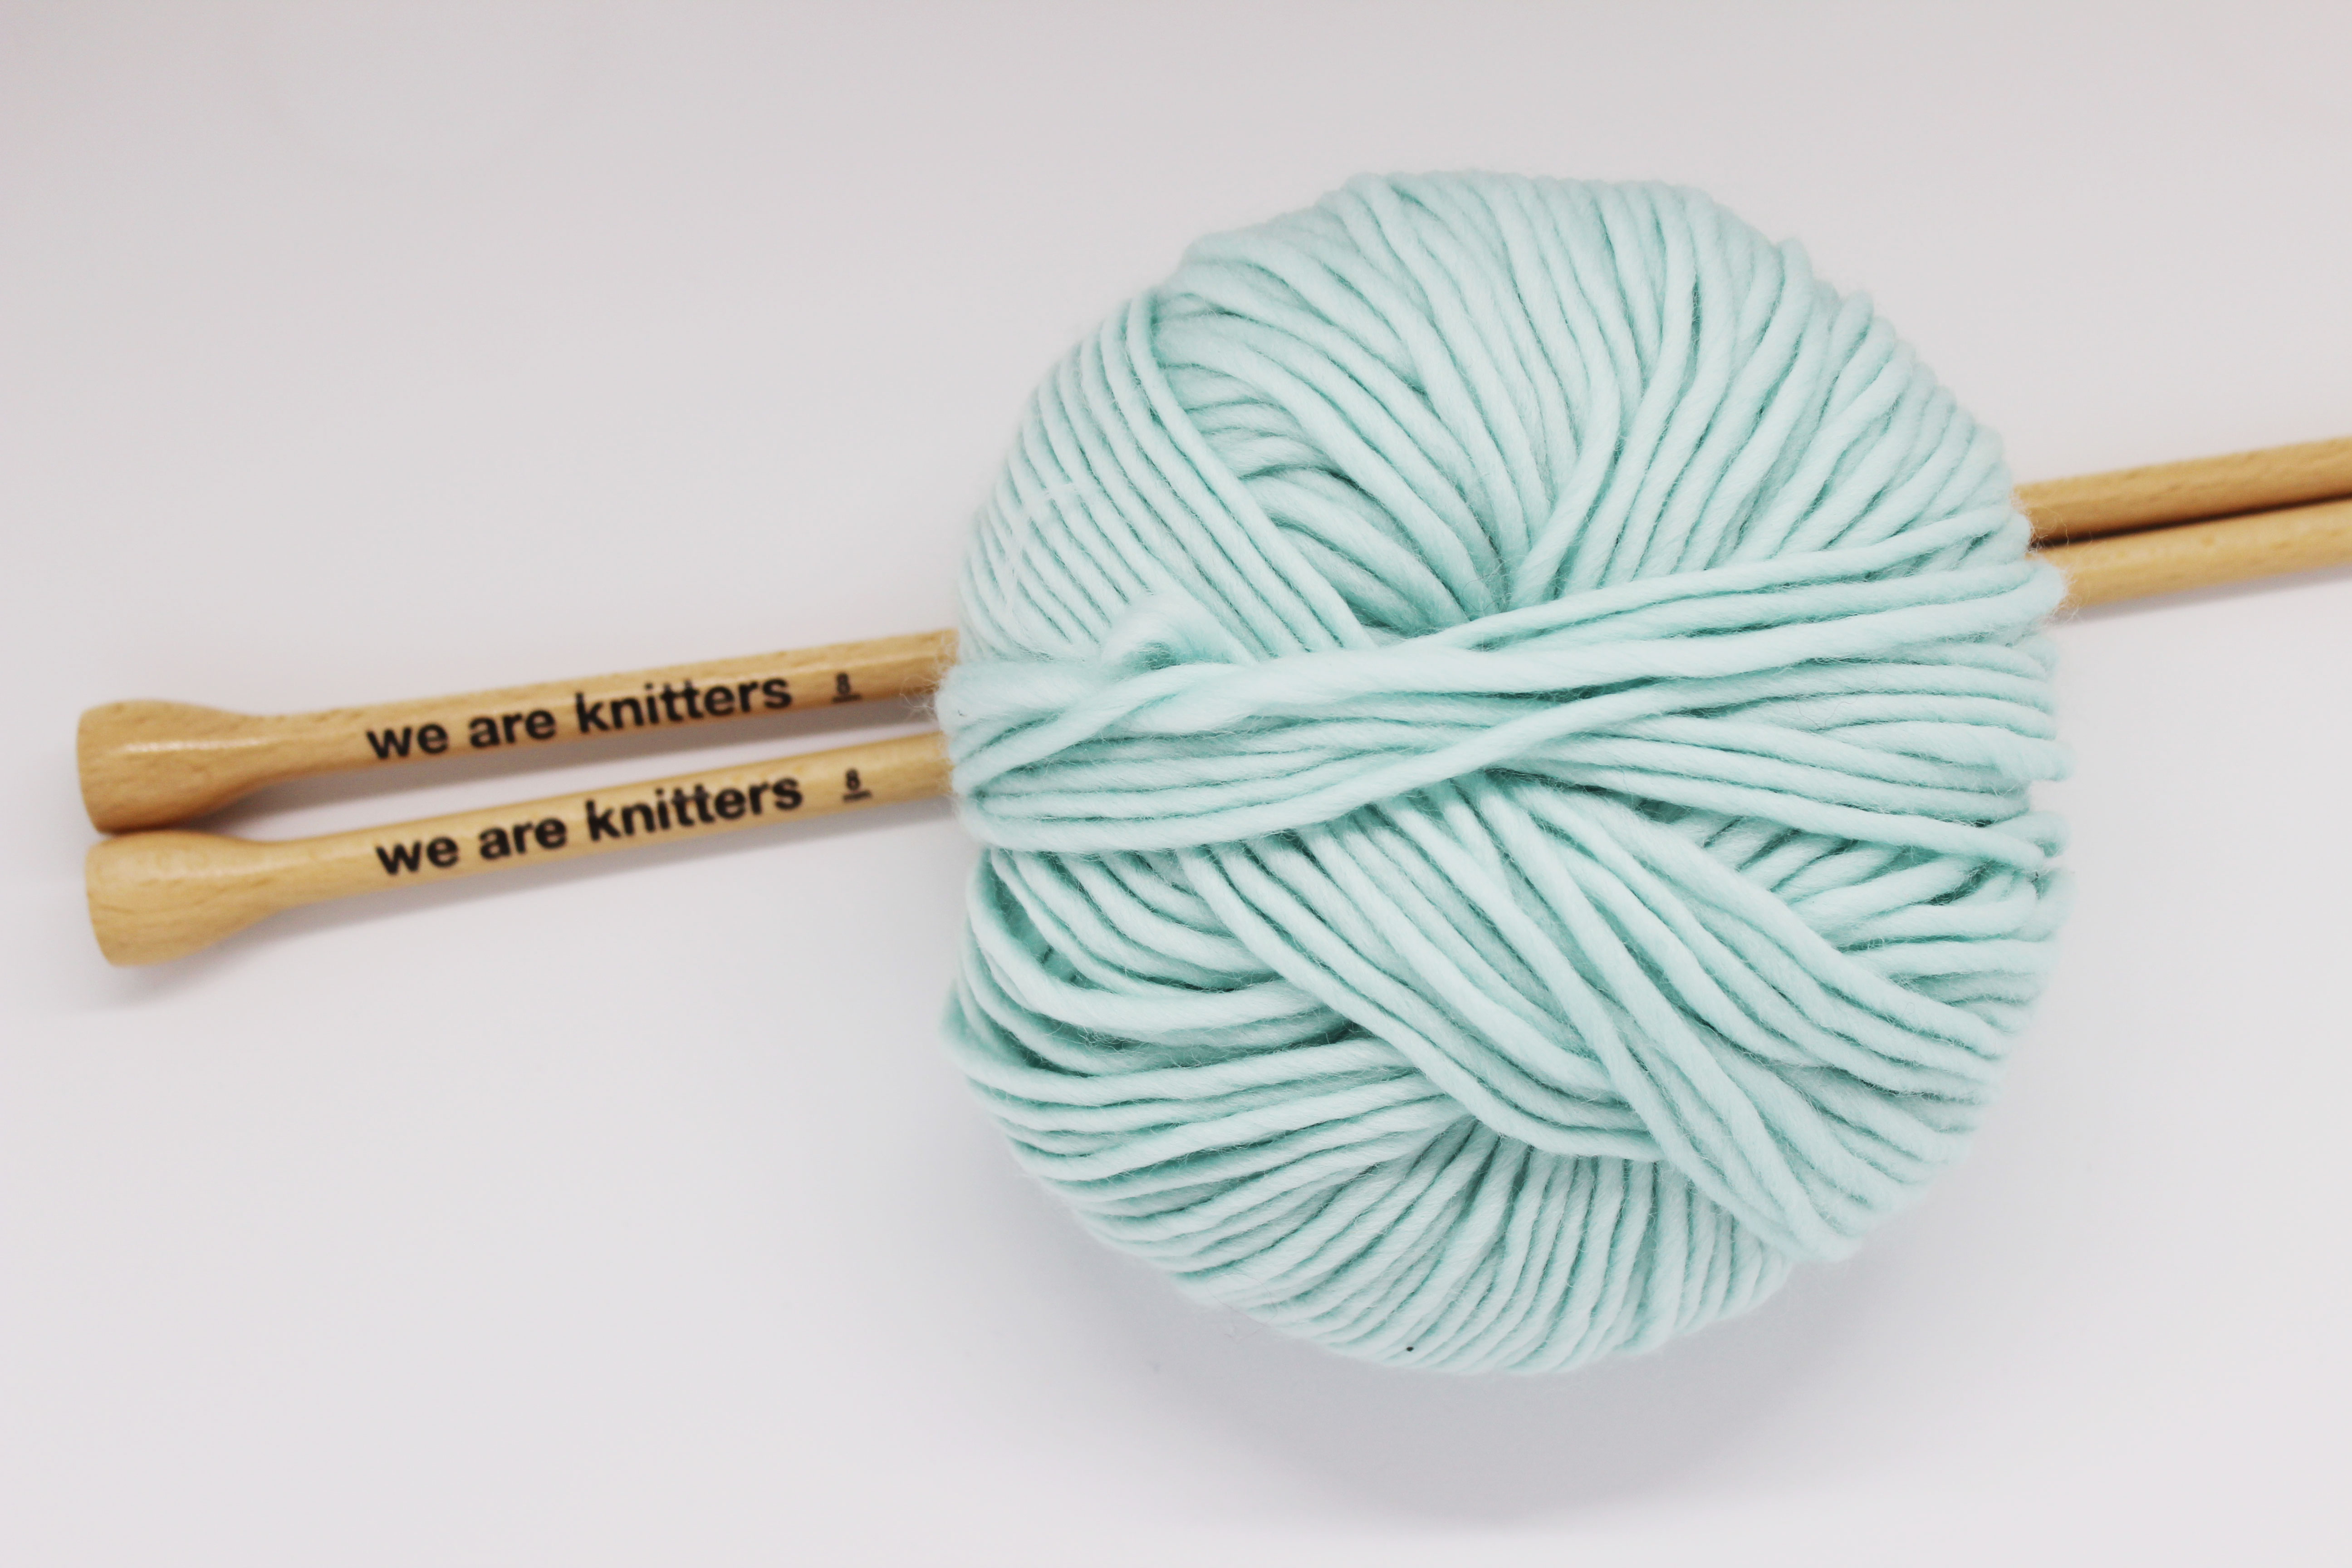
For this step by step, we’re using 8mm knitting needles and one skein of our yarn, The Meriwool.
Before beginning, as always, here’s a list of techniques that you should be familiar with:
- Knit stitch
- Purl stitch
- Short rows
- Slip, knit, pass over SKPO.
- SK2TPO (slip,k2t,pass over)*
- Pick up stitches.
- Increase 1.
- Cast off
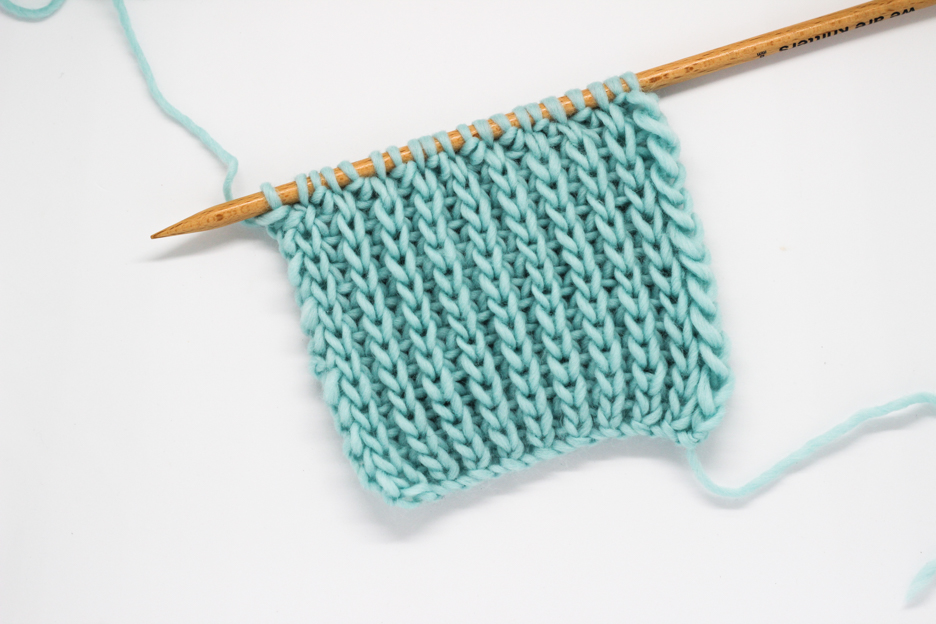
Let’s get started with the last steps of how to weave Entrelac! A brief review of the previous phase—we knitted the second set of squares our knitting looked like this:
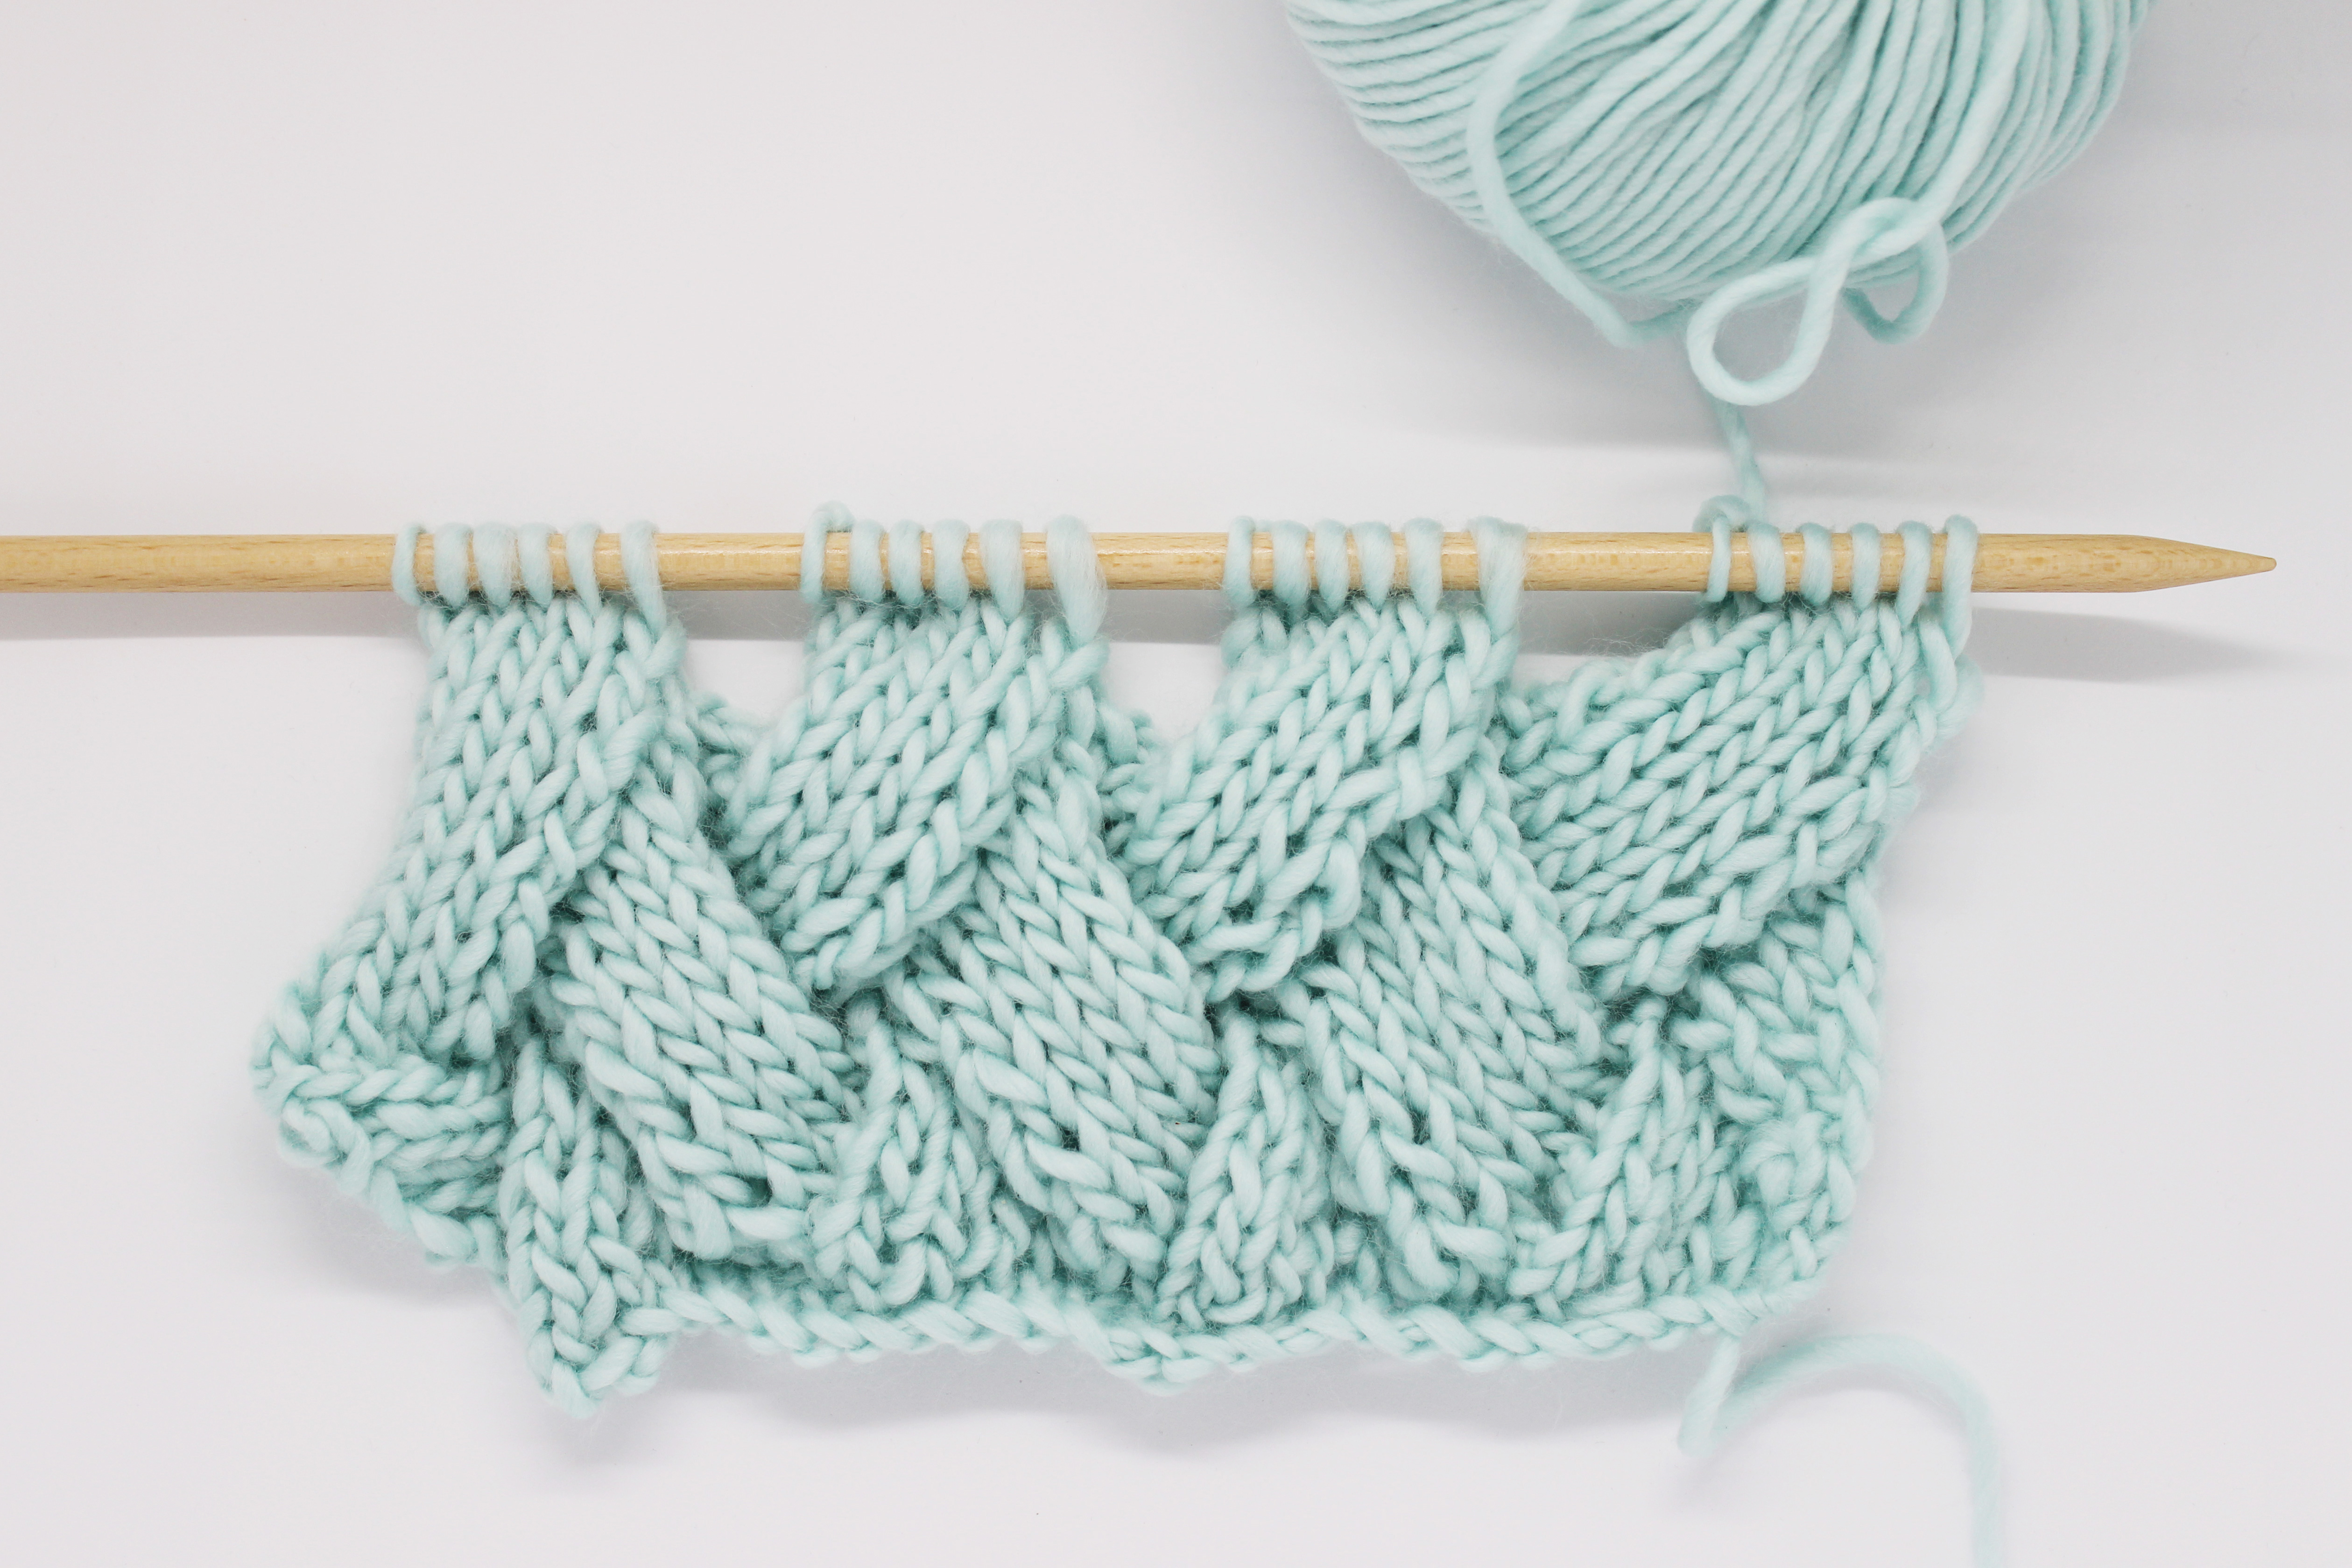
On the needle we can clearly see each of the squares with their 6 corresponding stiches.
This step by step will be divided into three parts: first we’ll make the right triangle, then the center triangles, and we’ll finish by making the left triangle.
Right Triangle
Row 1 (right side): knit 2 and turn the work.
Row 2 (wrong side): purl 2 and turn the work.
Row 3 (right side): knit 1, increase 1, SKPO, and finally, turn the work.
Row 4 (wrong side): purl 3 (the center of the square stitches) and turn the work.
Row 5 (right side): cast off 6 stitches (3 from the left triangle and remaining 3 from the square).
After finishing this part, don’t turn the work and continue with the next one.
Center Triangles
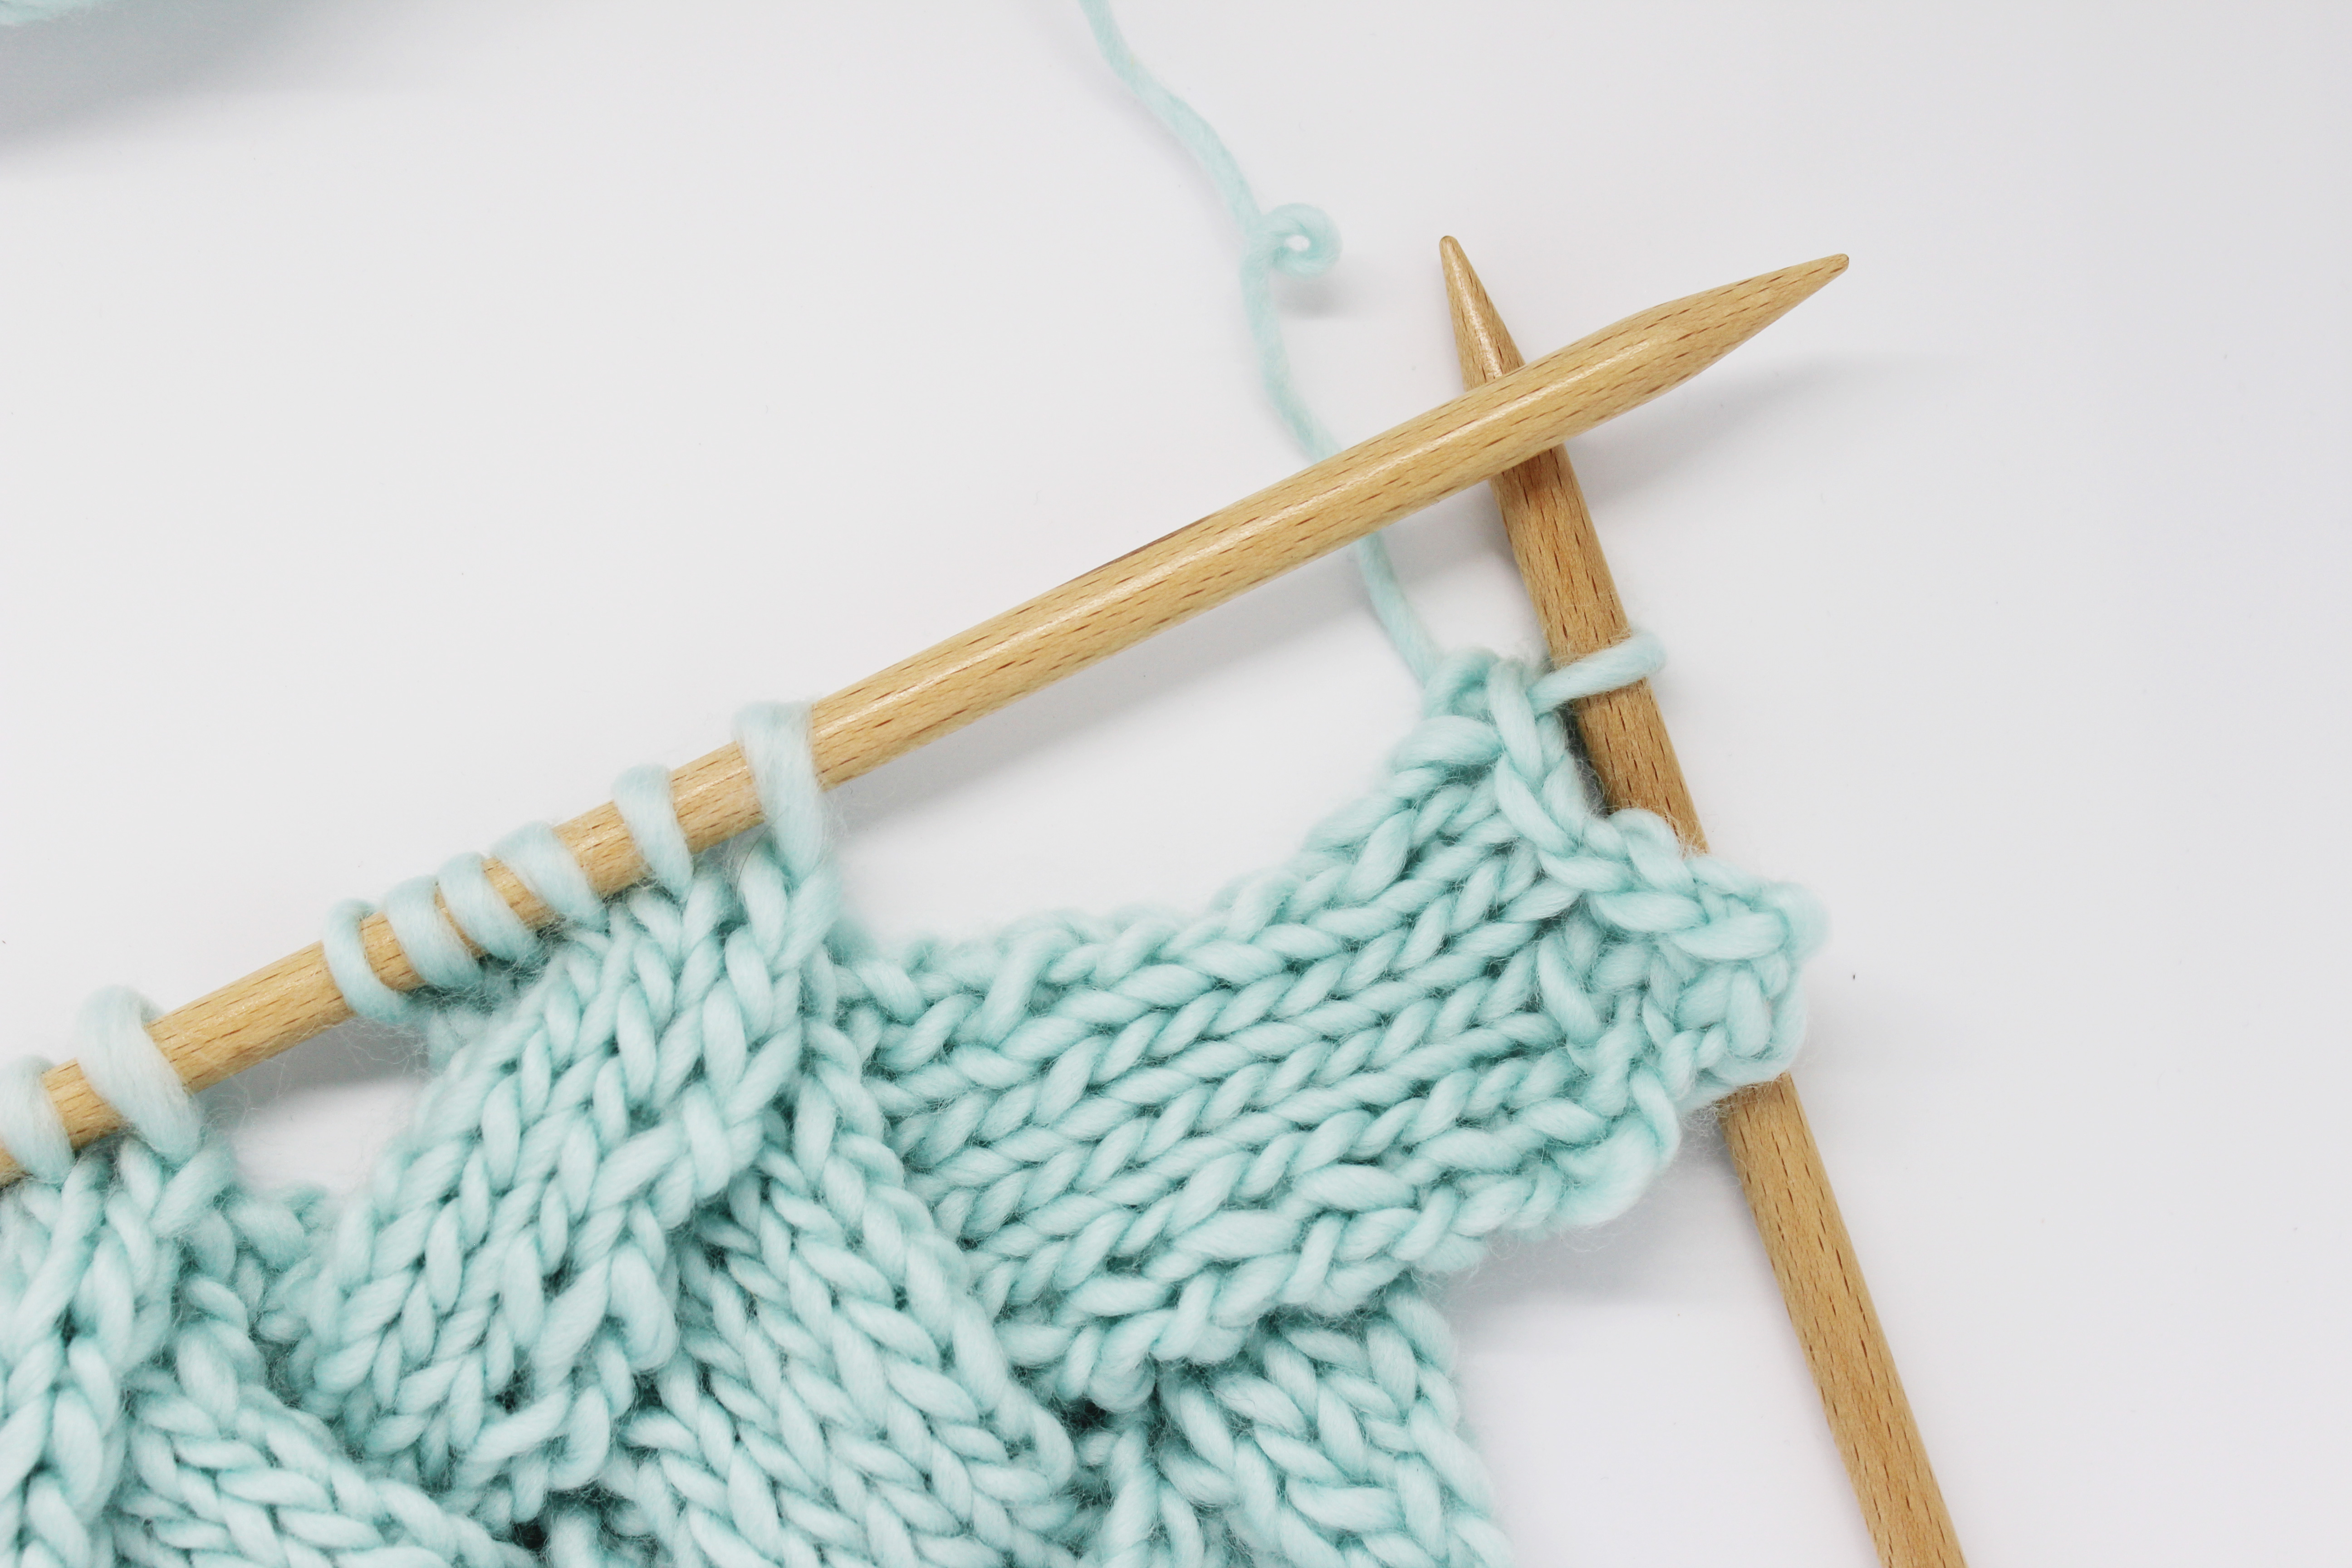
Row 1 (right side): pick up 4 stitches from the side of the square (alternating 1 stitch ever 2 rows and 1 stitch every 3 rows). Knit 1 (the first in the following group of stitches). You will have a total of 6 stitches on your right needle. Turn the work.
Row 2 (wrong side): purl 6 and turn the work.
Row 3 (right side): SKPO, knit 3, SKPO. Turn the work.
Row 4 (wrong side): purl 5 and turn the work.
Row 5 (right side): SKPO, knit 2, SKPO. Turn the work.
Row 6 (wrong side): purl 4 and turn the work.
Row 7 (right side): SKPO, knit 1, SKPO and turn the work.
Row 8 (wrong side): purl 3 and turn the work.
Row 9 (right side): SKPO twice and turn the work.
Row 10 (wrong side): purl 2 and turn the work.
Row 11 (right side): SK2TPO. You will have 1 stitch on your right needle. Once you’ve finished this row, don’t turn the work.

Continue knitting the rest of the center triangles, repeating steps 1 to 11 from this section as many times as necessary. In our case, we needed 3 repeats of this block of rows to make 3 center triangles.
Left Triangle
Row 1 (right side): pick up 5 stitches from the side of the following square (alternating 1 stitch ever 2 rows and 1 stitch every 3 rows) and turn the work.
Row 2 (wrong side): purl 2 together, purl 4, and turn the work.
Row 3 (right side): knit 3, knit 2 together, and turn the work.
Row 4 (wrong side): purl 2 together, purl 2 together, and turn the work.
Row 5 (right side): knit 1, knit 2 together, and turn the work.
Row 6 (wrong side): purl 2 together.
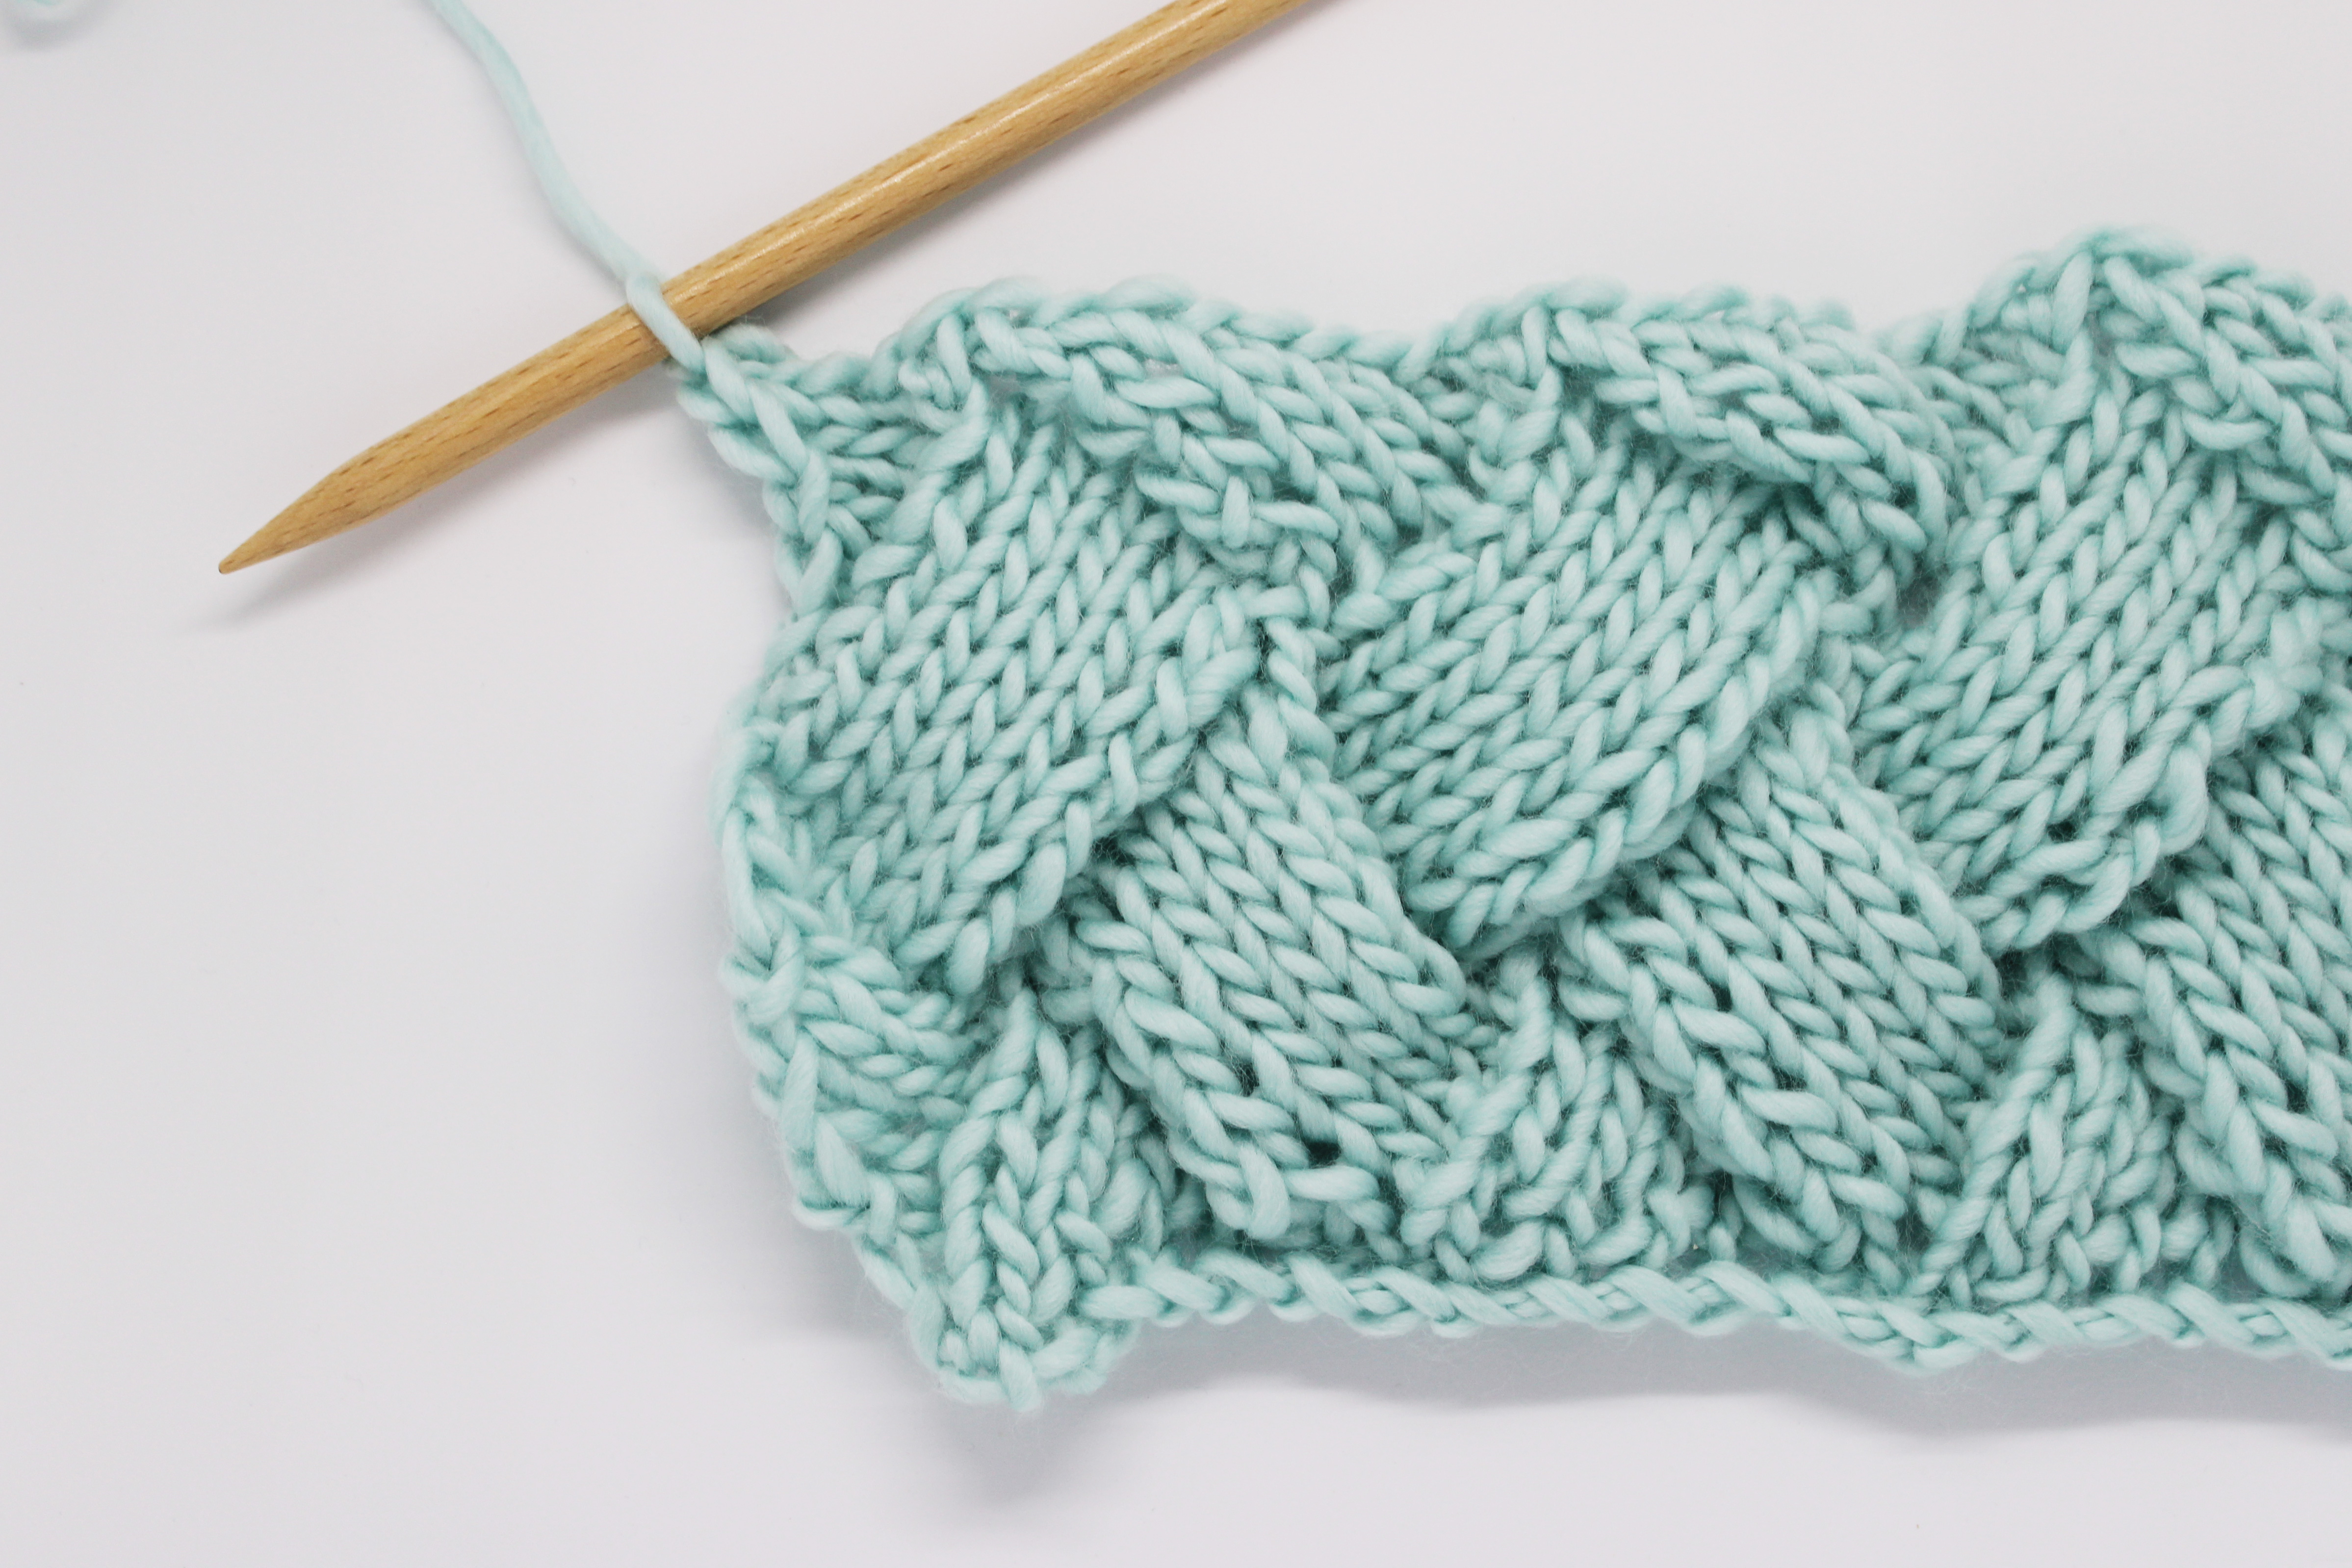
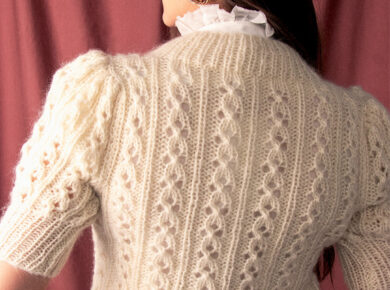
After knitting this last little triangle, you’ve finished your Entrelac. We hope that you’ve enjoyed the step by step of this technique and that you’d love to use it to knit your winter clothes and accessories. We hope you share your projects on social media with the hashtag #weareknitters. Until next time!