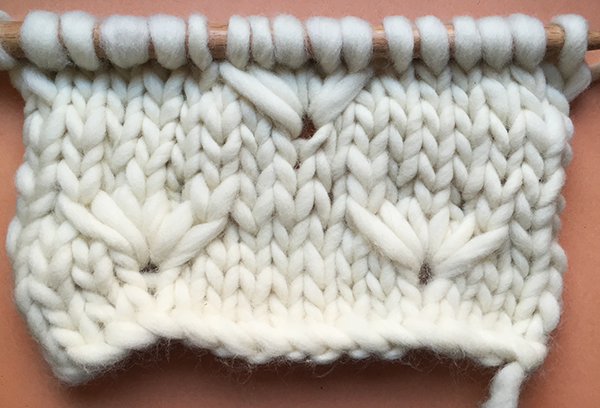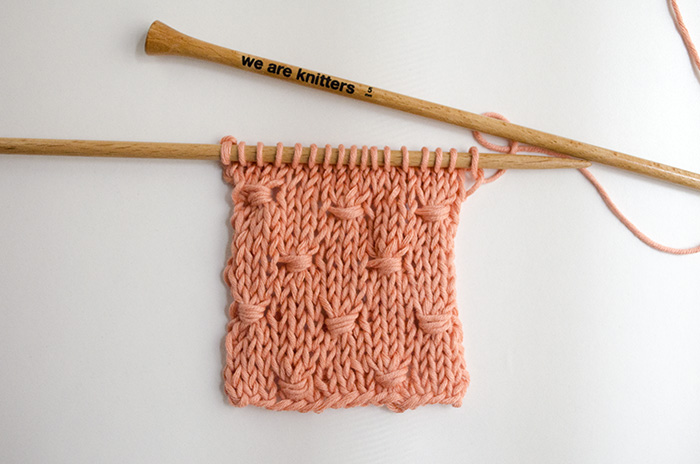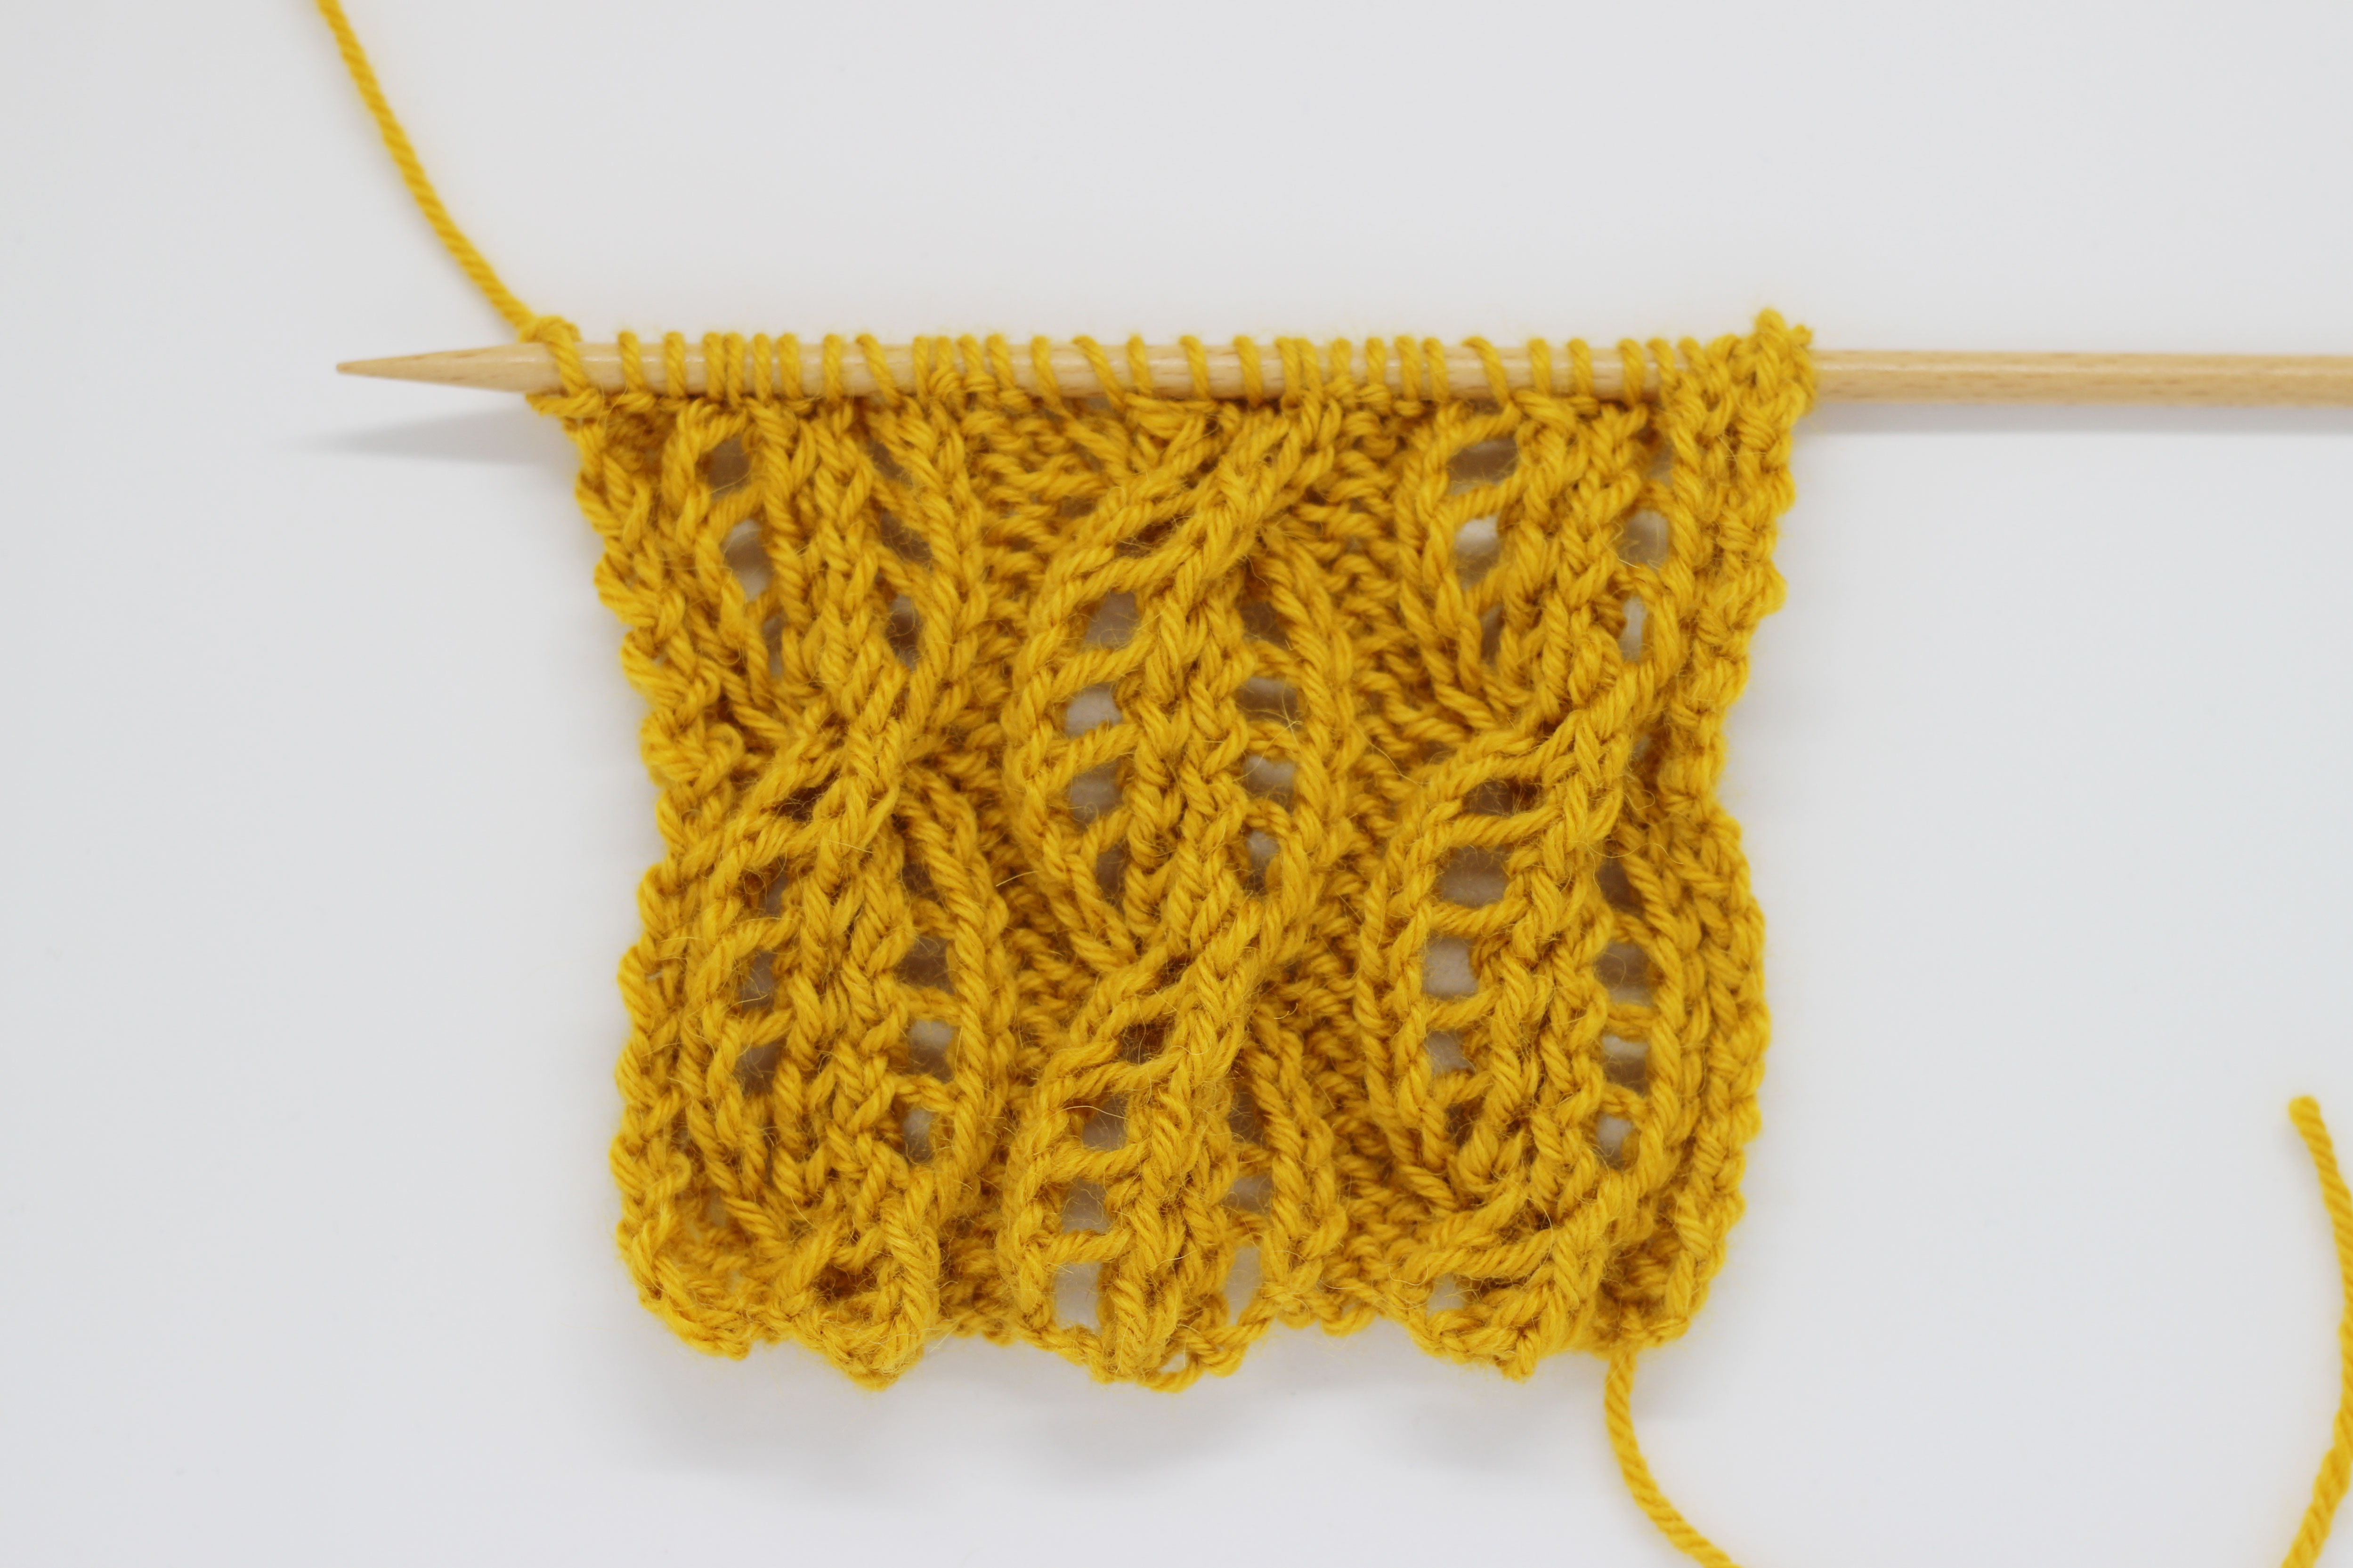
Cables are always included in any good knitter’s arsenal. Those warm and loving things that we knit into our snoods, scarves, sweaters, etc. Well, today we bring you its sweetest version—a cable, yes, but one adorned with lace that gives this stitch a very special touch.
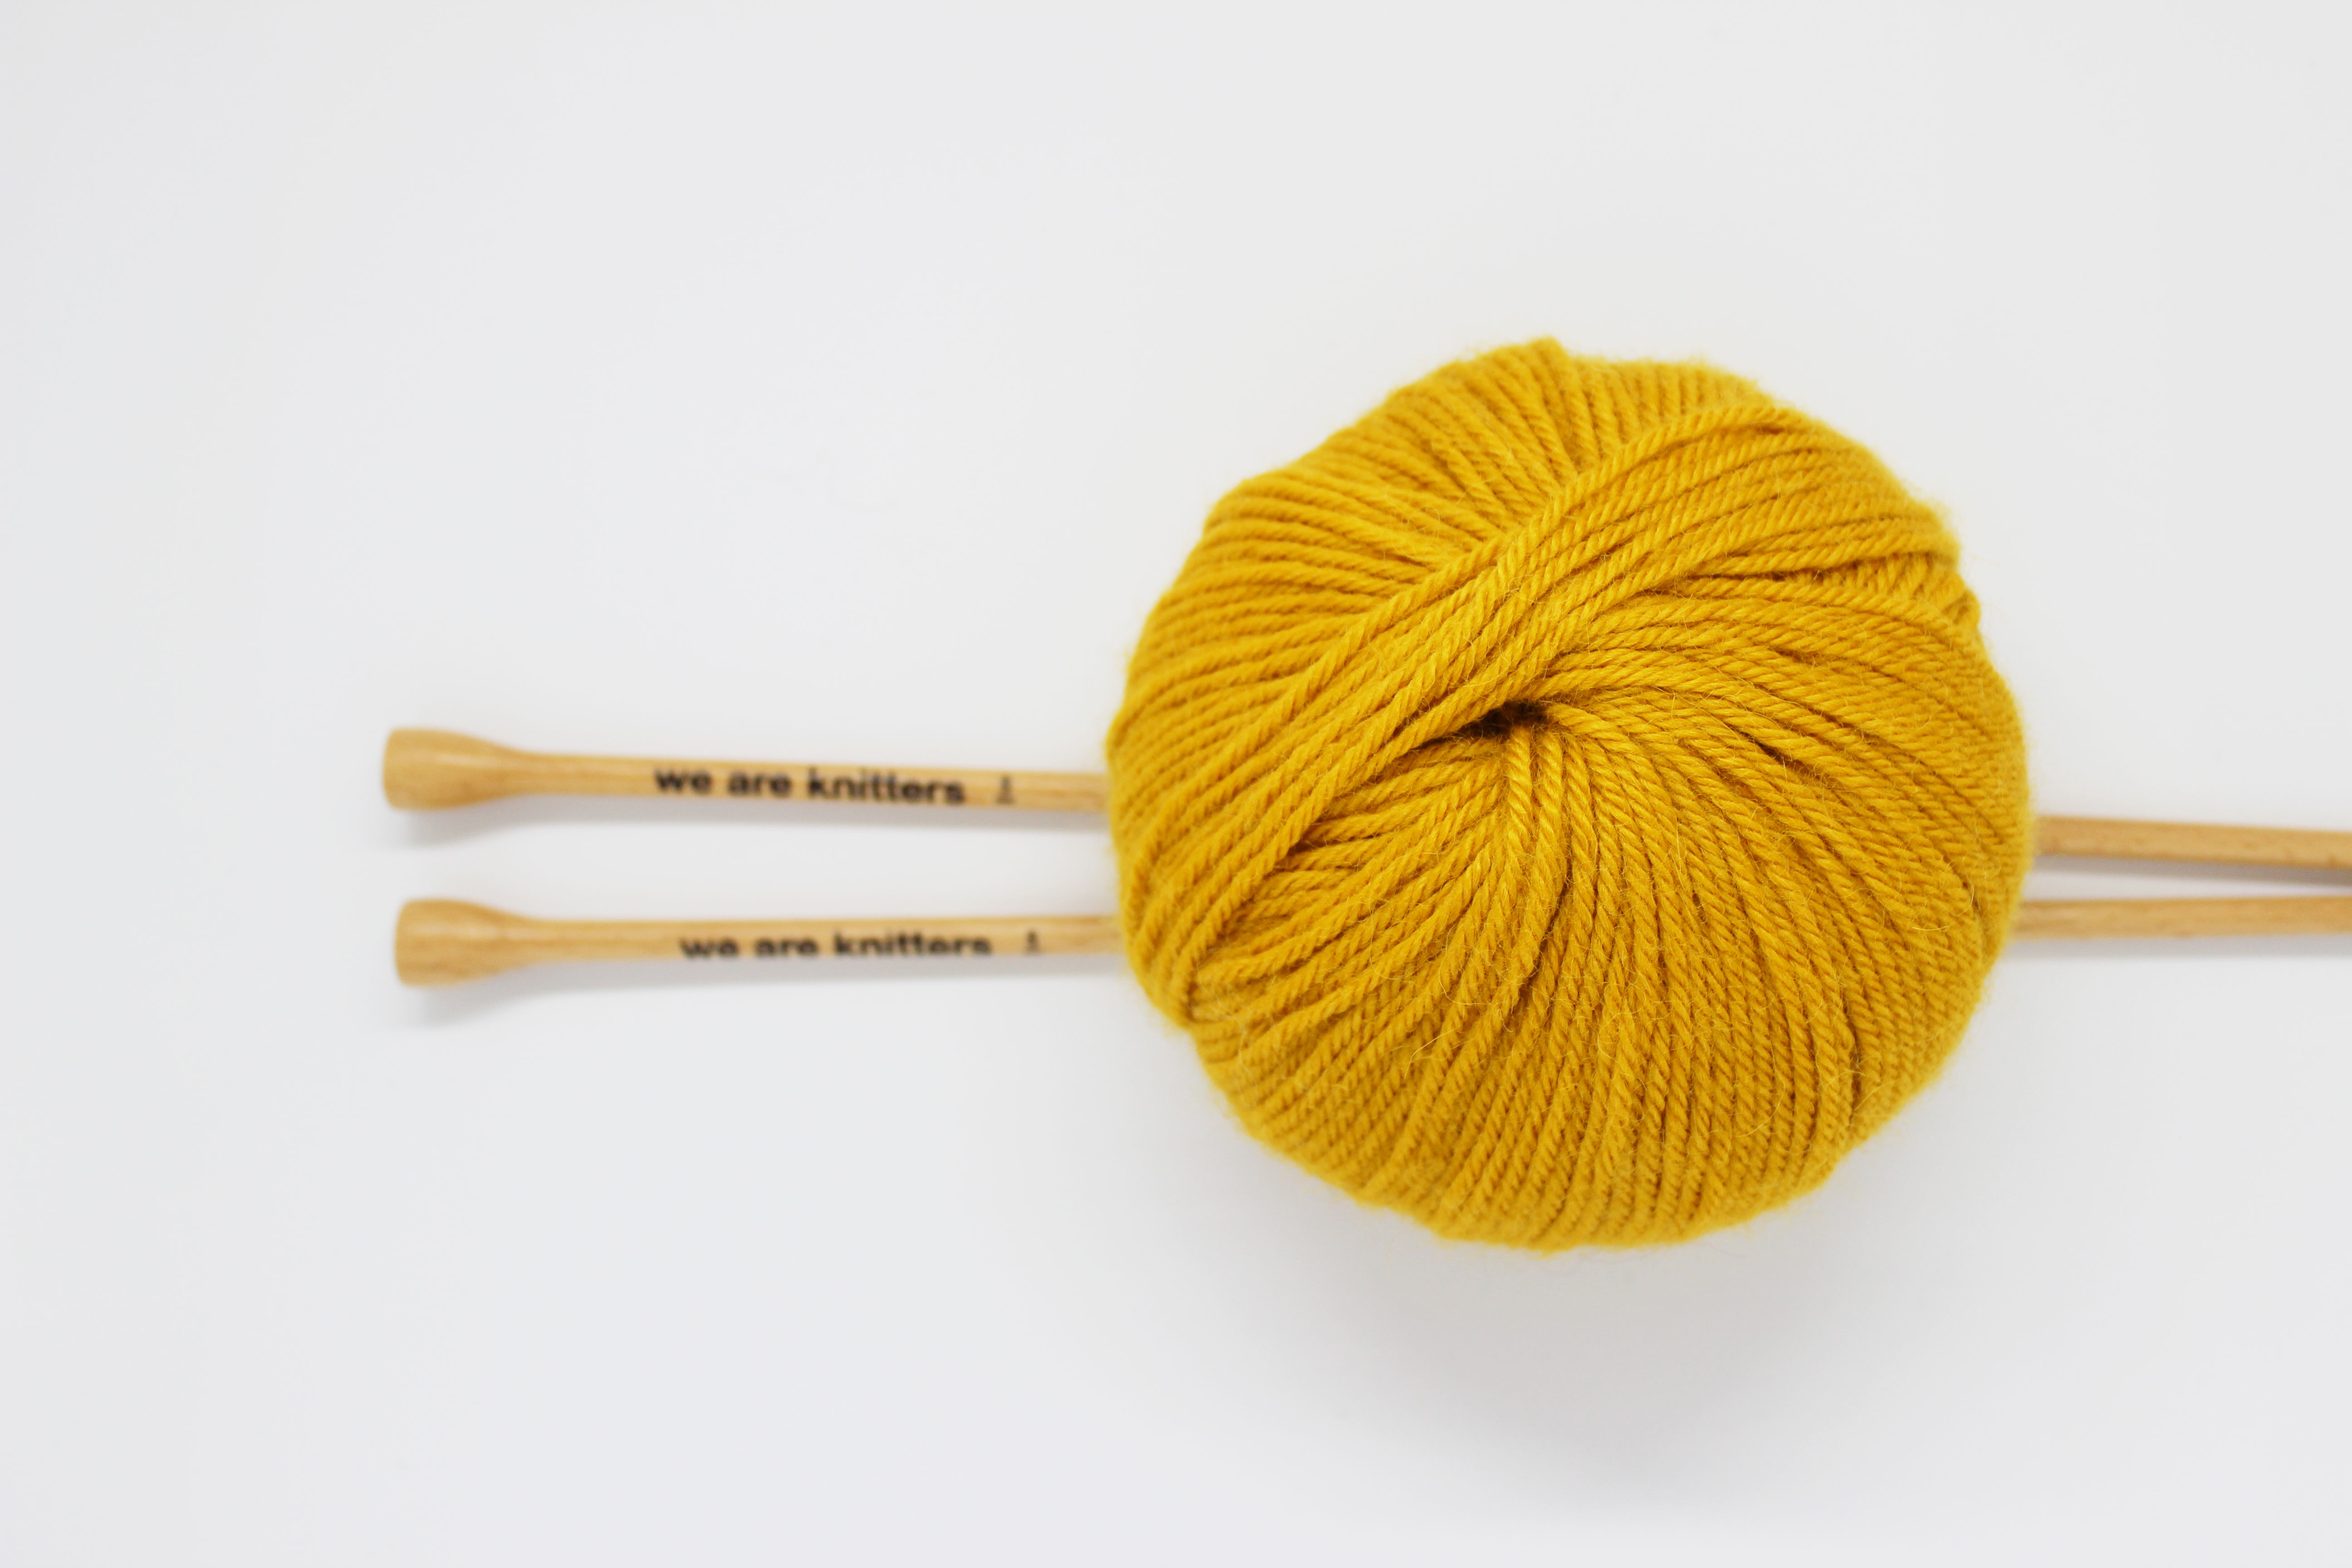
For this step-by-step, we’re using 5 mm knitting needles and one skein of our Meripaca yarn. Before getting started, as always, take a look at this list of techniques that you should know:
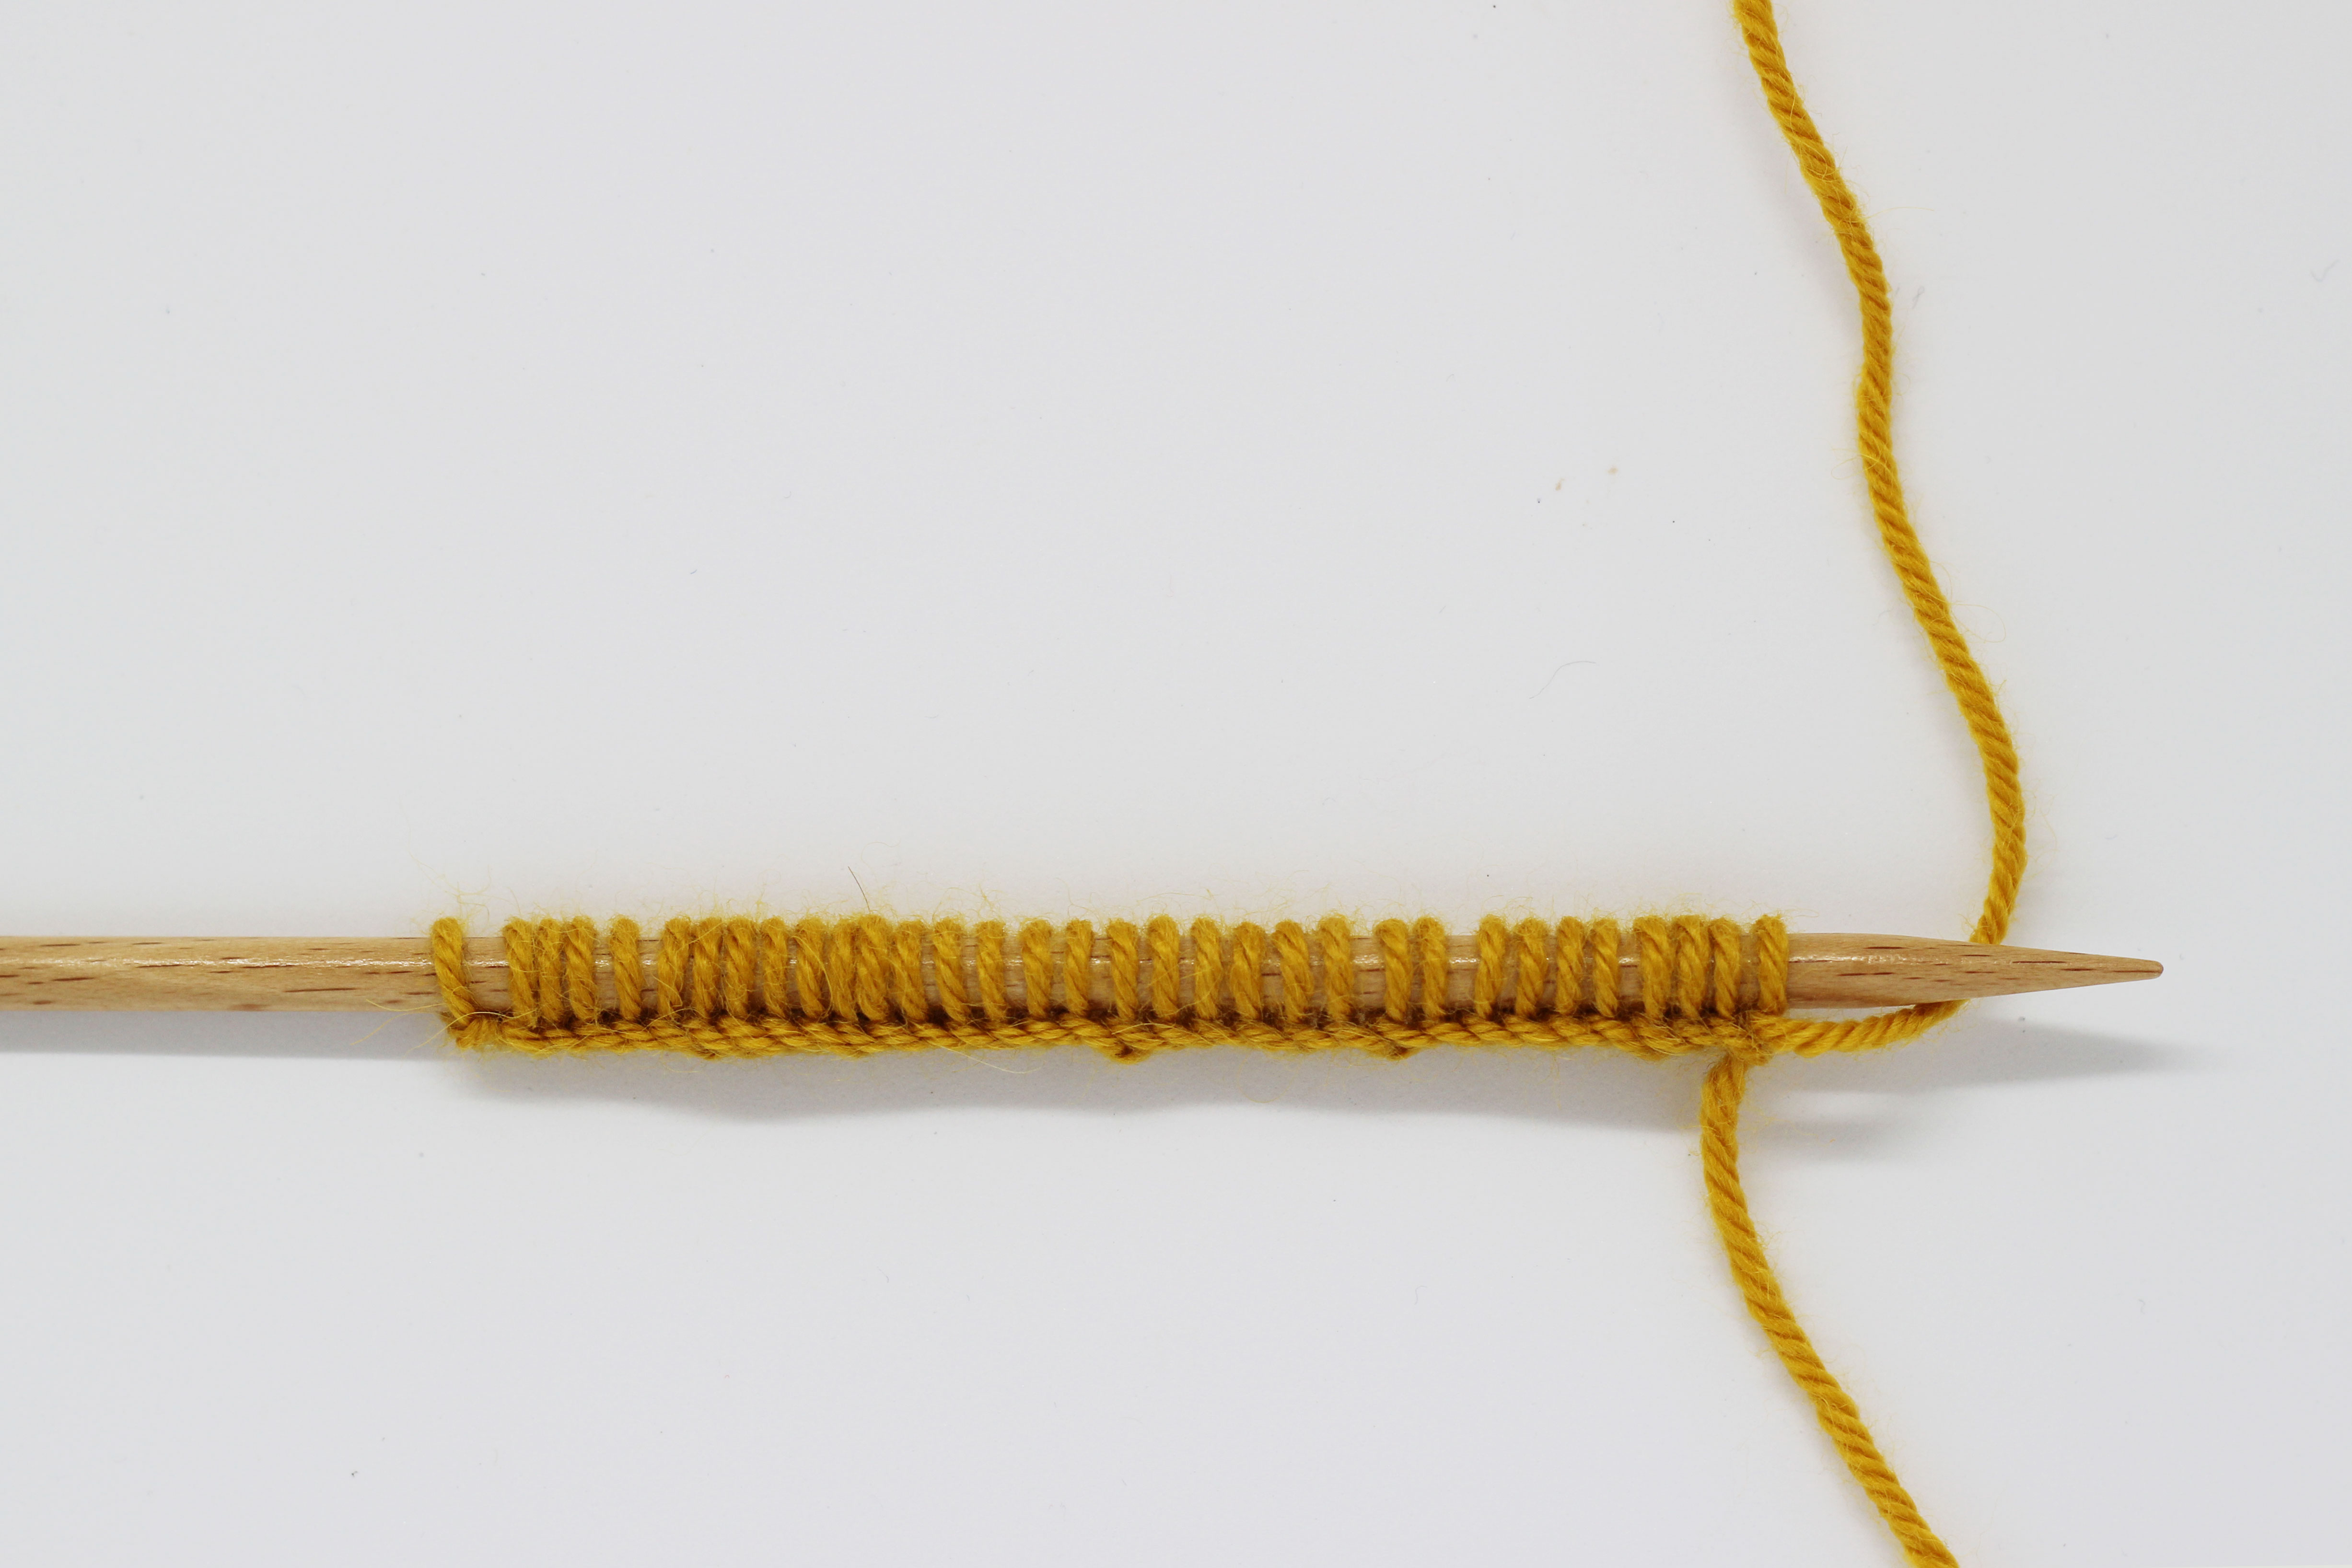
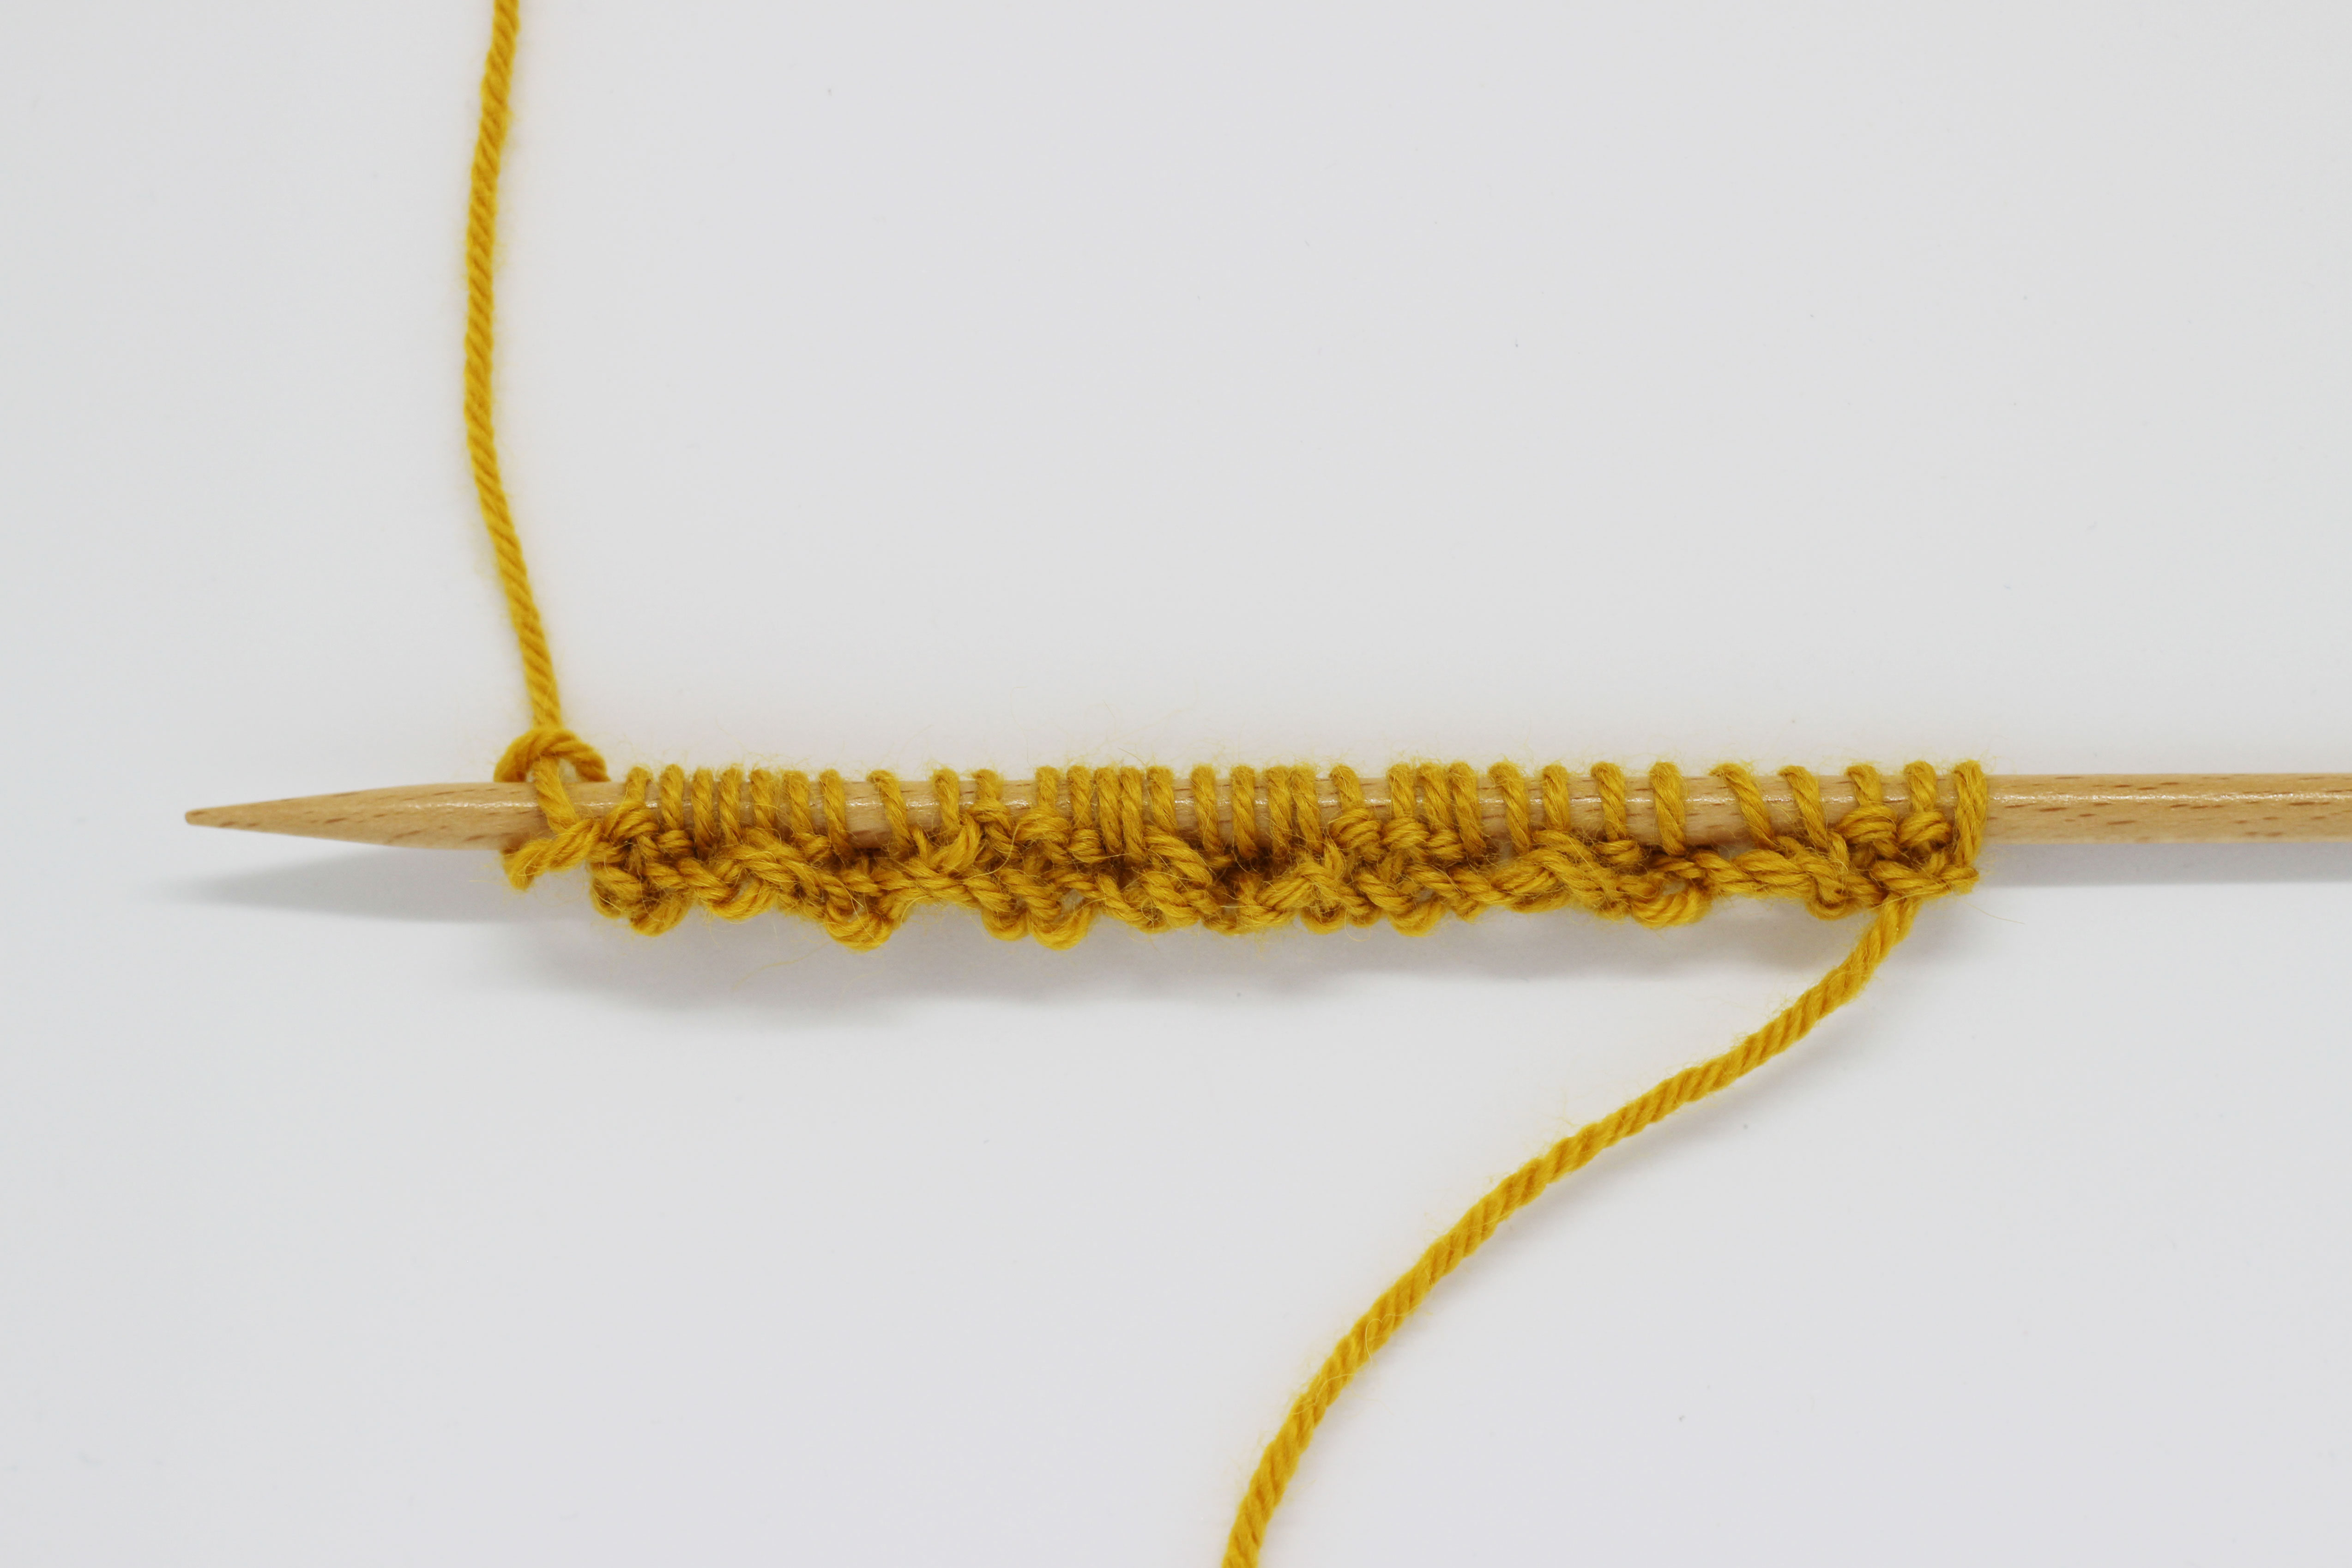
When you’re ready to cast on stitches for knitting cables with lace, you have two options. If you want an even number of cables, cast on a multiple of 20 stitches + 3. Or if you prefer an even number of cables, you can cast on a multiple of 10 stitches +3.
Row 1 (right side): * Purl 3. Knit 1, yarn over, knit 2 together, purl 1, SKPO, yarn over, knit 1*. Repeat from * to * until there are 3 stitches remaining and knit them.

Row 2 (wrong side): * knit 3, purl 3, knit 1, purl 3 *. Repeat from * to * until there are 3 stitches remaining and knit them.
Row 3 (right side): * purl 3.
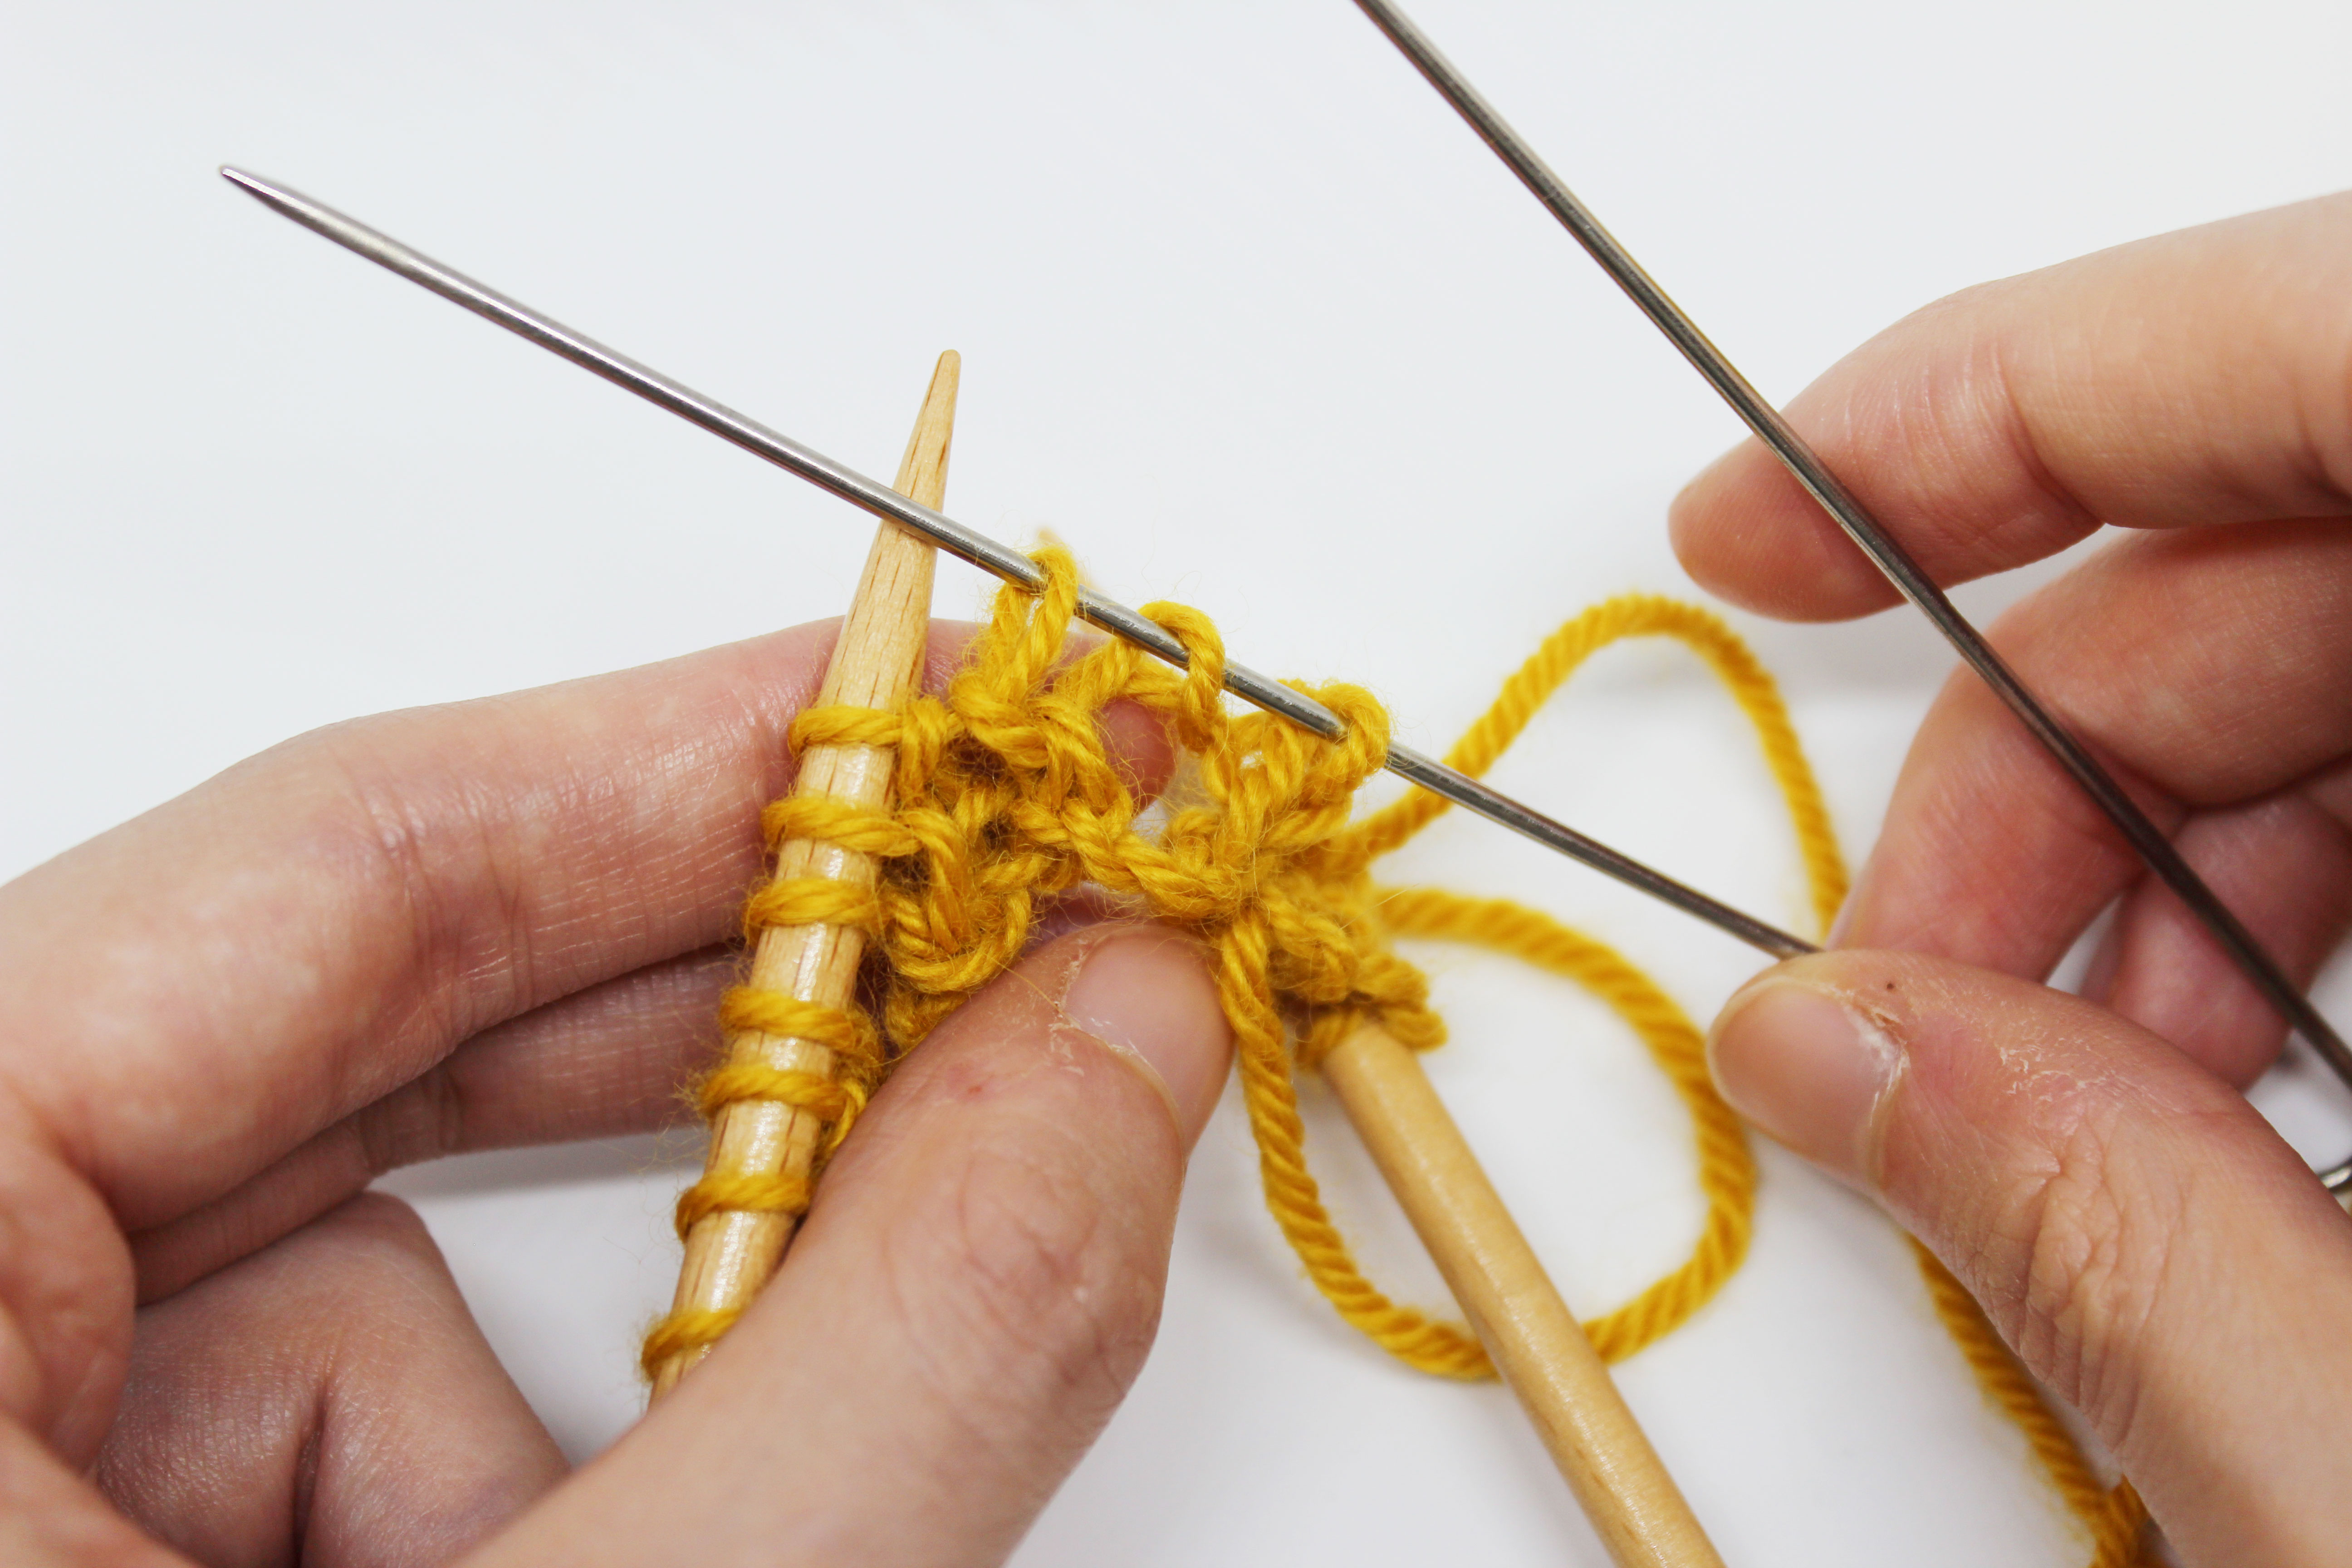
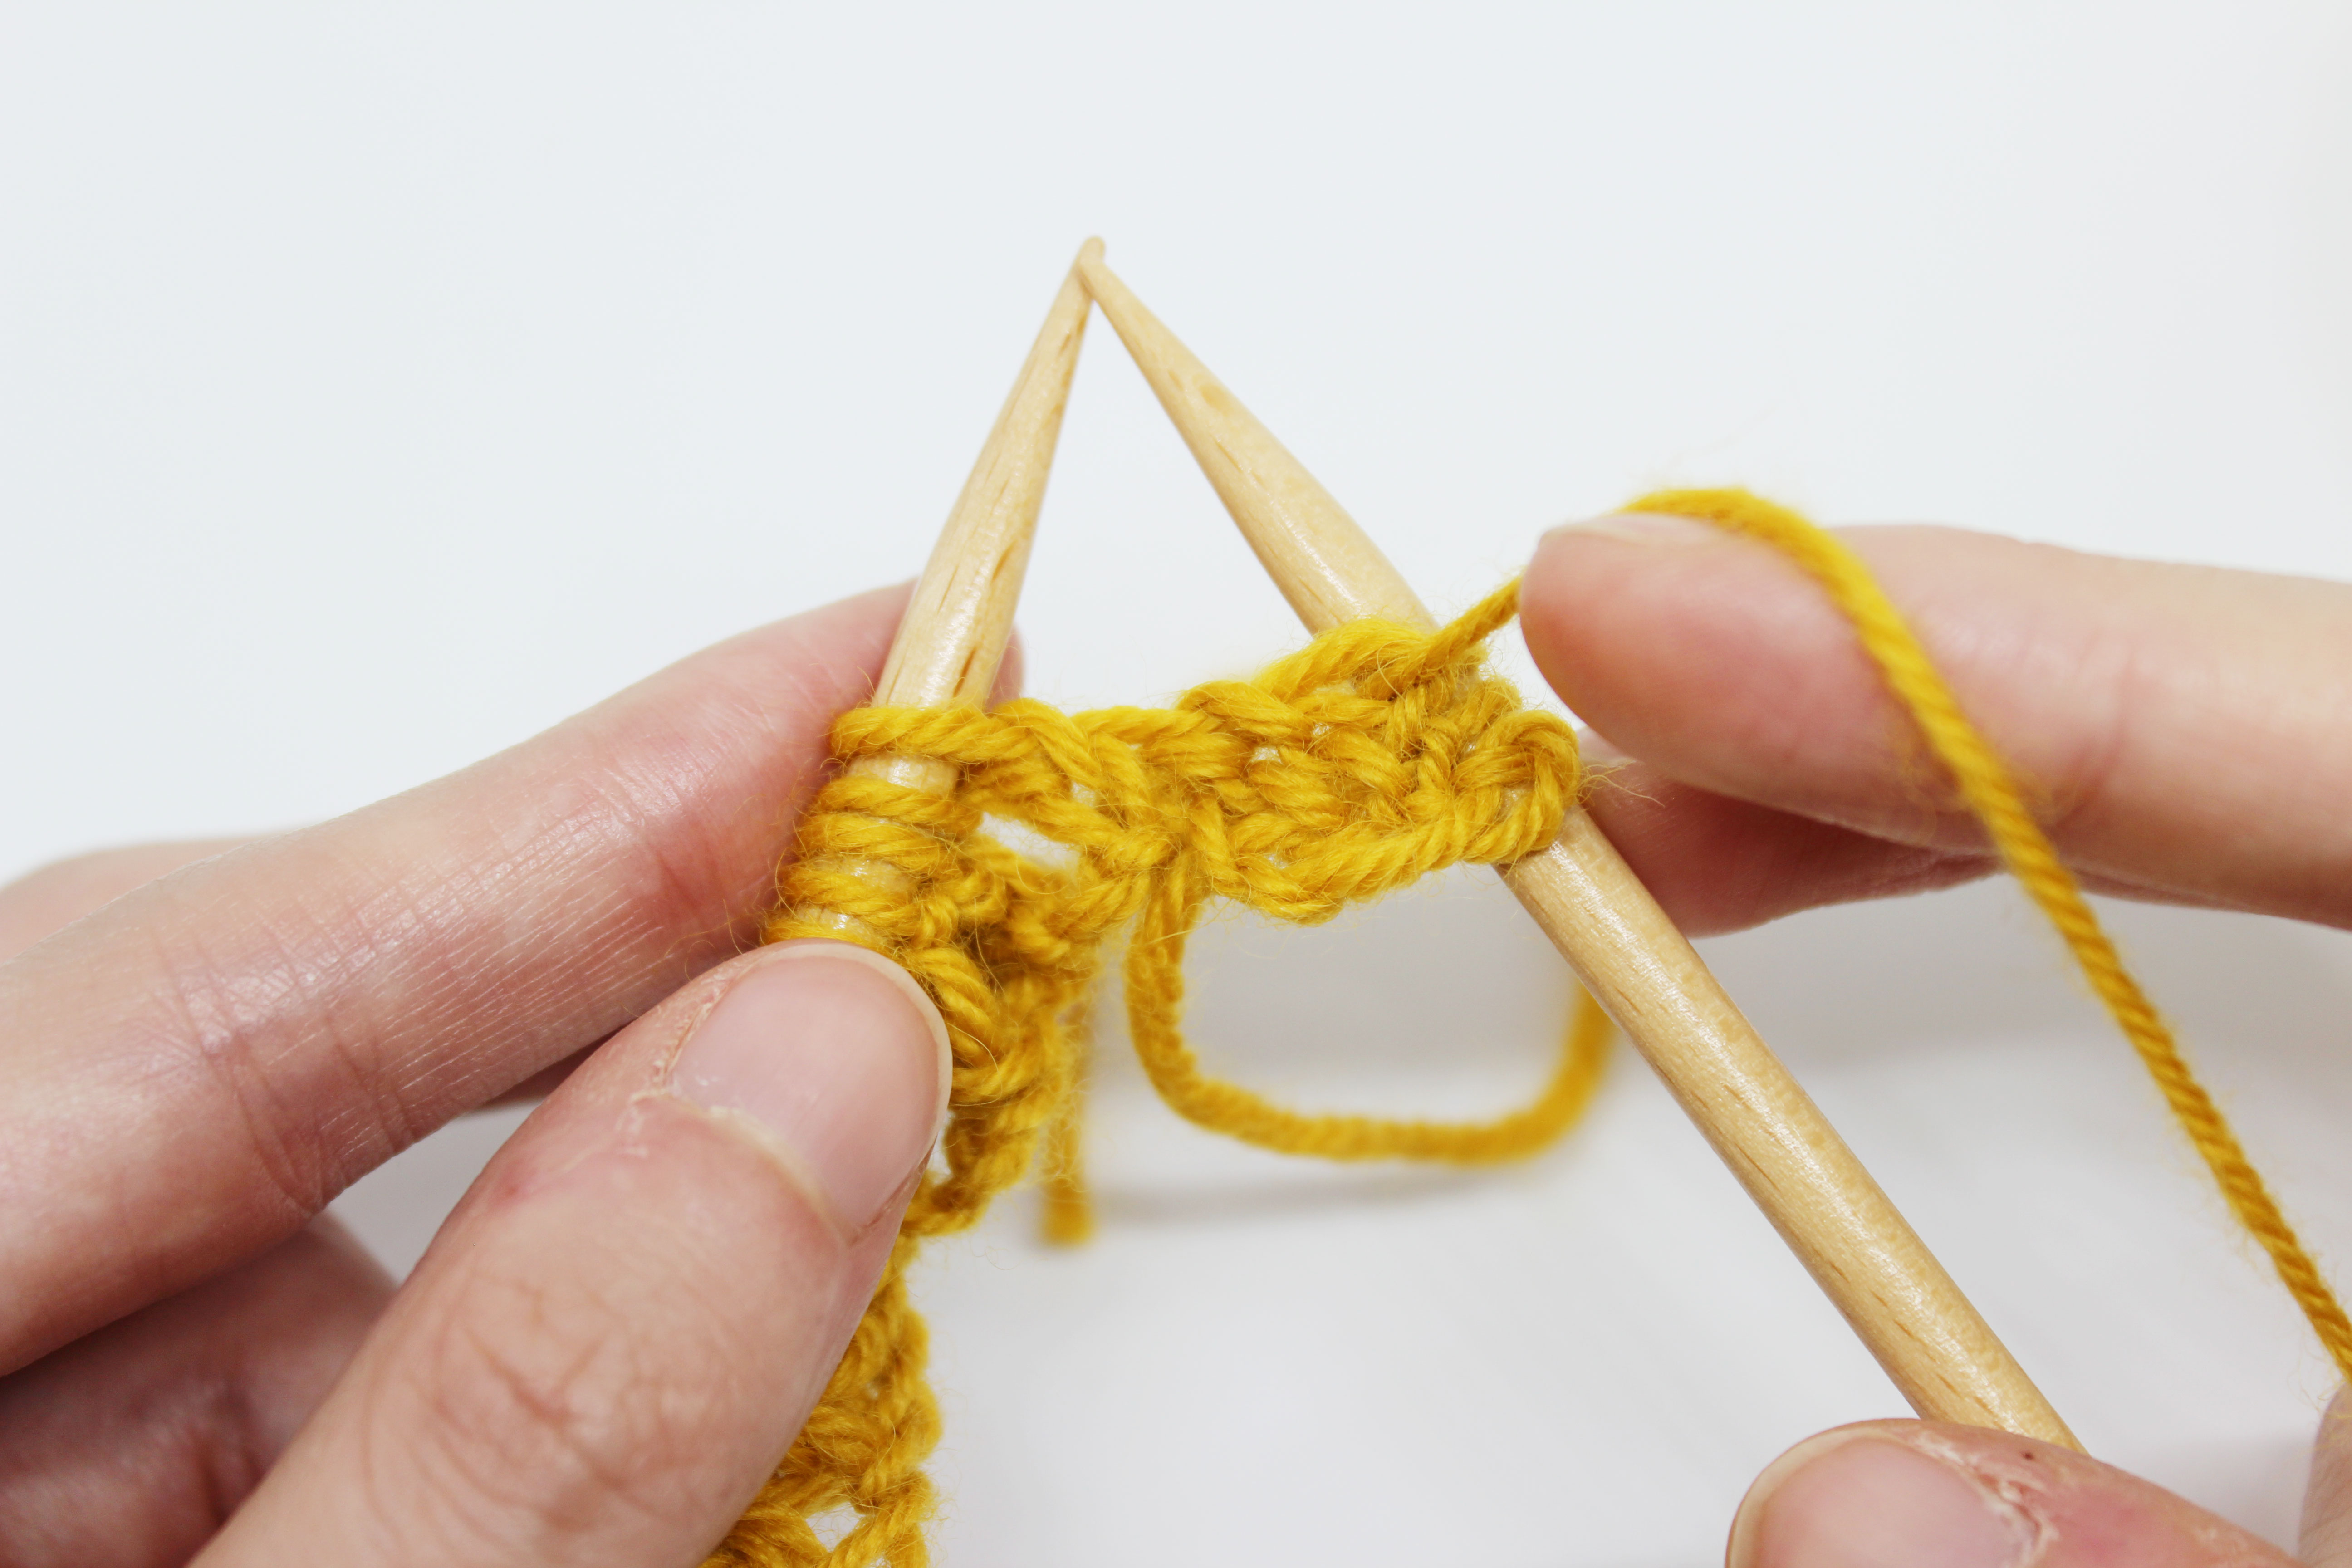
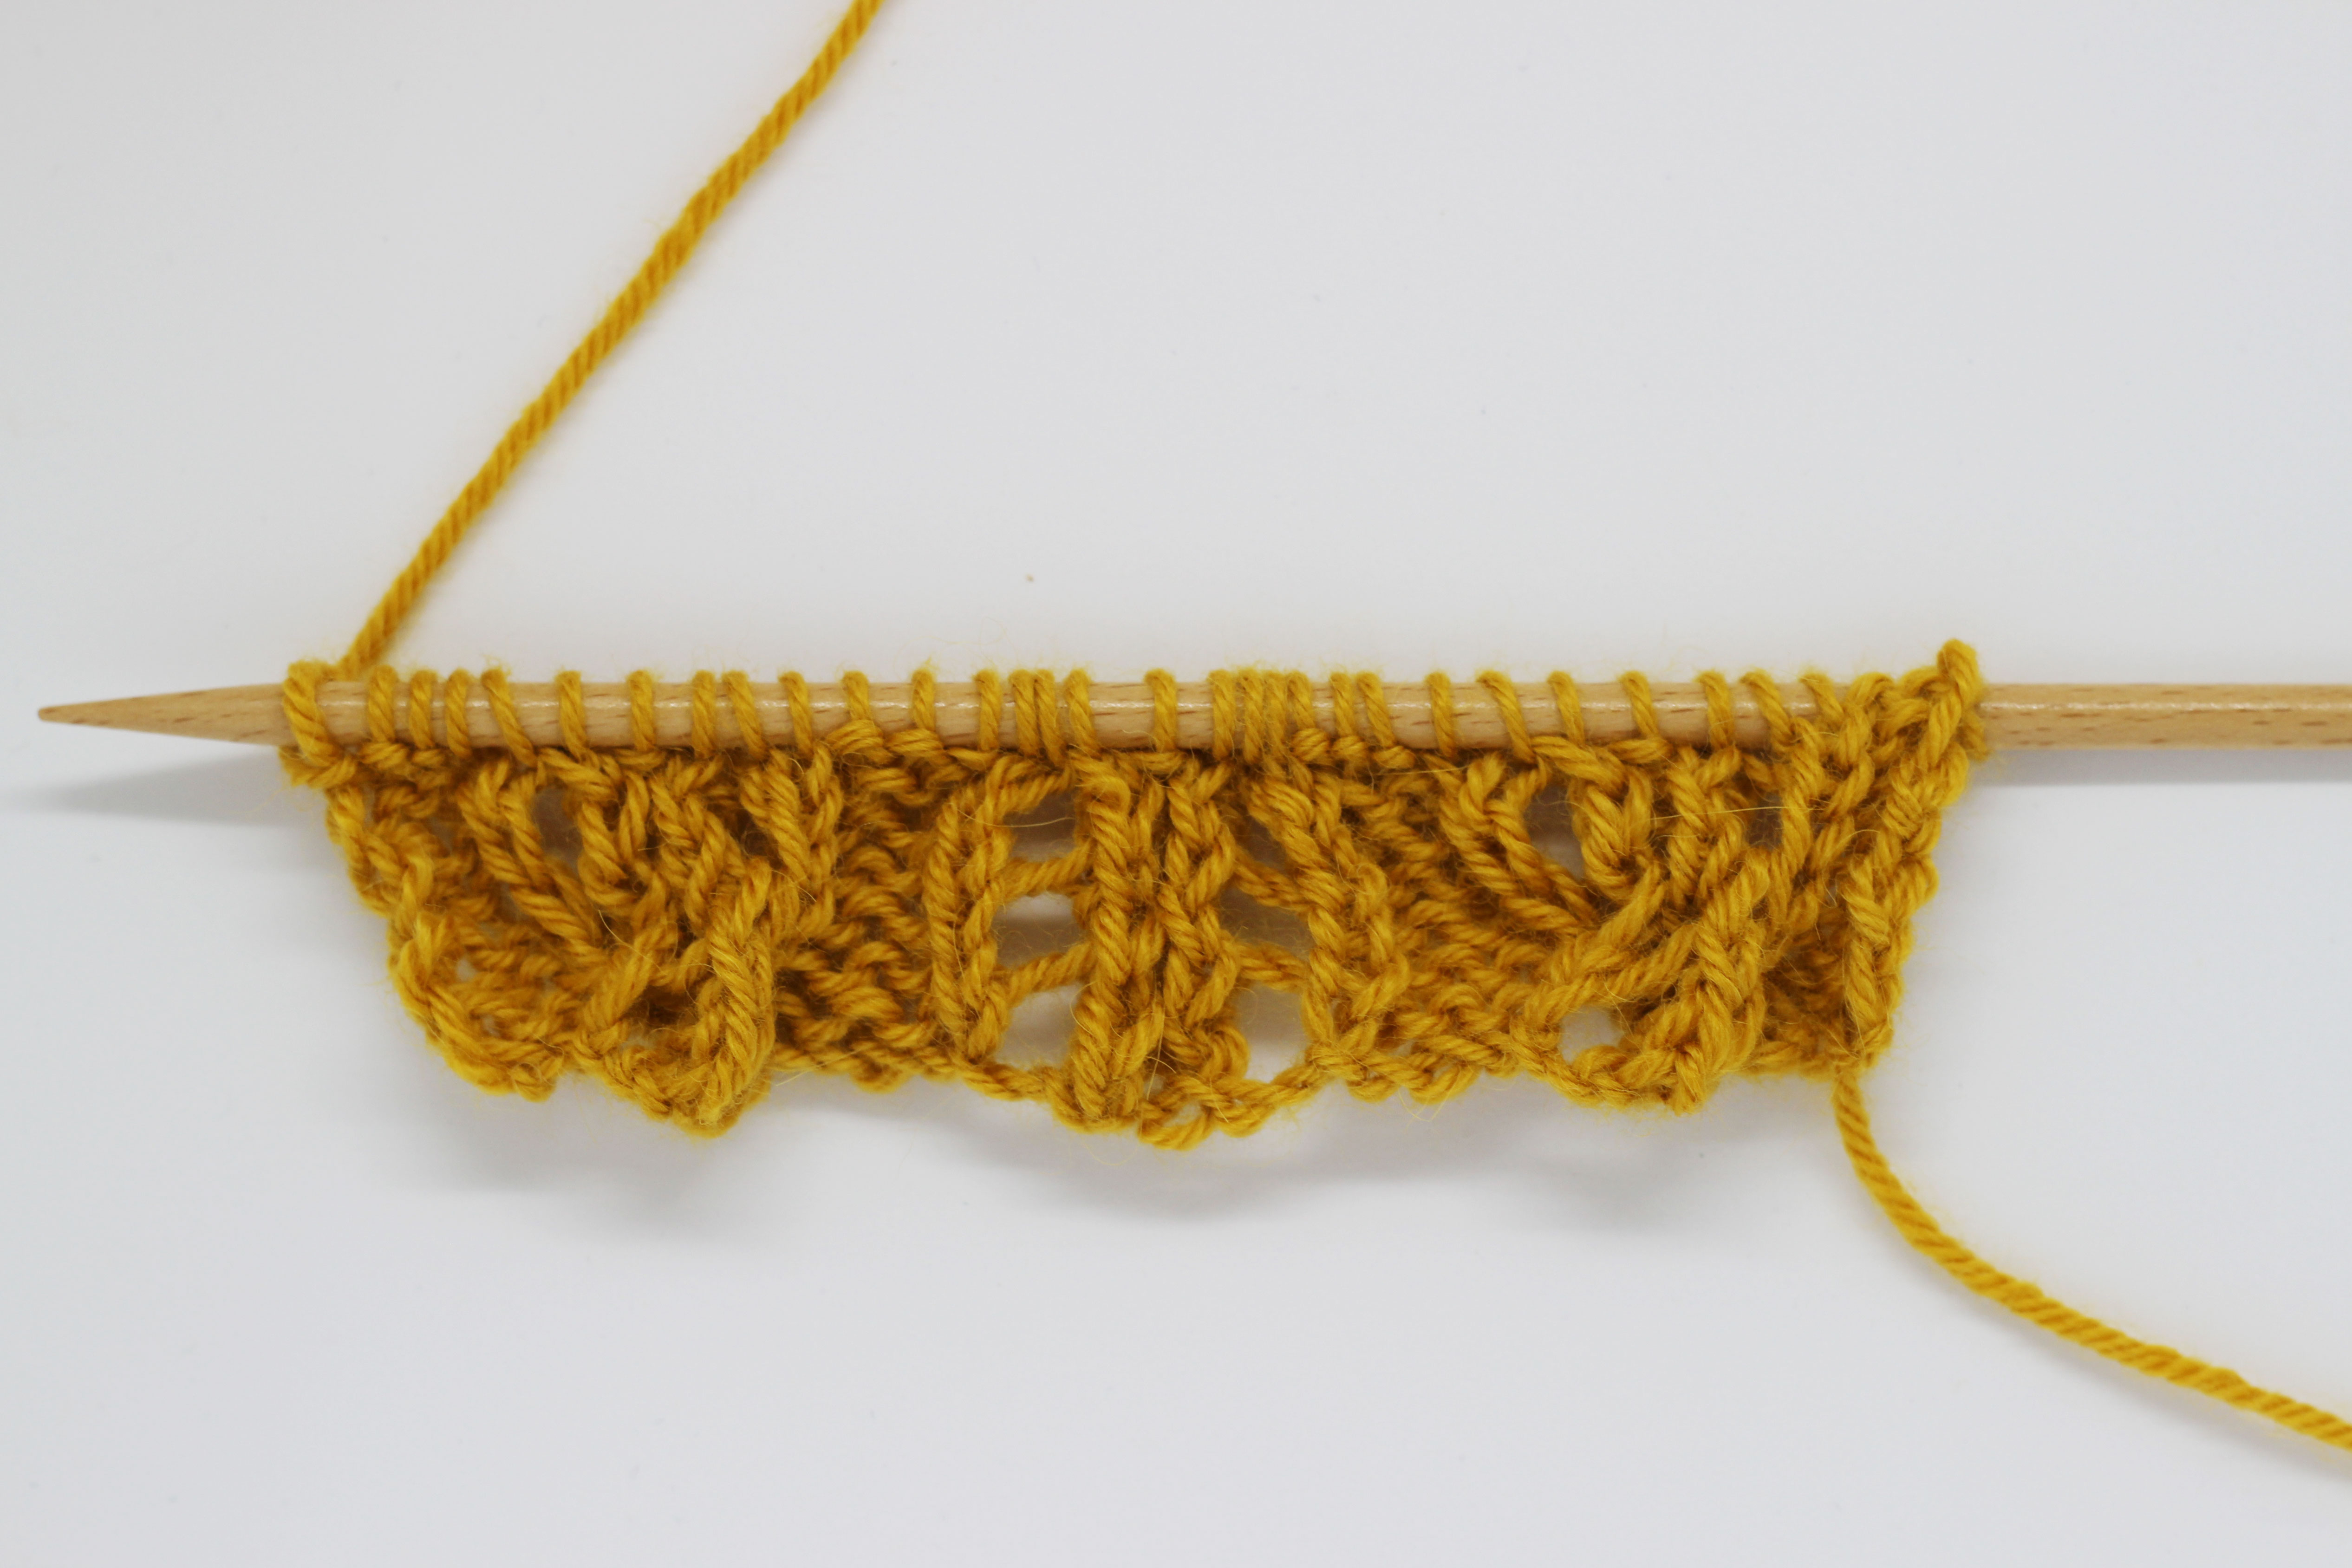
Now we’re going to make the first cable. For this, slip the next 3 stitches onto a cable needle. You could also use a spare needle, a pencil, a safety pin, or a stitch holder for this step. What you can use to put the stitches on hold will do :-).
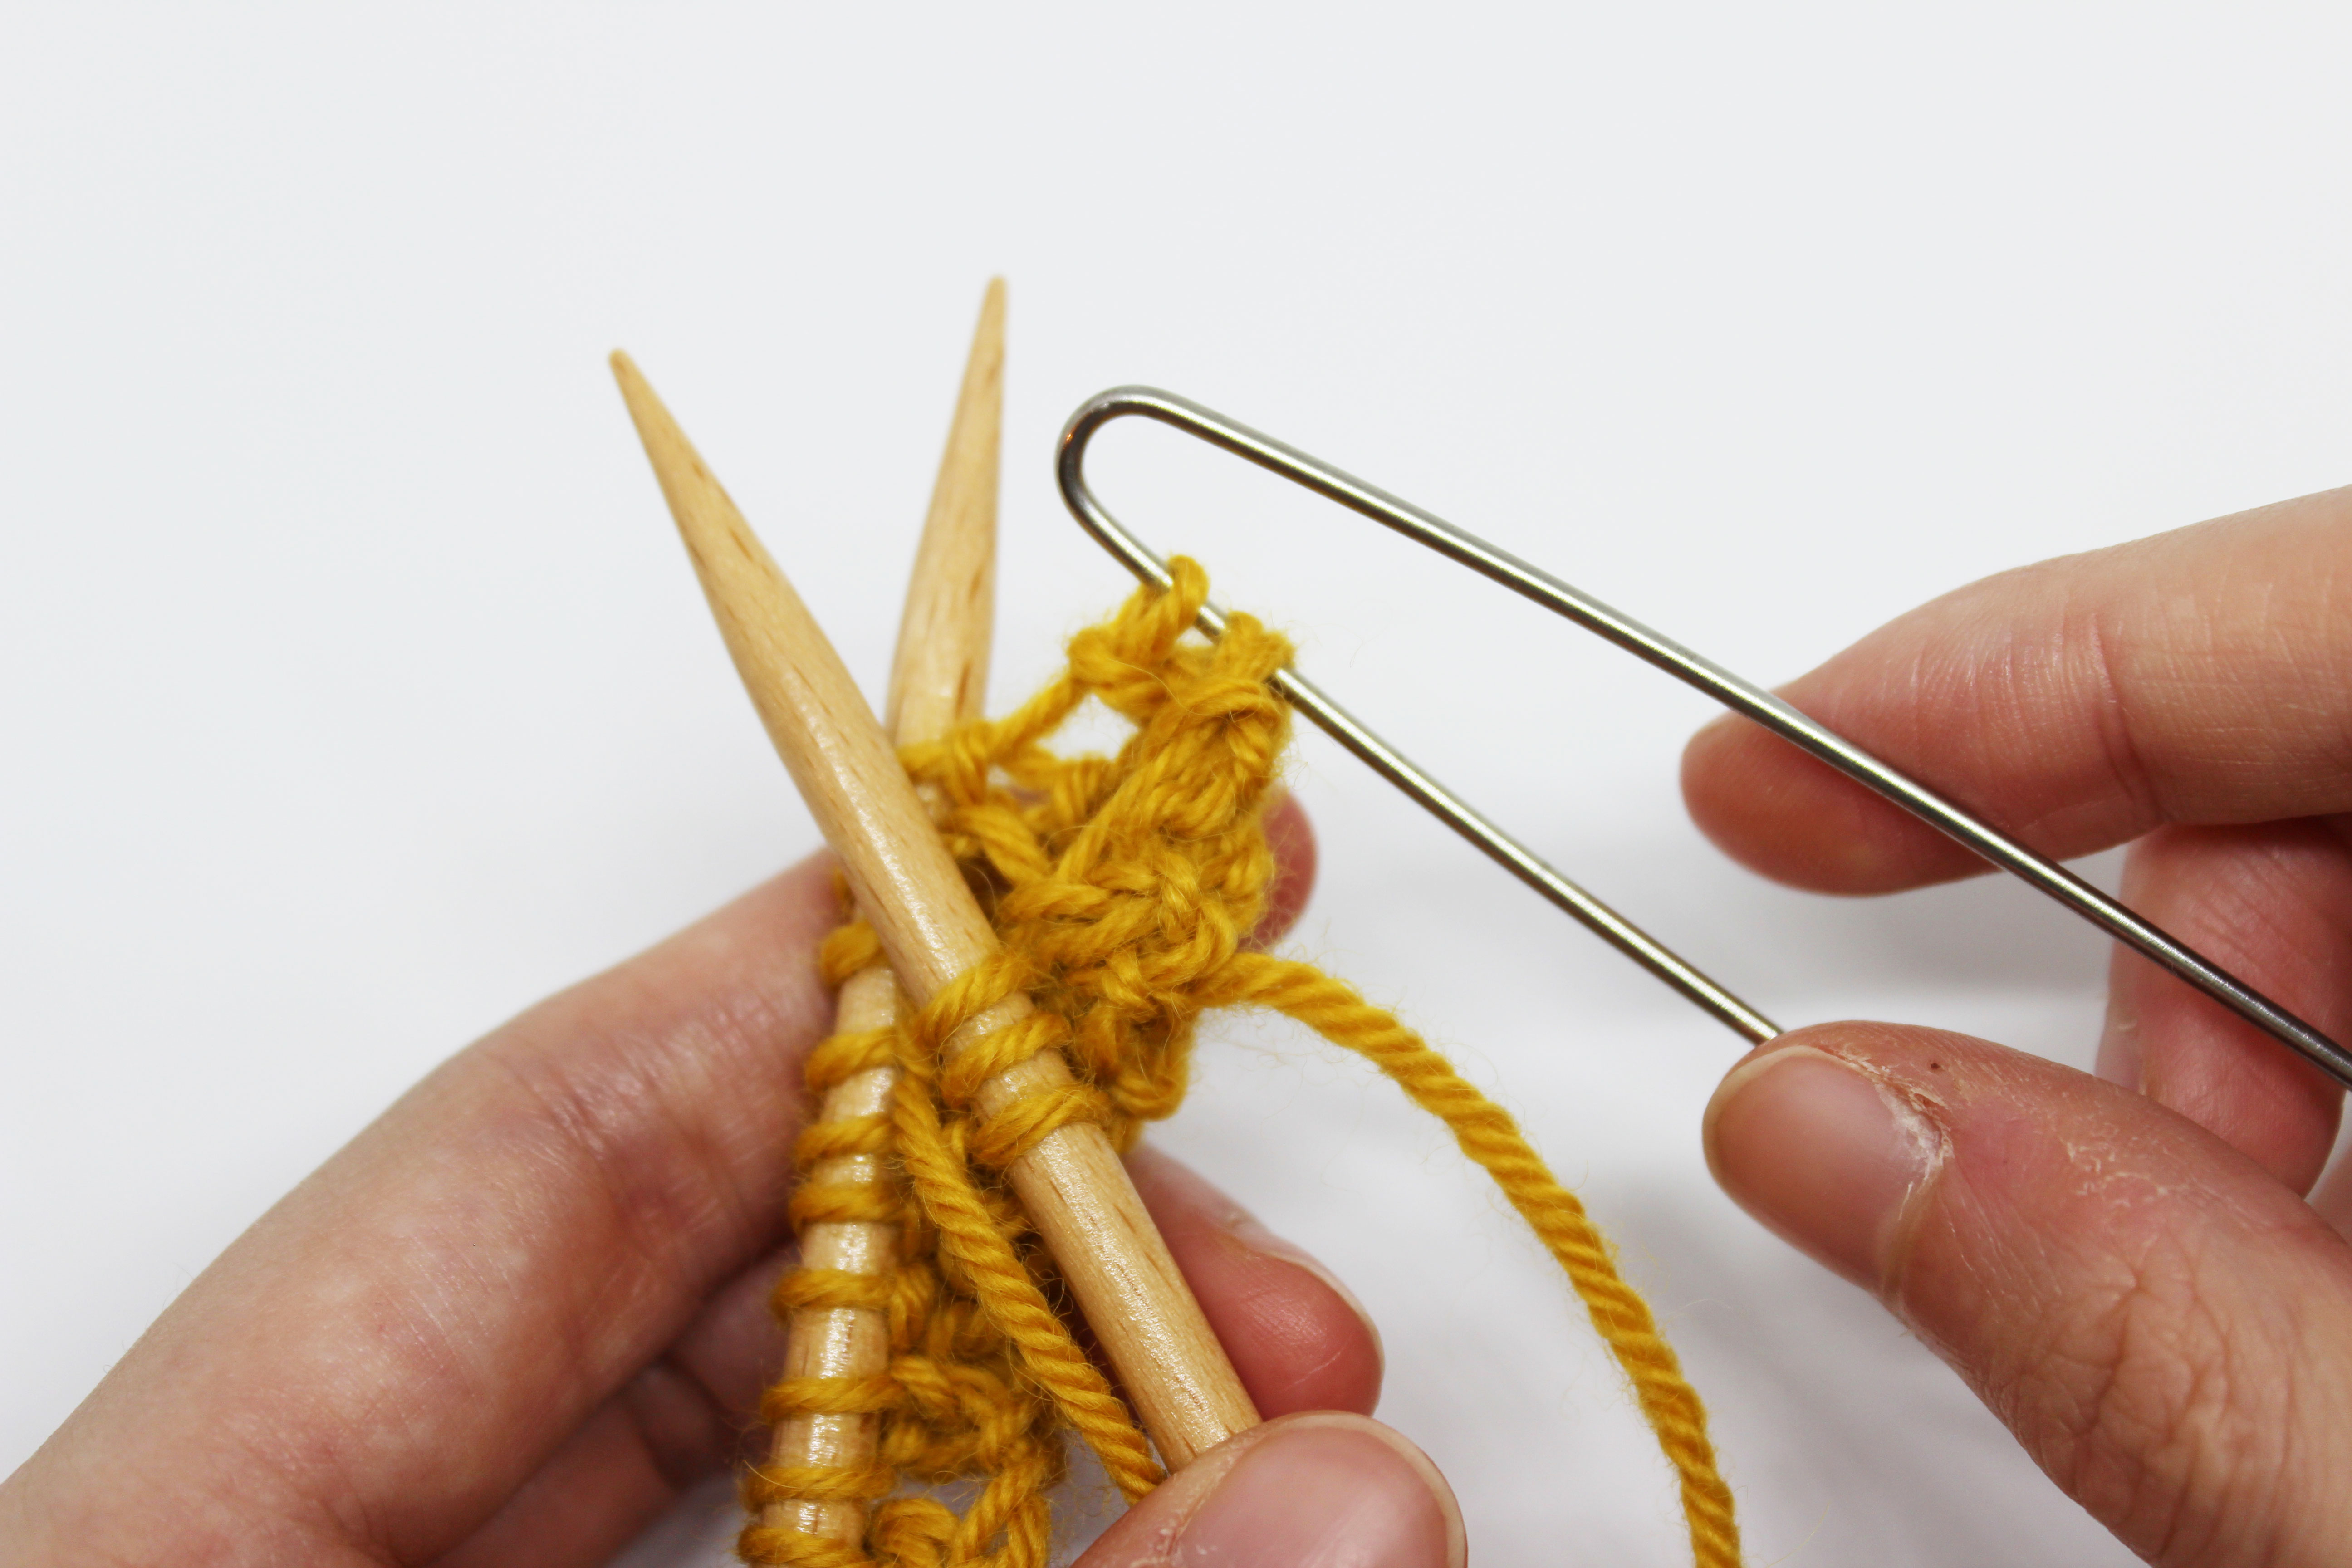
Leave the stitches on hold behind your knitting.
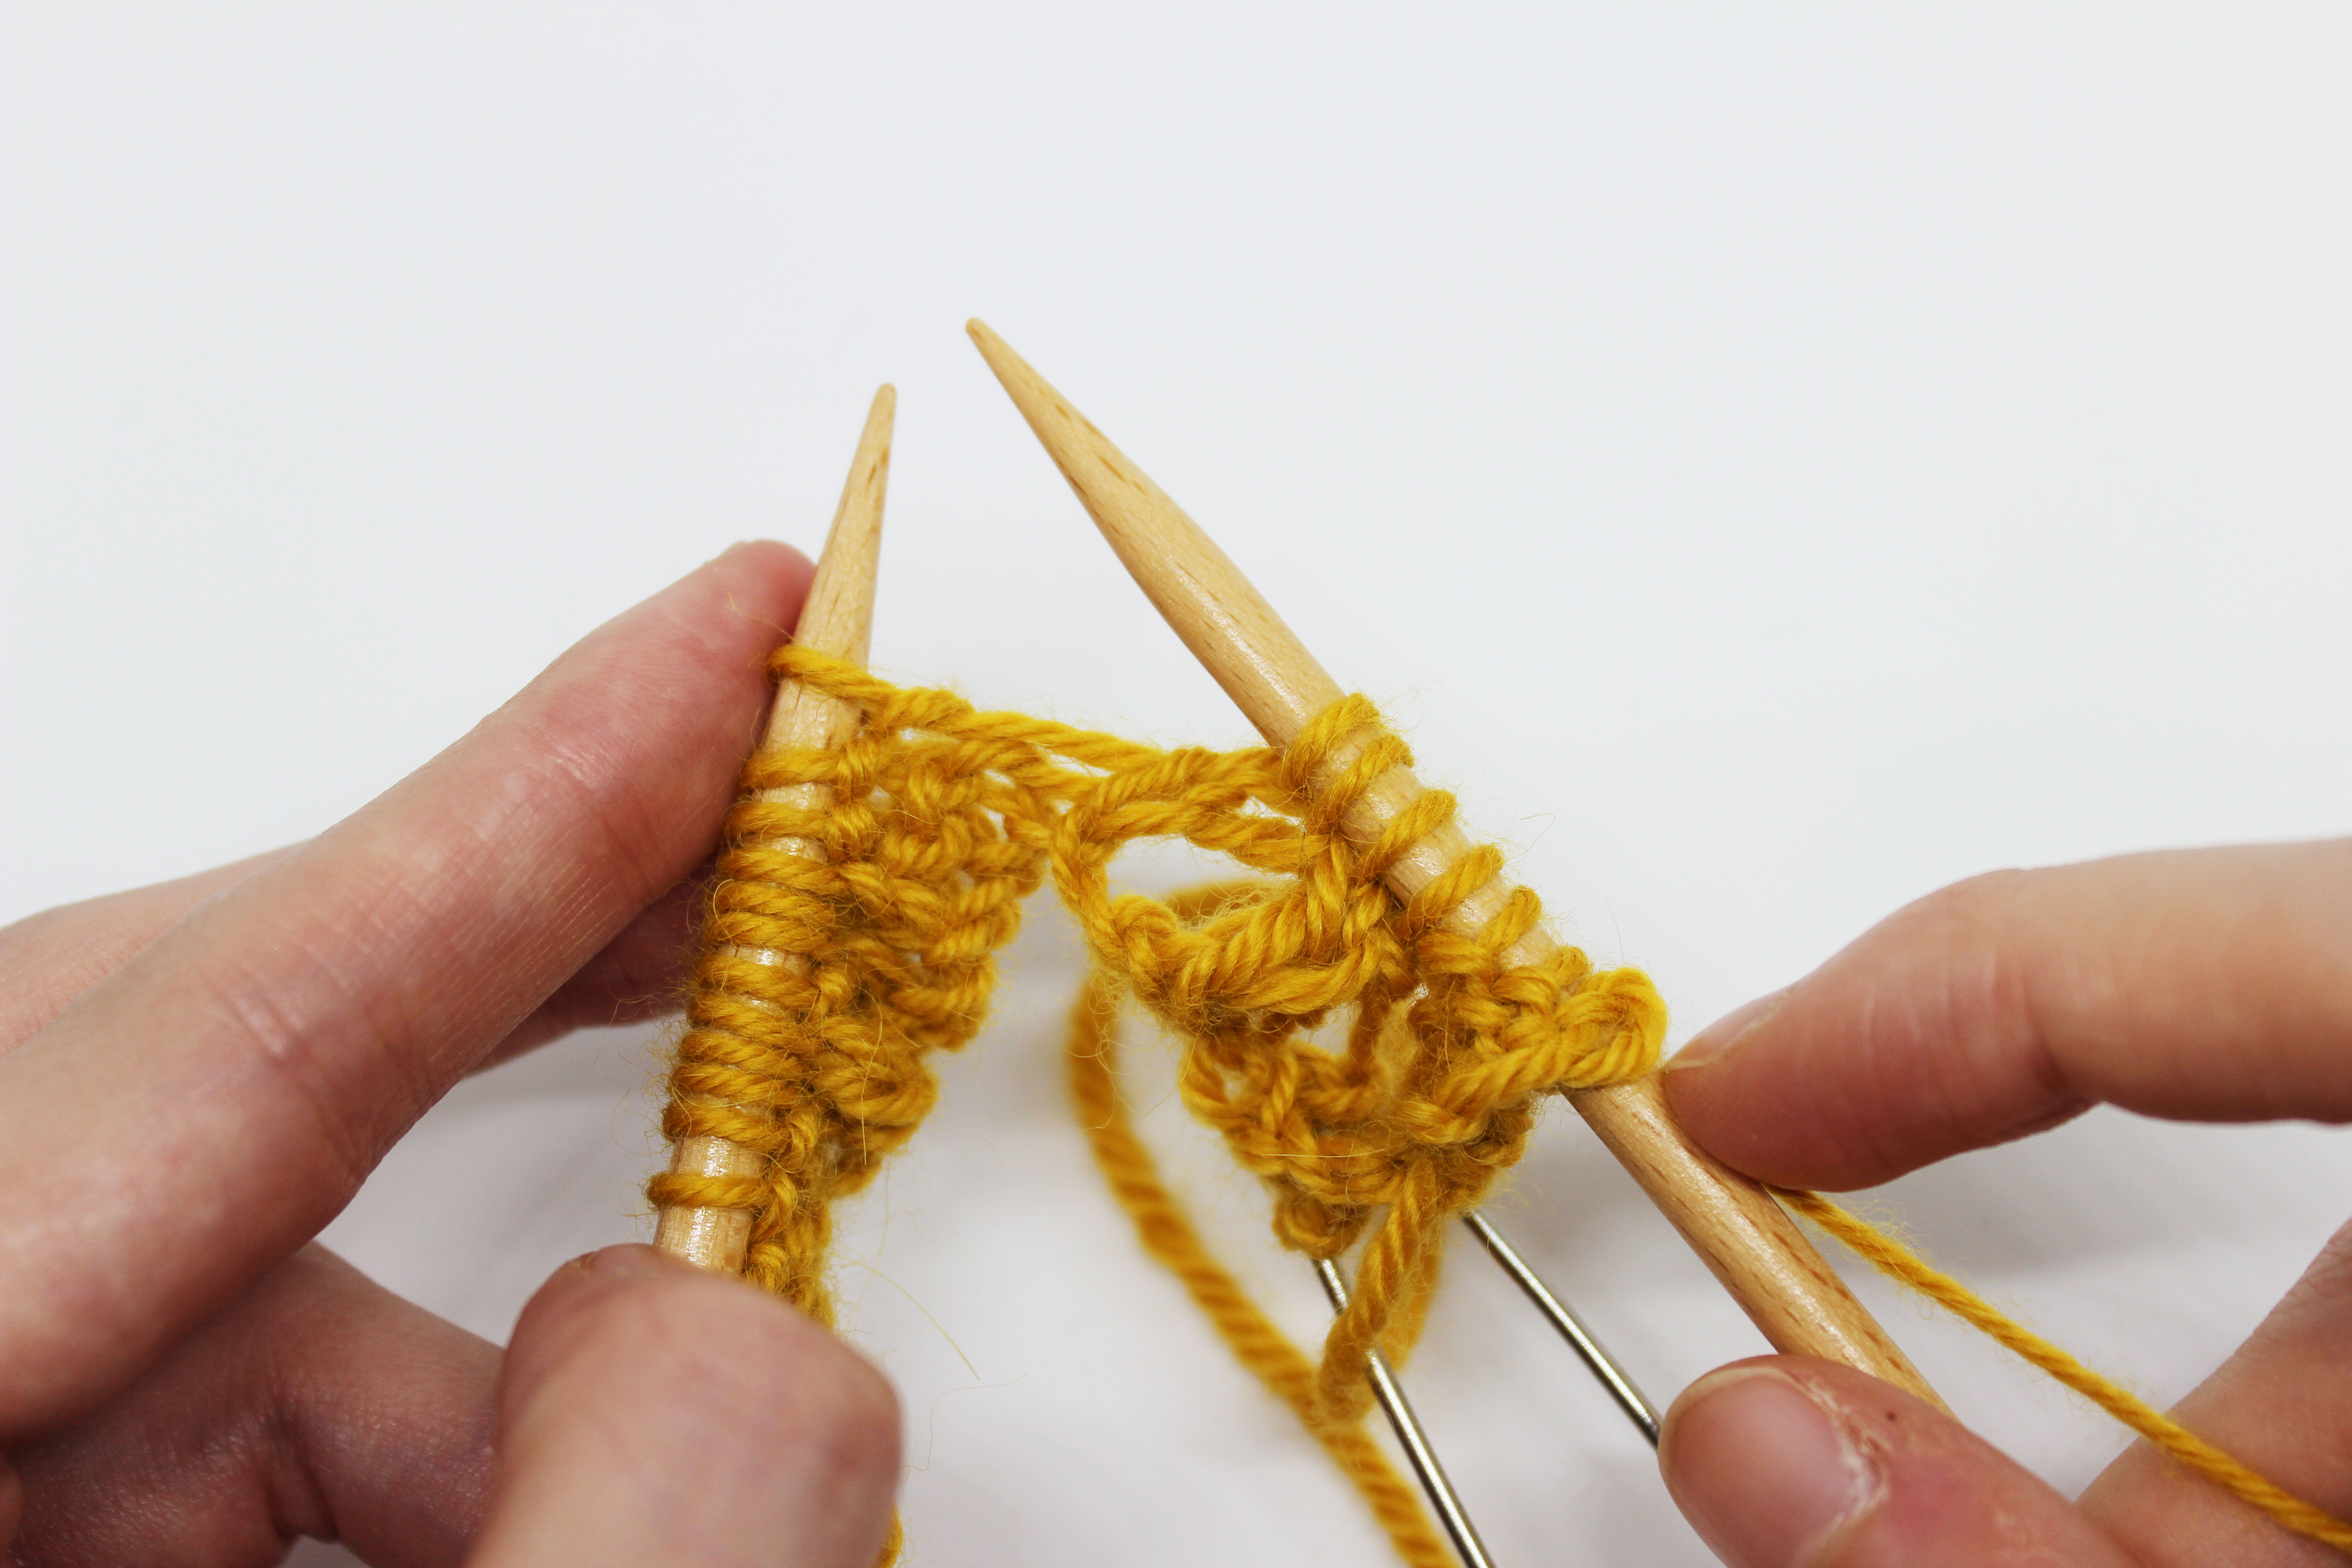
Knit 1, SKPO, yarn over, and knit 1 again.

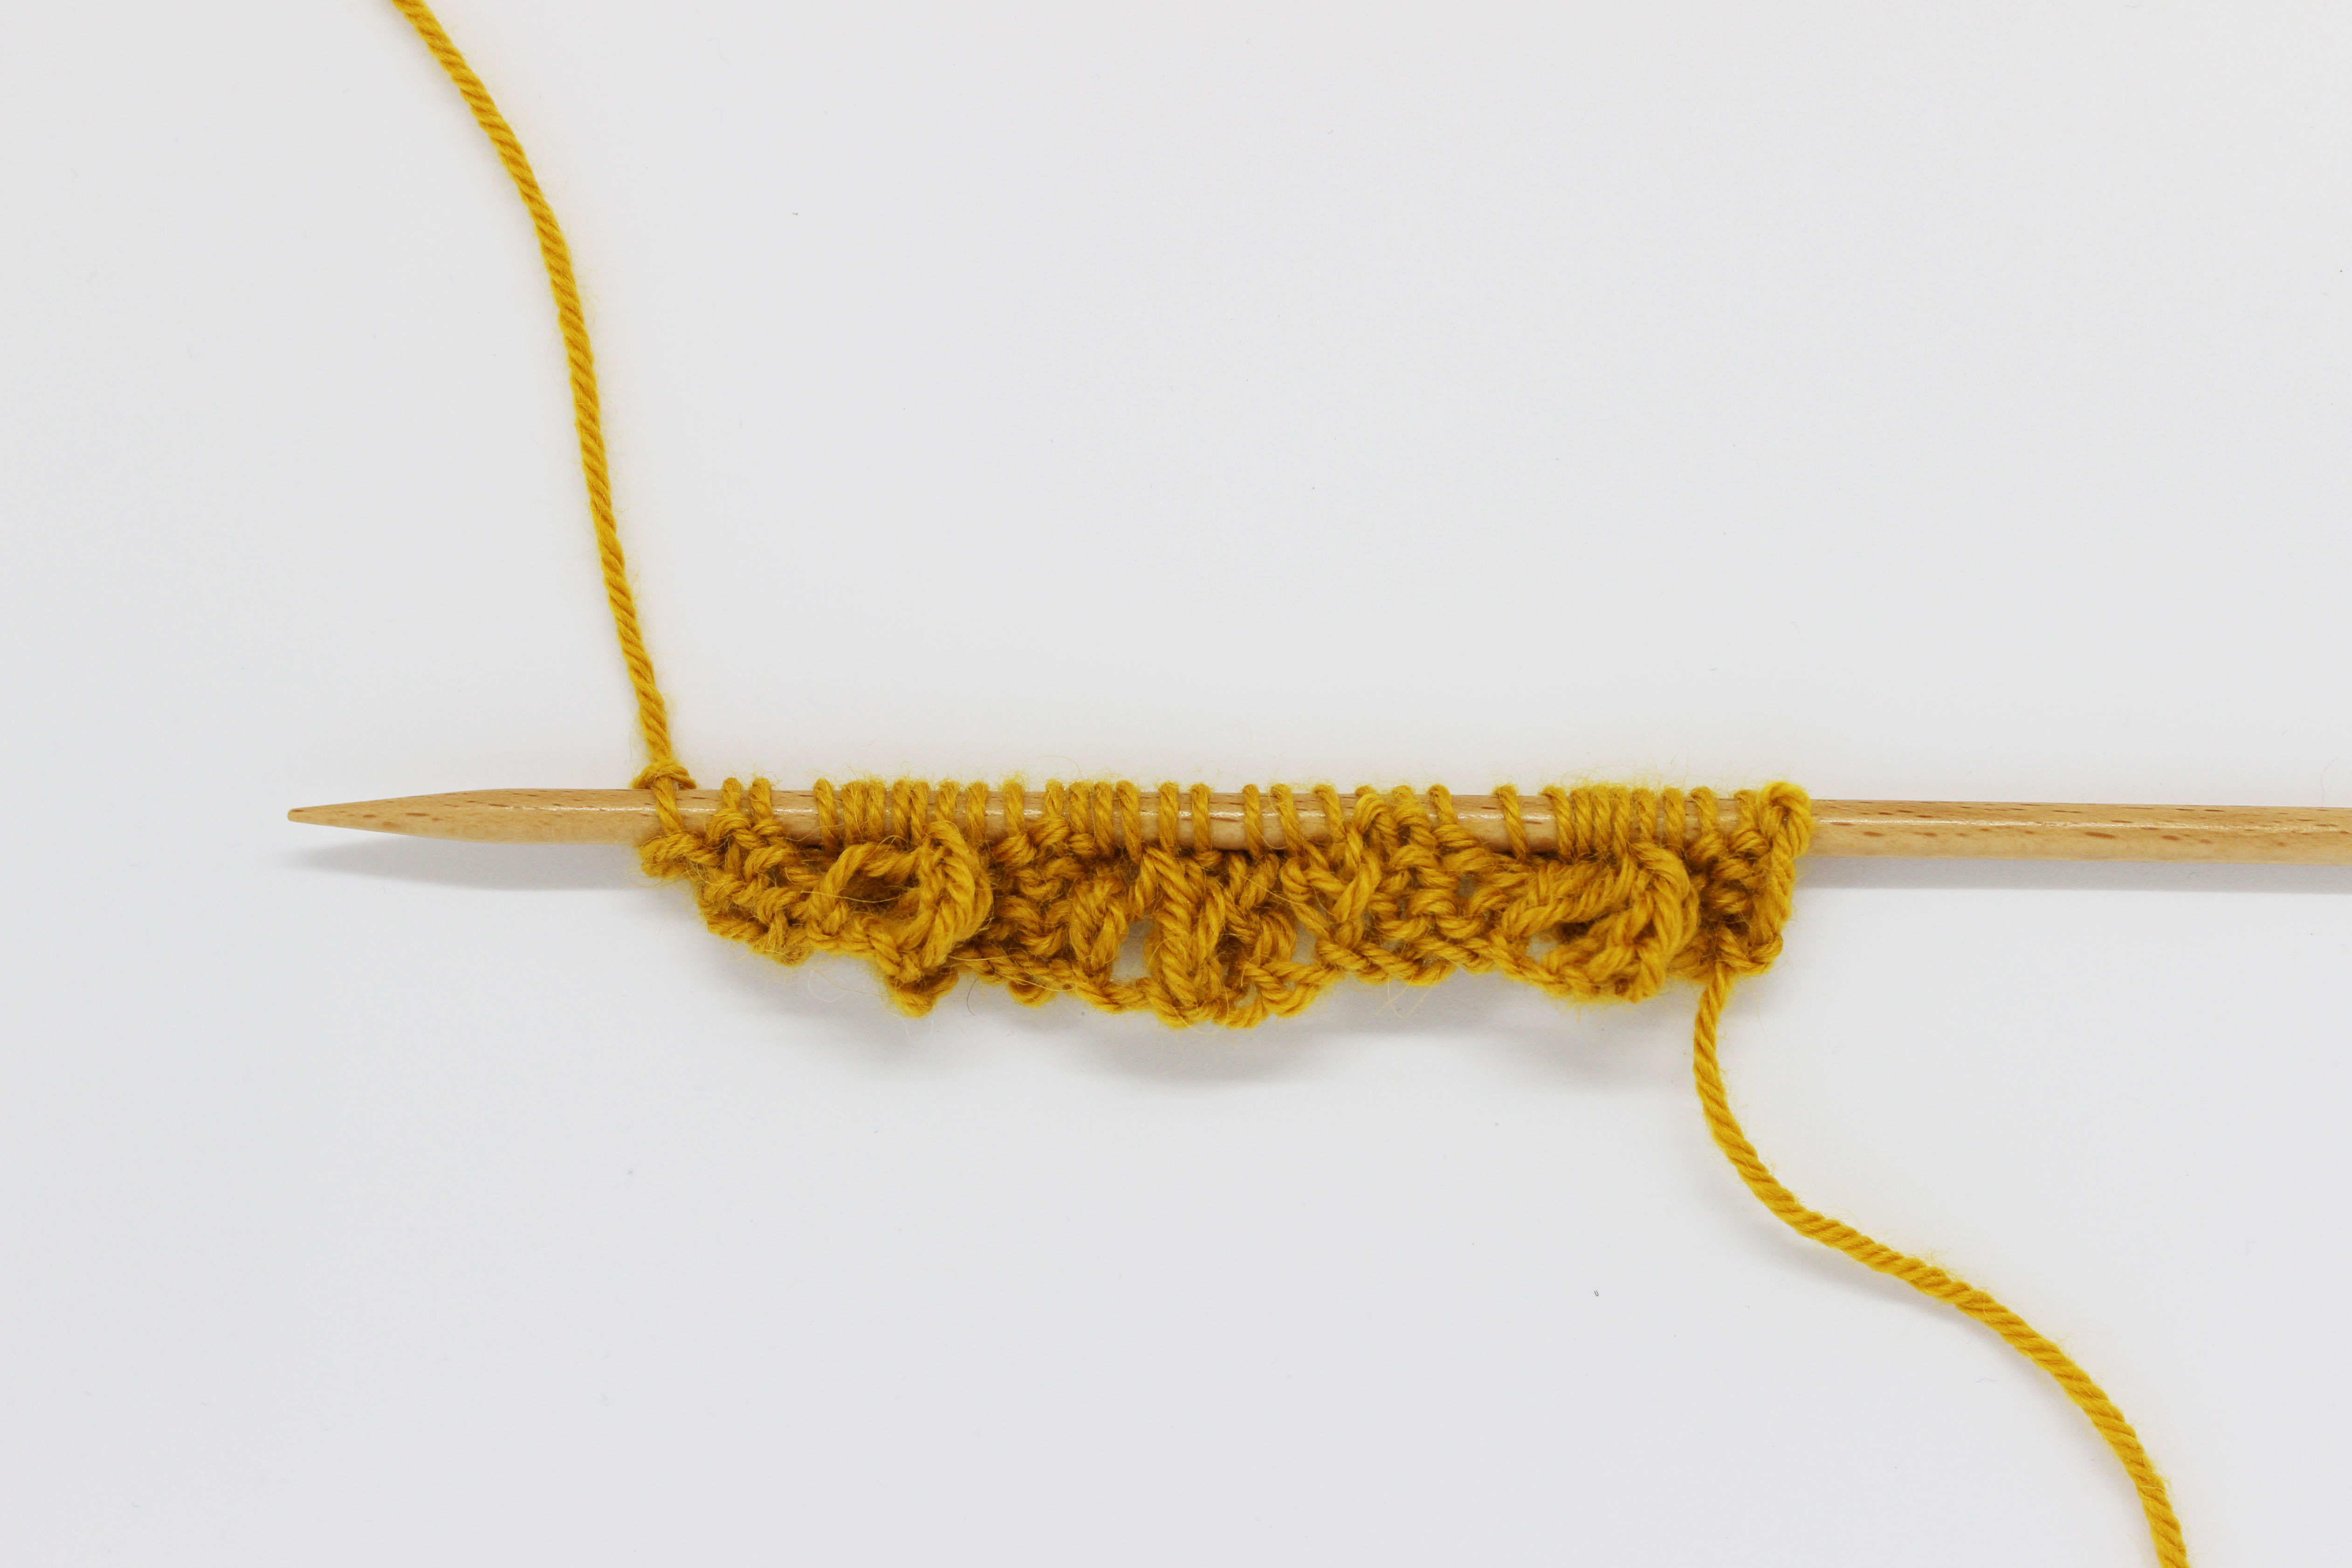
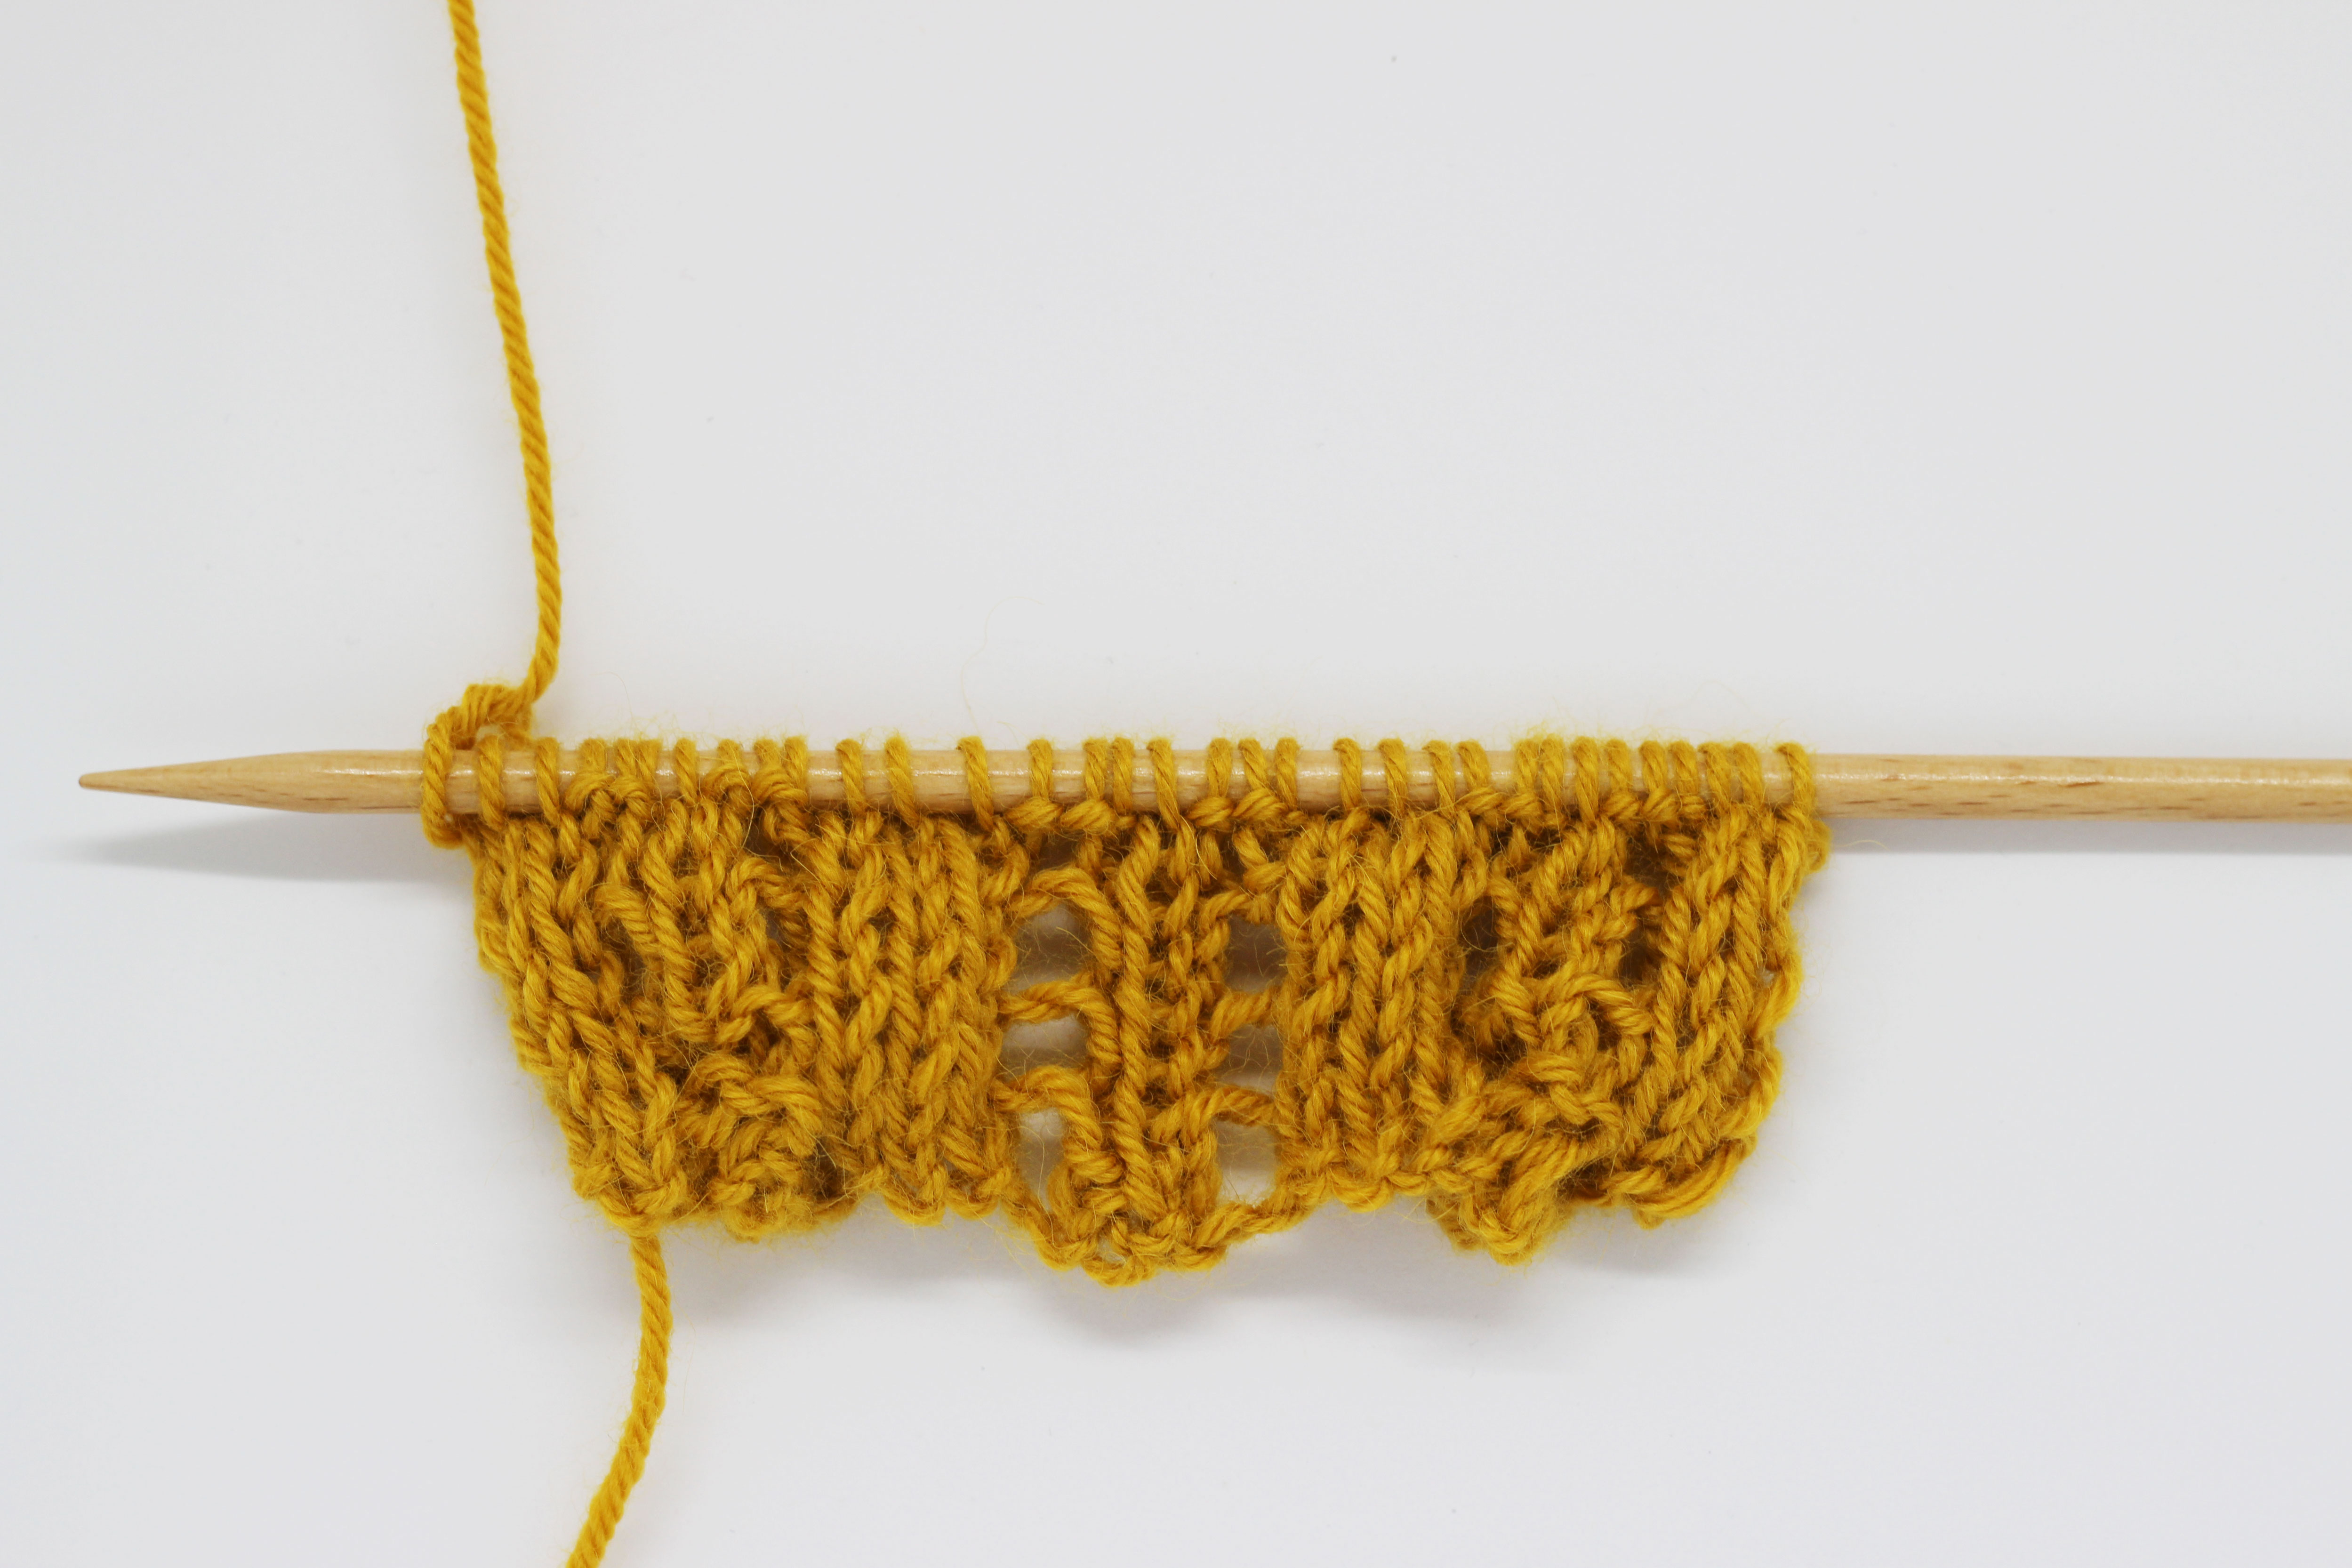
Then slip the stitches from the cable needle back onto the left hand needle.

Work them as follows: knit 1, yarn over, knit 2 together. Now purl 3, knit 1, yarn over, knit 2 together, purl 1, SKPO, yarn over, and finally, knit 1.* Repeat from * to * until there are 3 stitches remaining and purl them.
You’ve now finished the row.
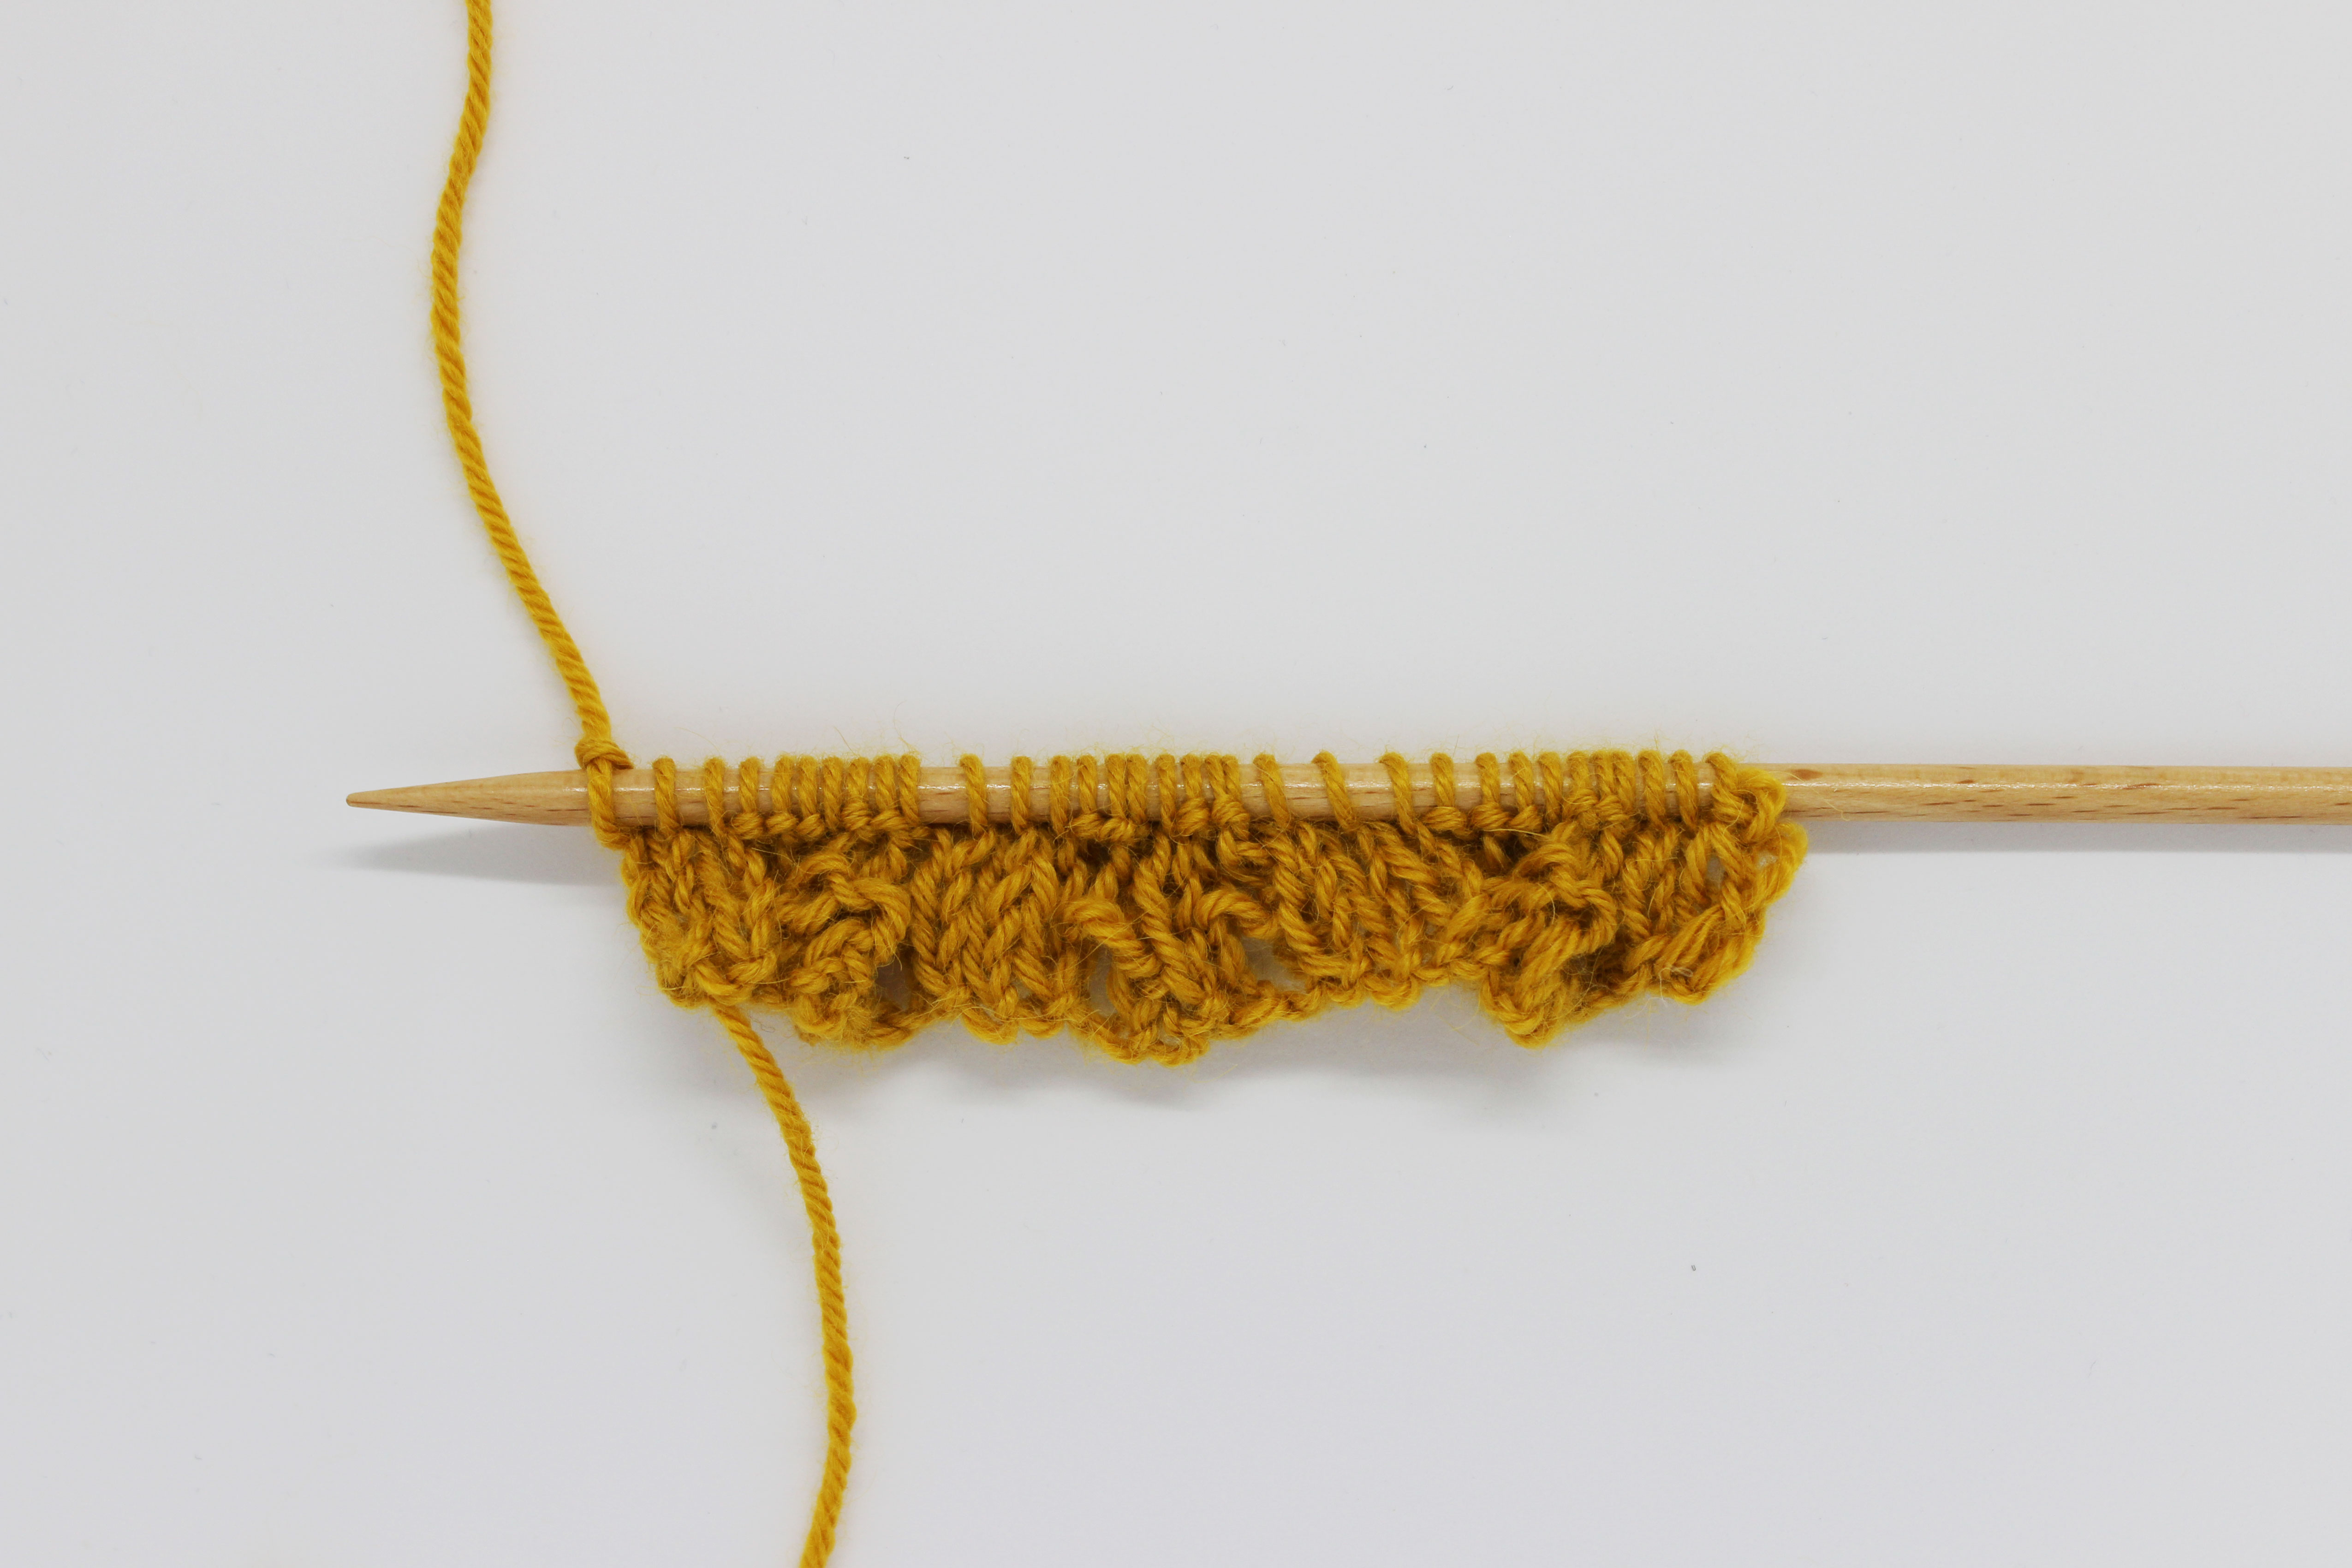
Row 4 (wrong side): work like row 2.
Row 5 (right side): work like row 1.

Row 6 (wrong side): work like row 2.
Row 7 (right side): work like row 1.
Row 8 (wrong side): work like row 2.
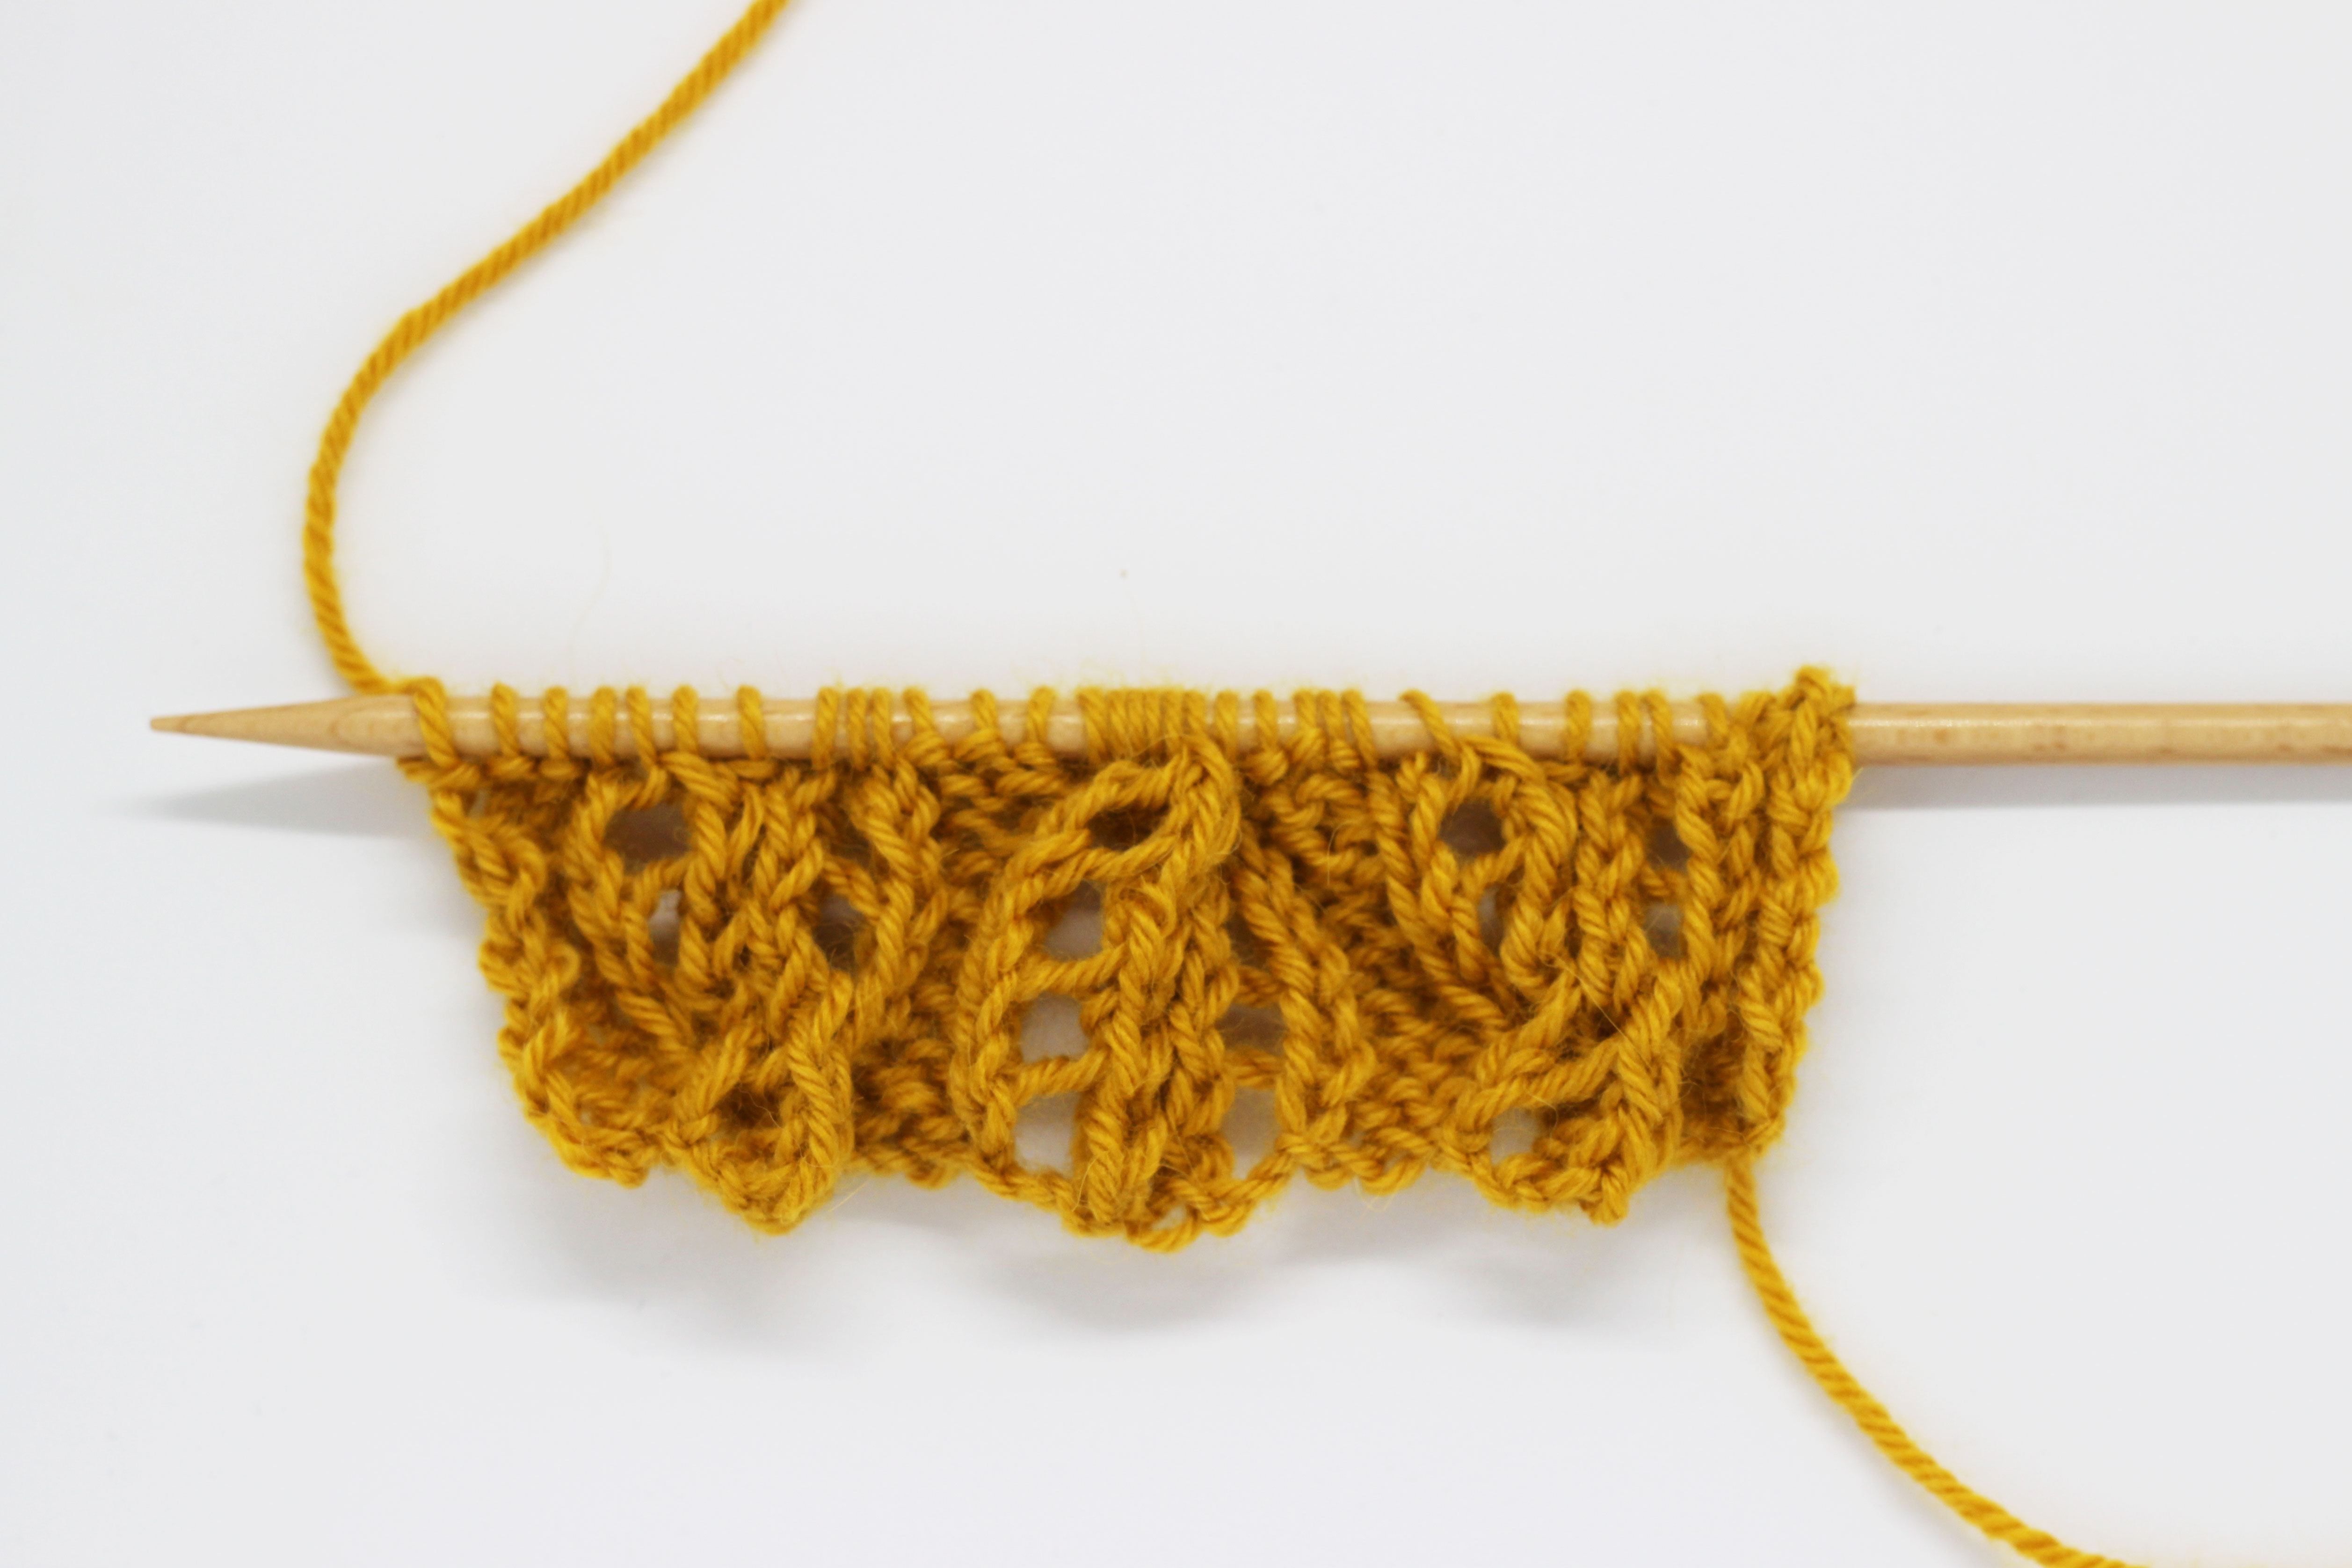
Row 9 (right side): * purl 3. Then knit 1, yarn over, knit 2 together, purl 1, SKPO, yarn over, knit 1 and purl 3.
Now we’re going to repeat the new way of making a cable: slip the next 3 stitches from the left hand needle to a cable needle and place it on hold behind the work. Knit 1, SKPO, yarn over, knit 1. Then slip the stitches from the cable needle onto the left hand needle and work them as follows: knit 1, yarn over, knit 2 together. Repeat from * to * until there are 3 stitches remaining and purl them.
Row 10 (wrong side): work like row 2.
Row 11 (right side): work like row 1.
Row 12 (wrong side): work like row 2.
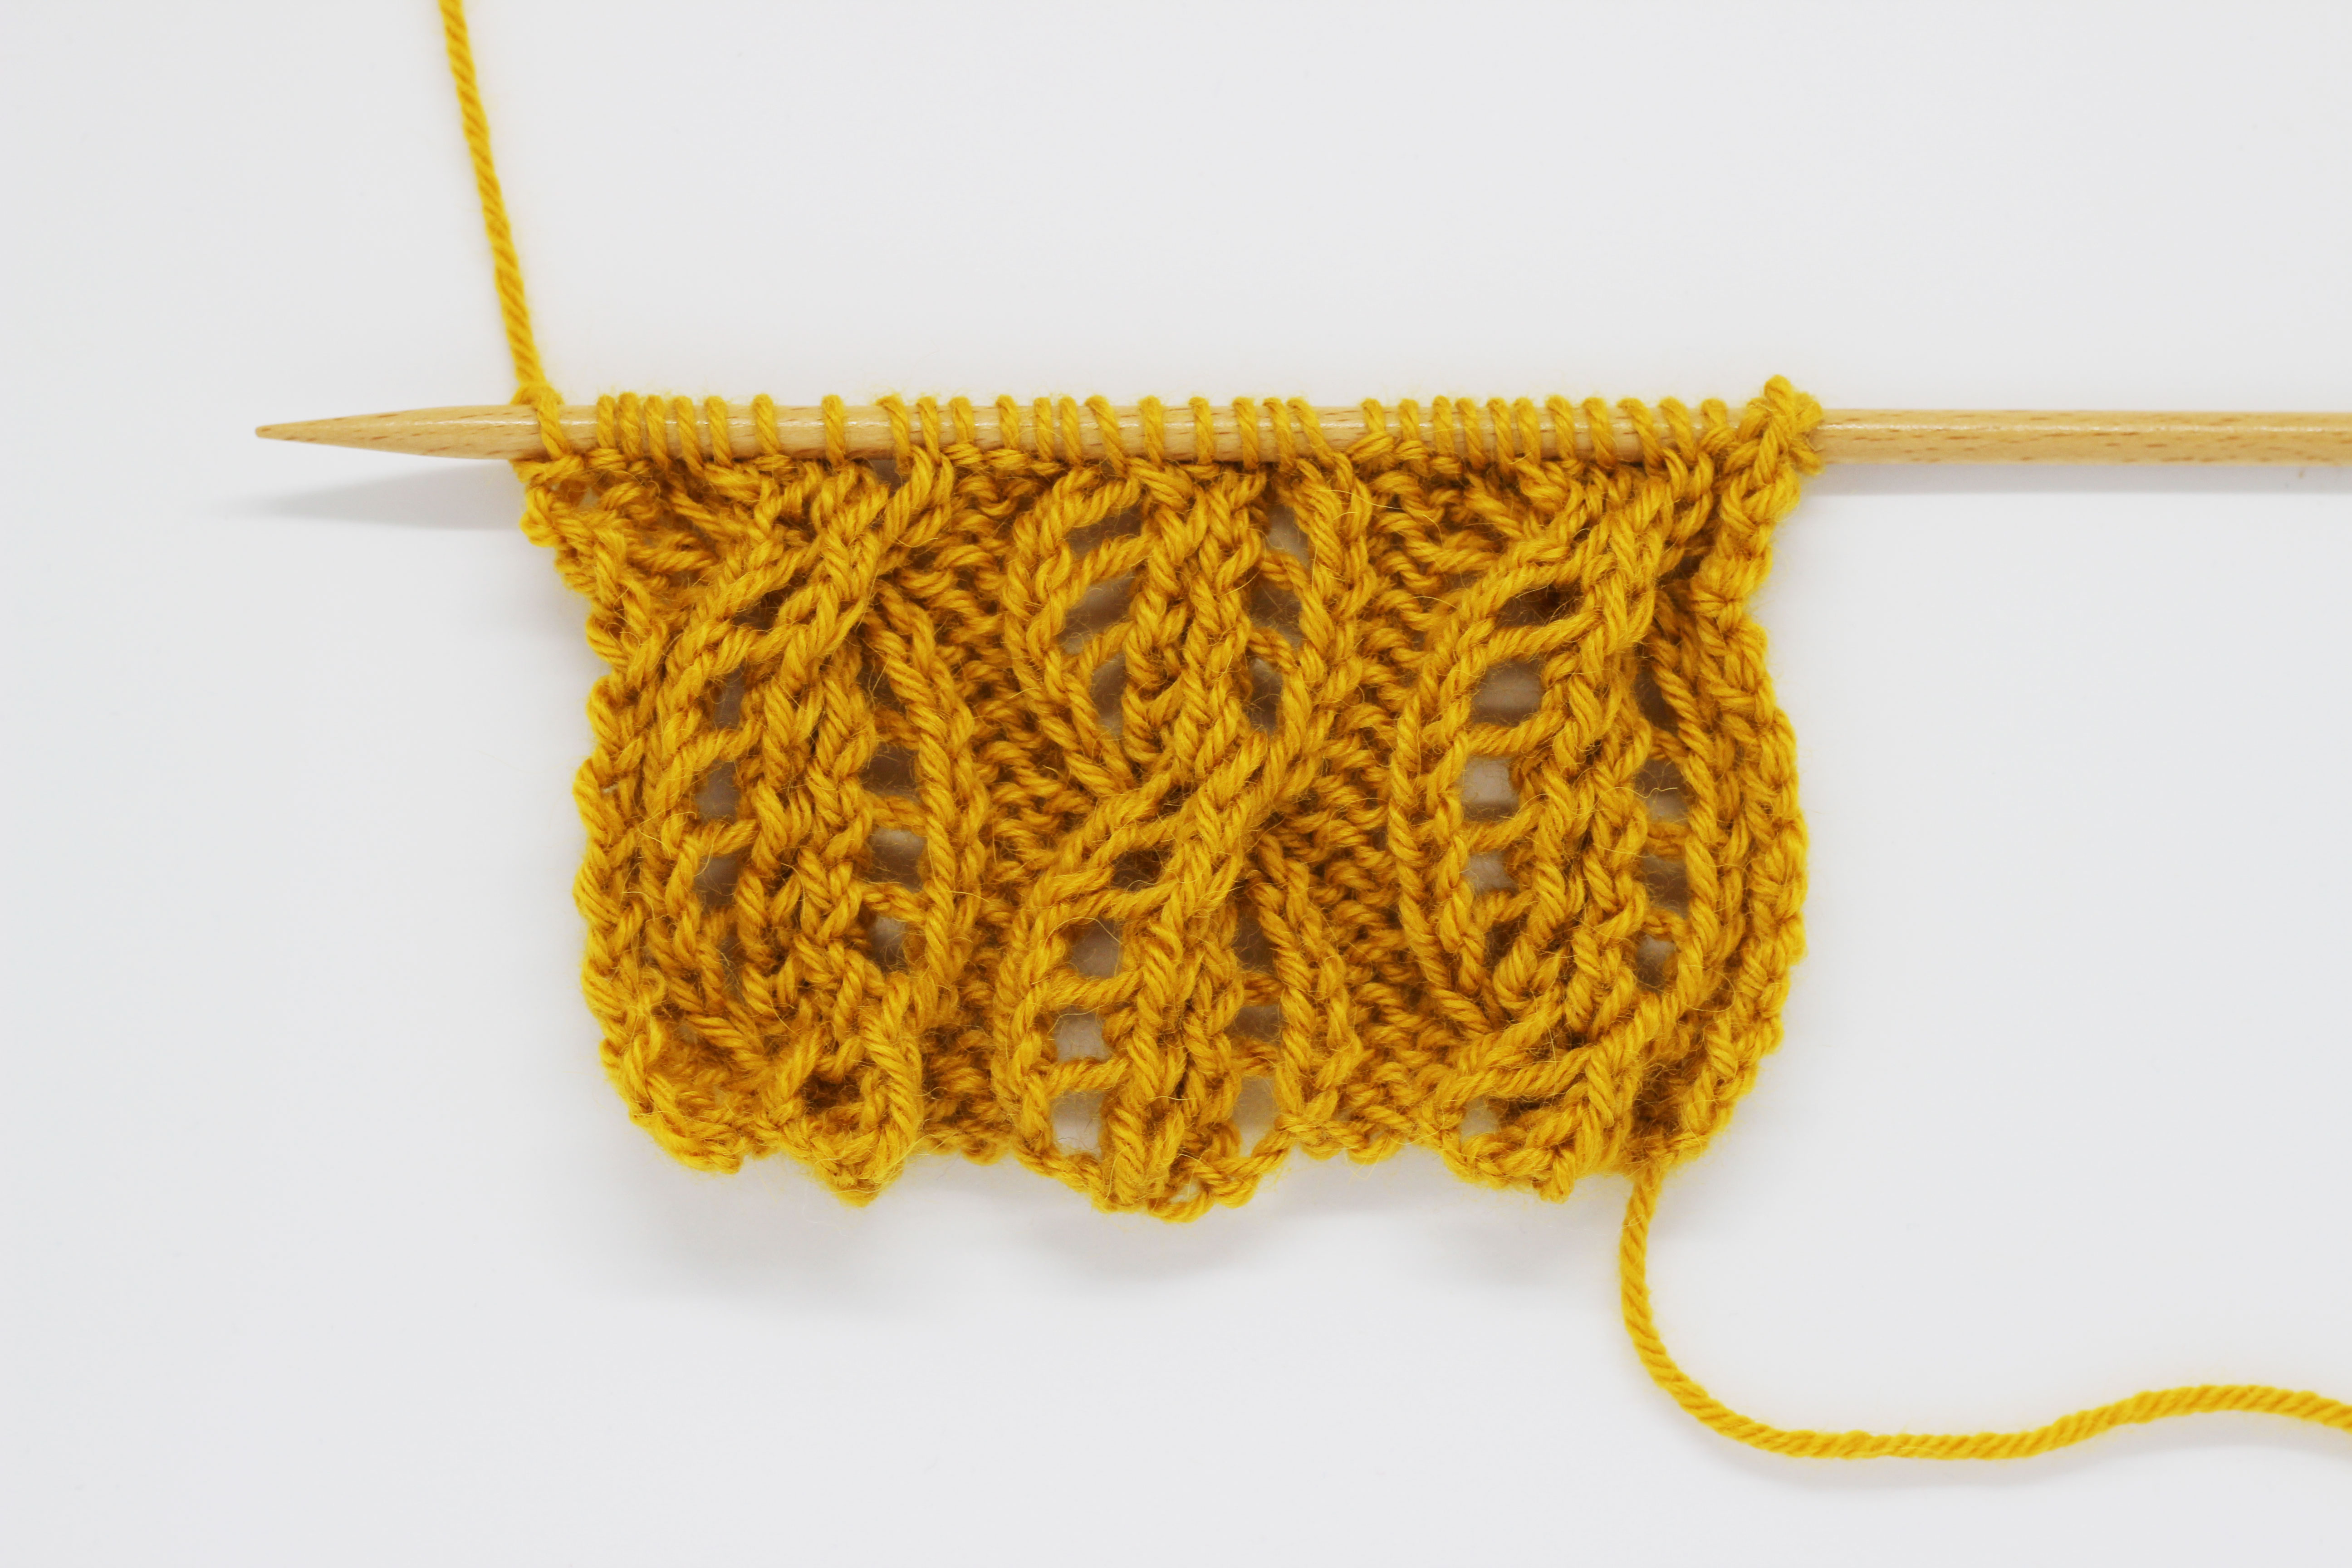
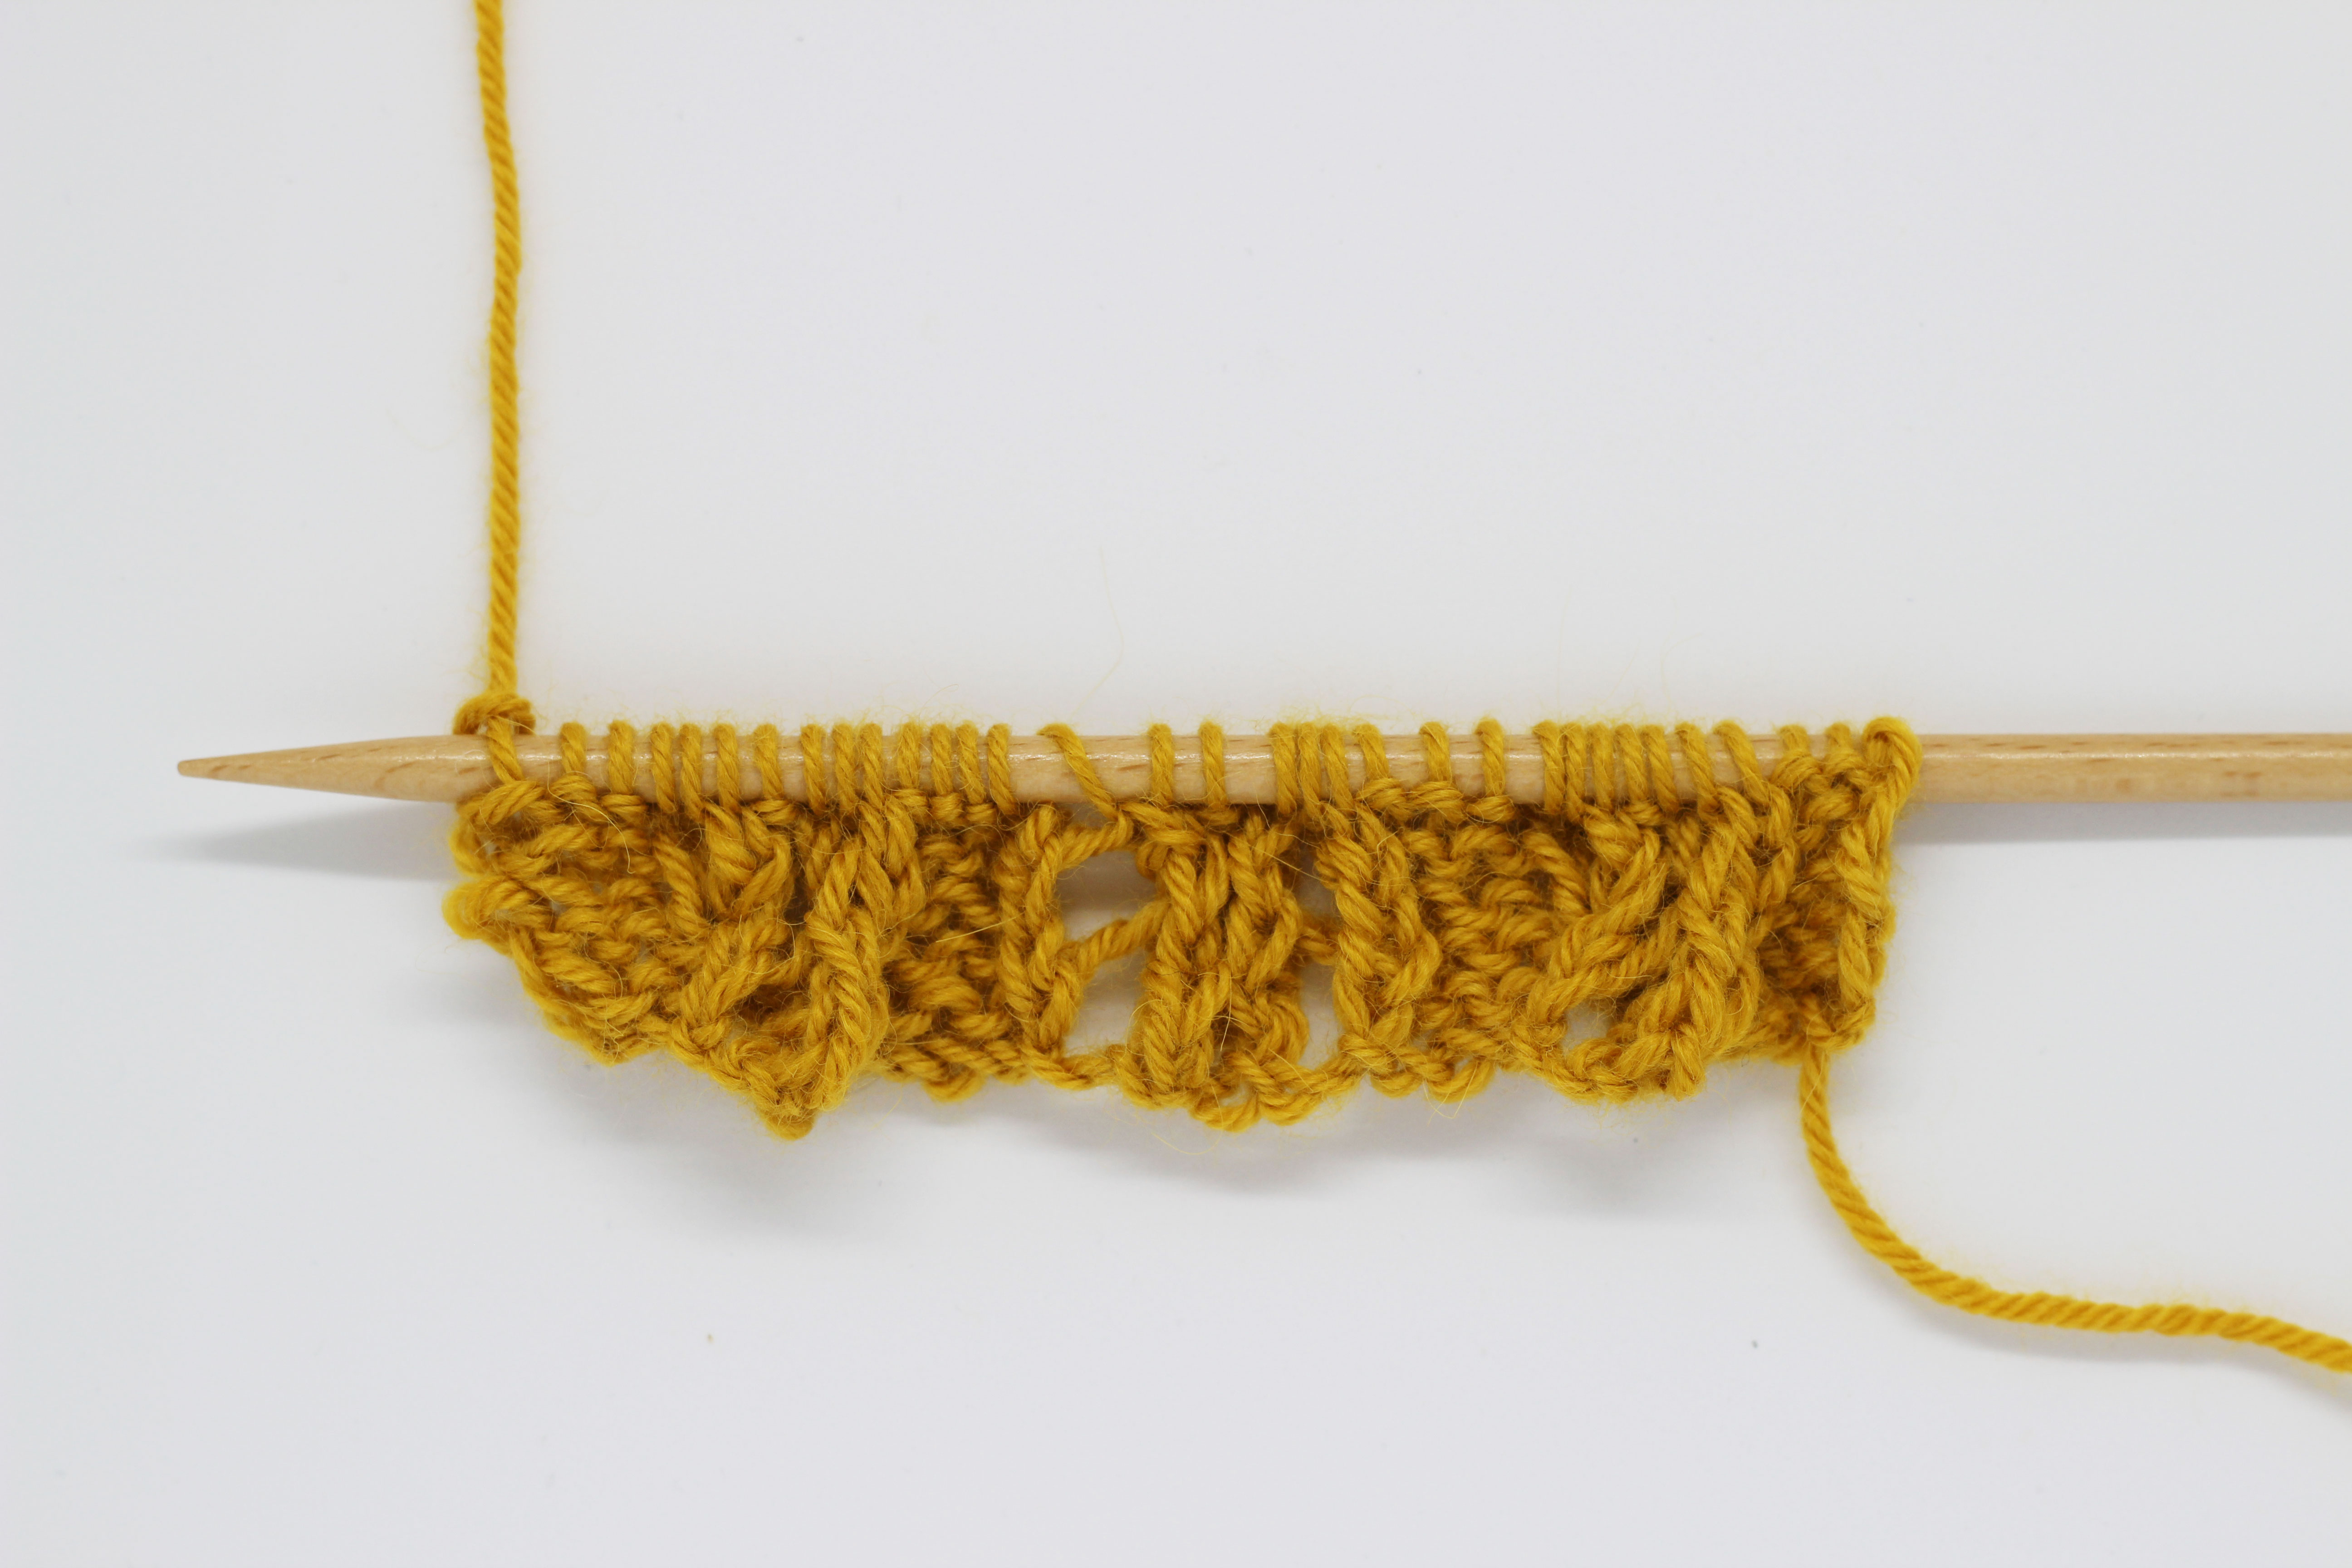
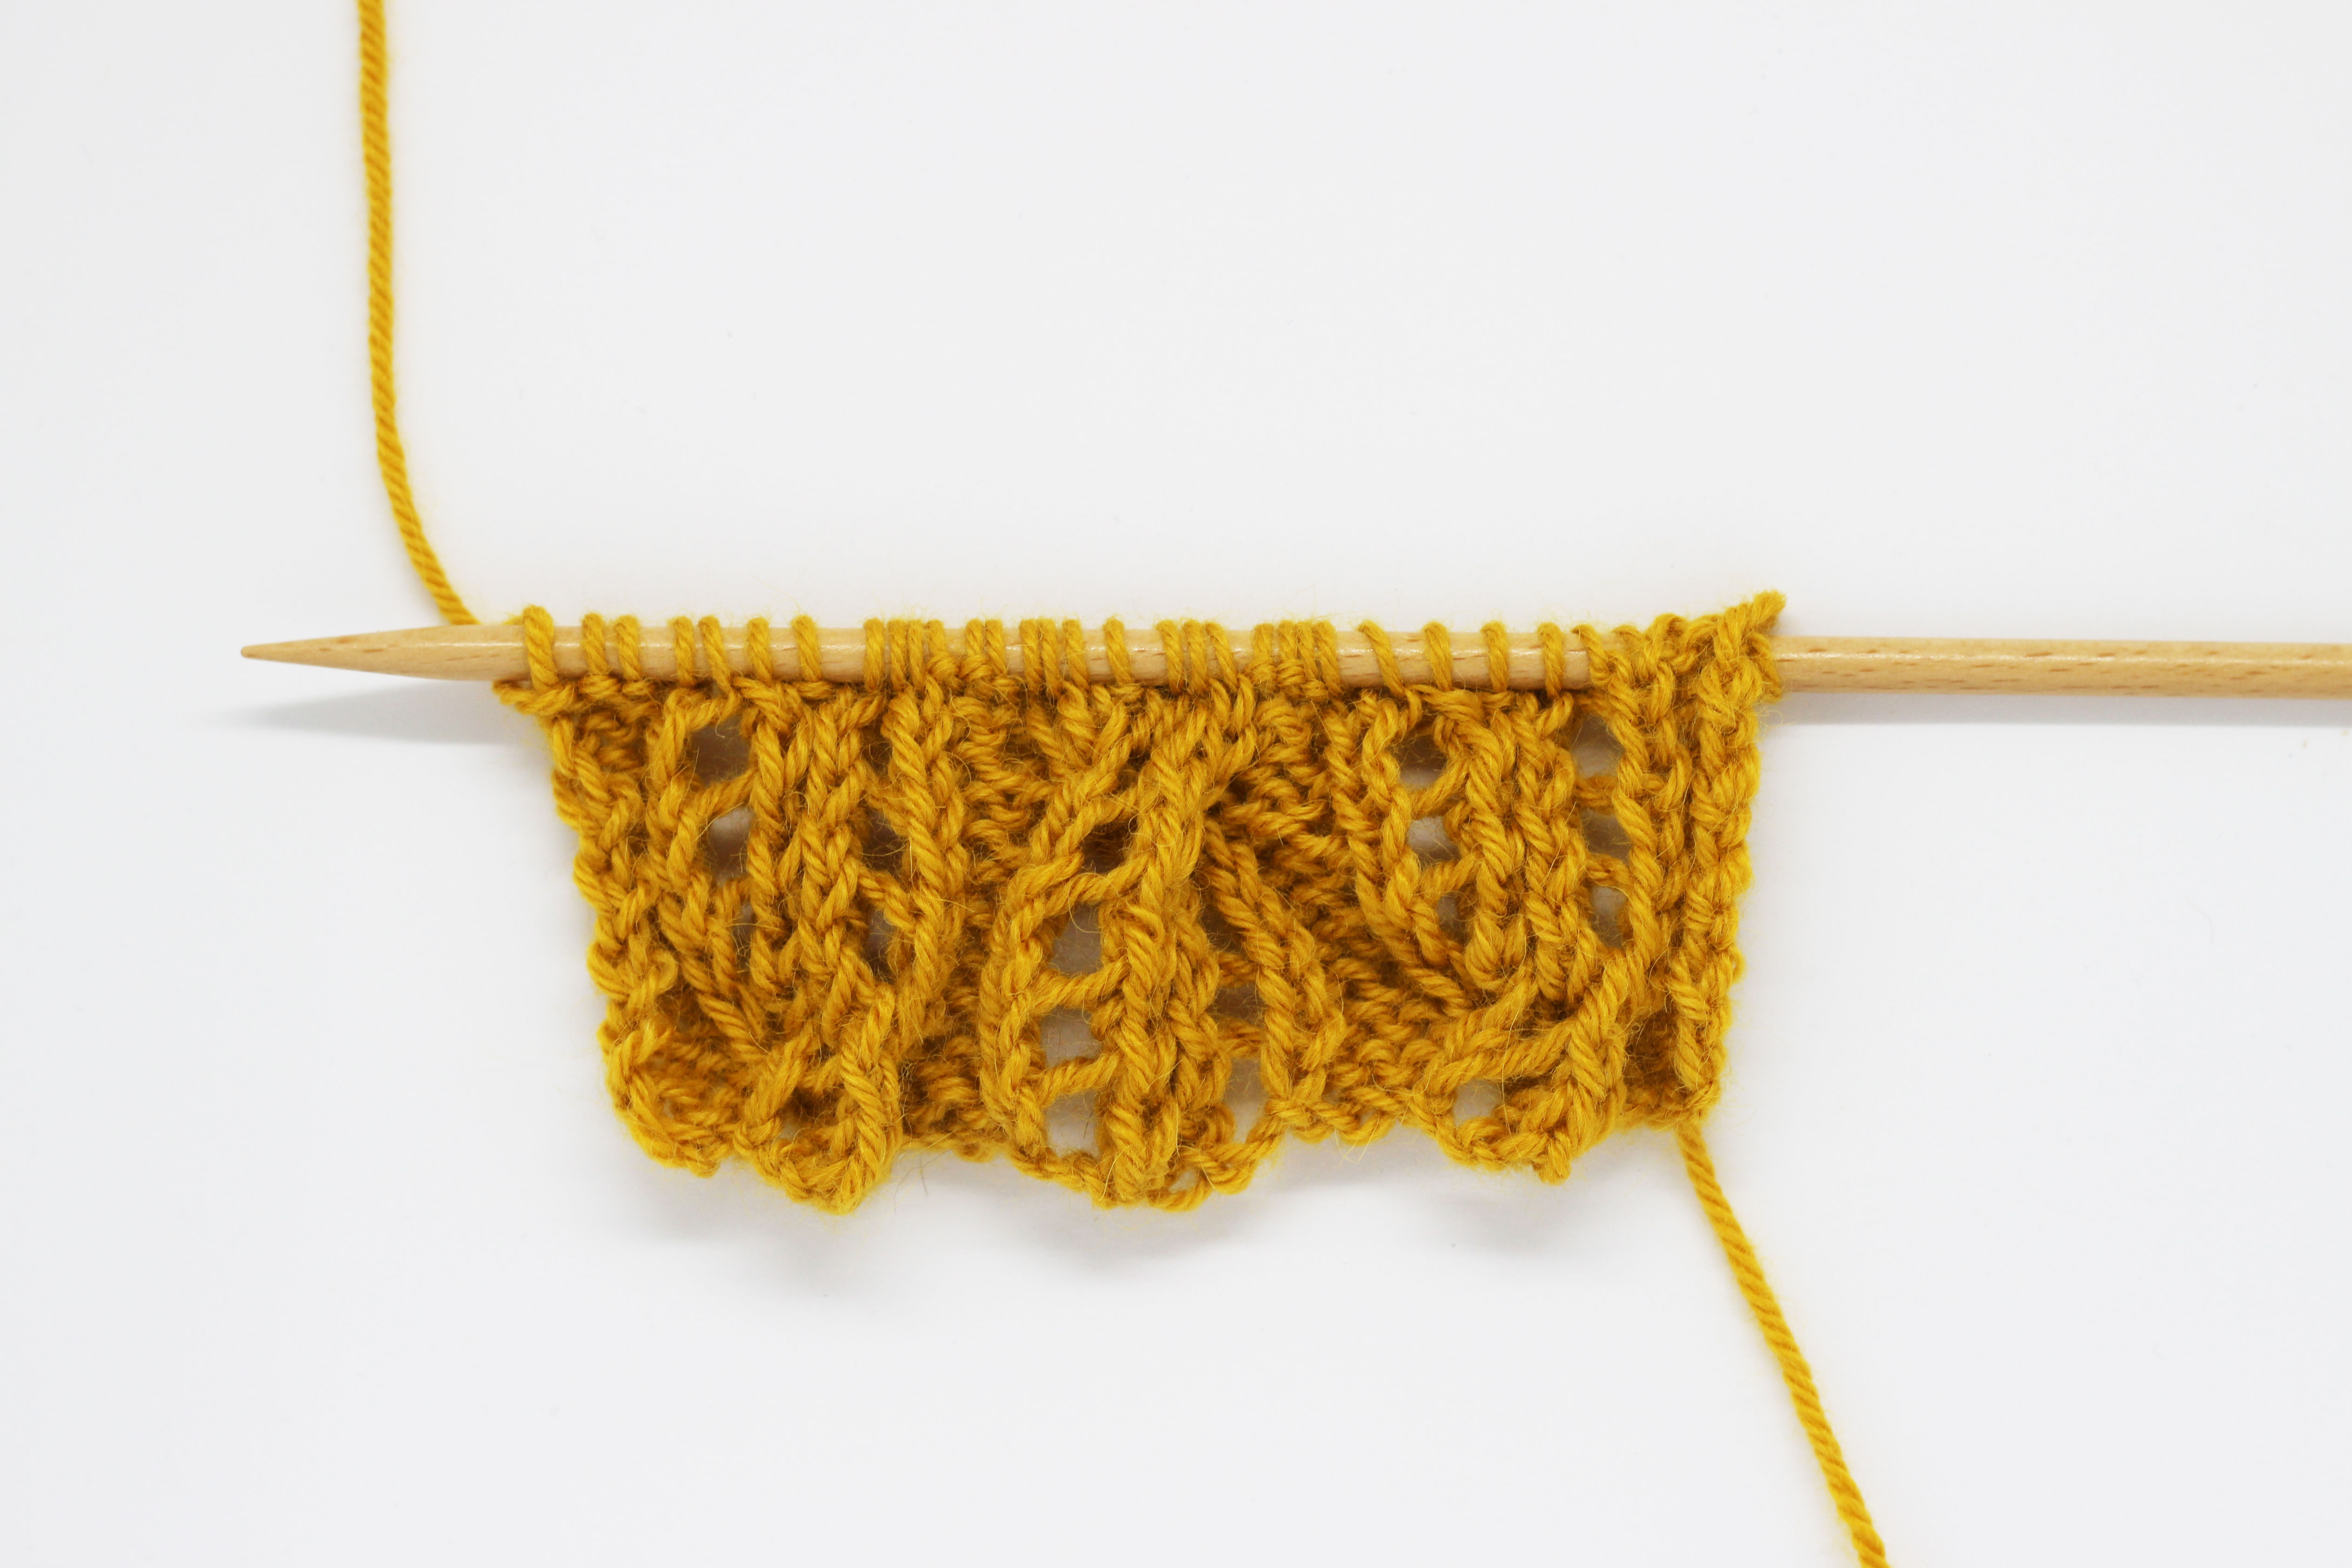
Now all that you have to do is repeat rows 1 to 12 to continue making your lacy cables. You’ll see that you’re going to love this stitch.
As always, we hope that you find this step by step helpful and an inspiration for your new knitwear. We would love to see you share the projects fresh off your needles with us on social media using the hashtag #weareknitters