Raise your hand if you’ve ever had a bit off yarn left over after a project that was long enough that you didn’t want to throw it out “just in case,” but it was still too short to be used in another project. You wound it up, and there it is, taking up space in your yarn stash. Today, break out those scraps, because in this tutorial, we’re going to show you how to make a very colorful and simple pendant.
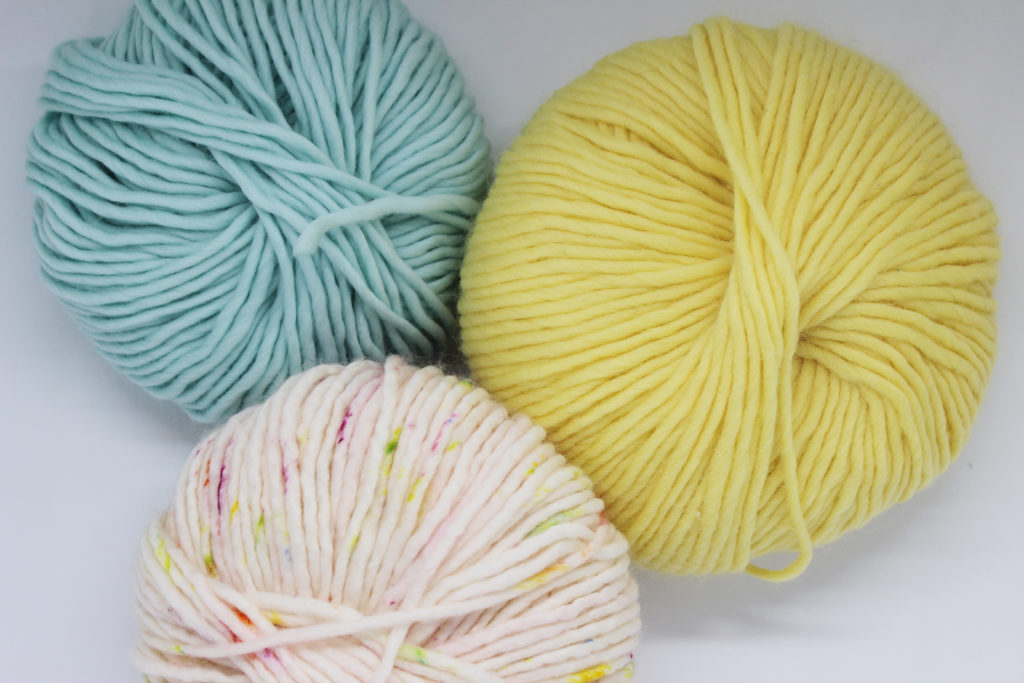
For this step by step, we’ve used scraps from our yarns The Meriwool and The Petite Wool
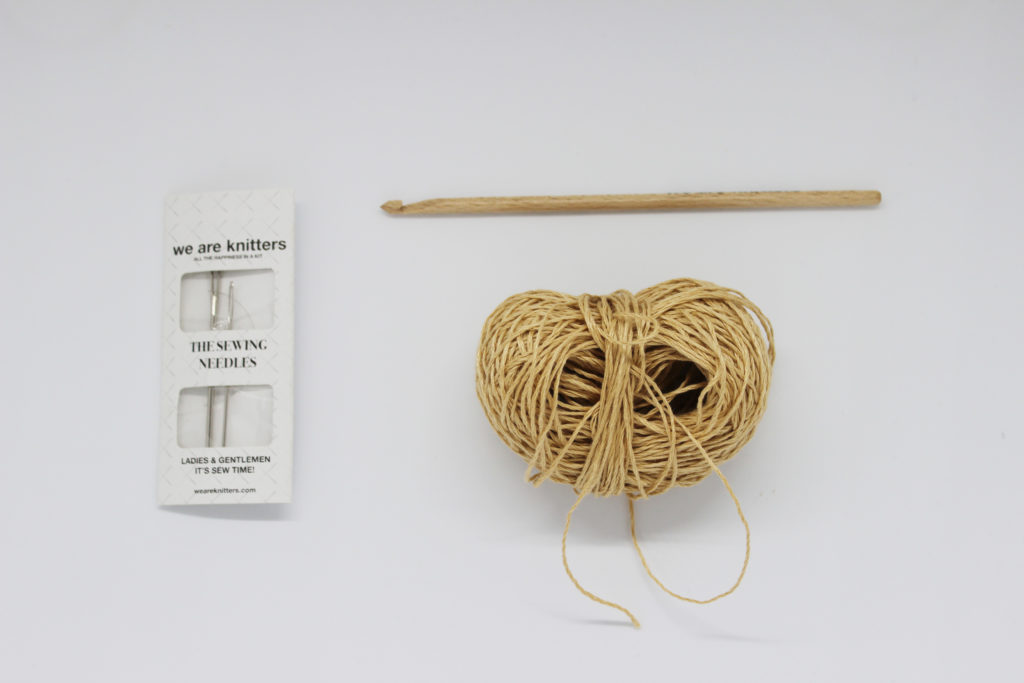
One of our 5mm crochet hooks, a tapestry needle, a bit of cording (the type that comes a little waxed) to add to the pendant, and a chain or, as we’ve used, a leftover skein of linen.
Before beginning, let’s review the list of techniques that you should know to do this step by step:
- Magic Ring
- Single crochet
- Crochet in spiral
- Increase in crochet
- How to close off crochet in spiral
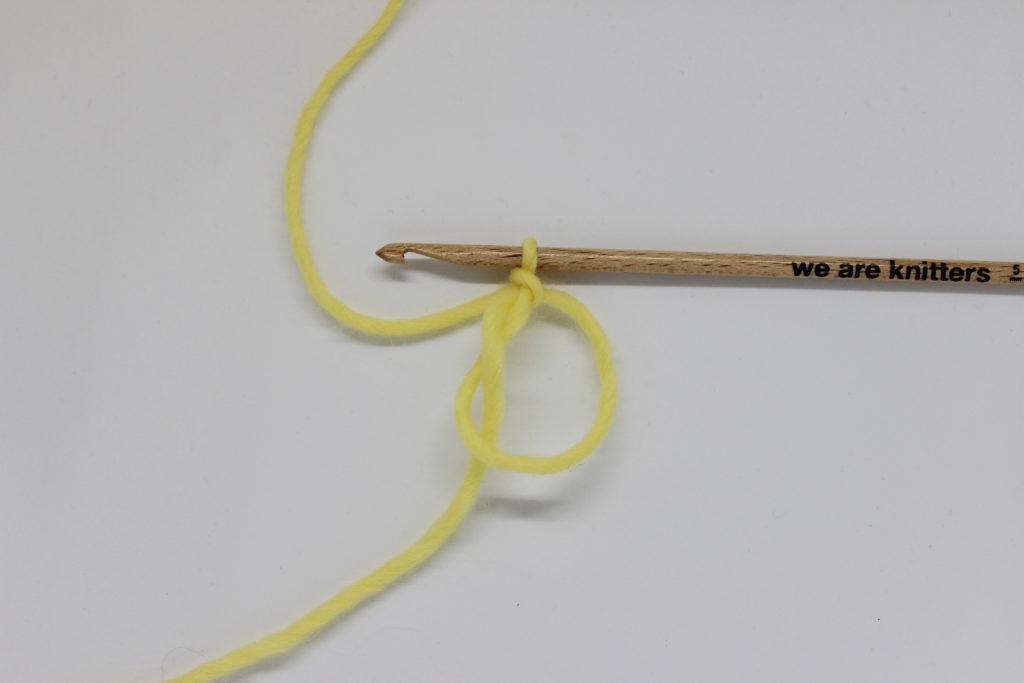
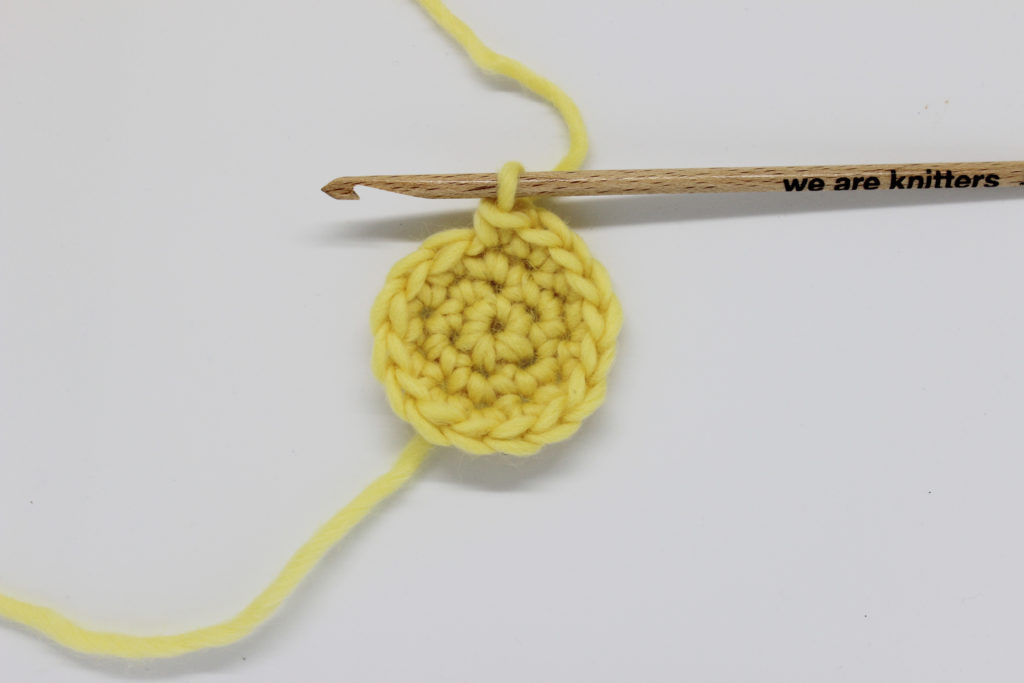
This pendant is made with three crochet circles in different sizes. To begin, first make a magic ring.
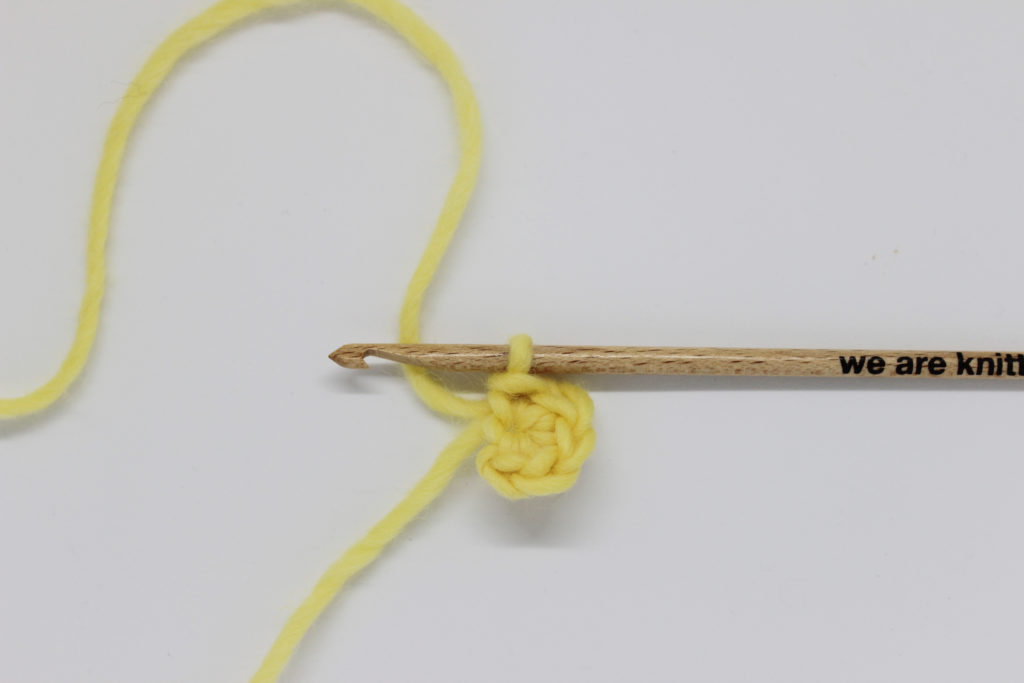
Round 1: 5 single crochet.
Round 2: increase 1 into each of the 5 single crochets from the previous round. In total, you should have 10 single crochet.
Round 3: *increase 1, then 1 single crochet*. Repeat from * to * to the end of the round. In total, you should have 15 single crochet.
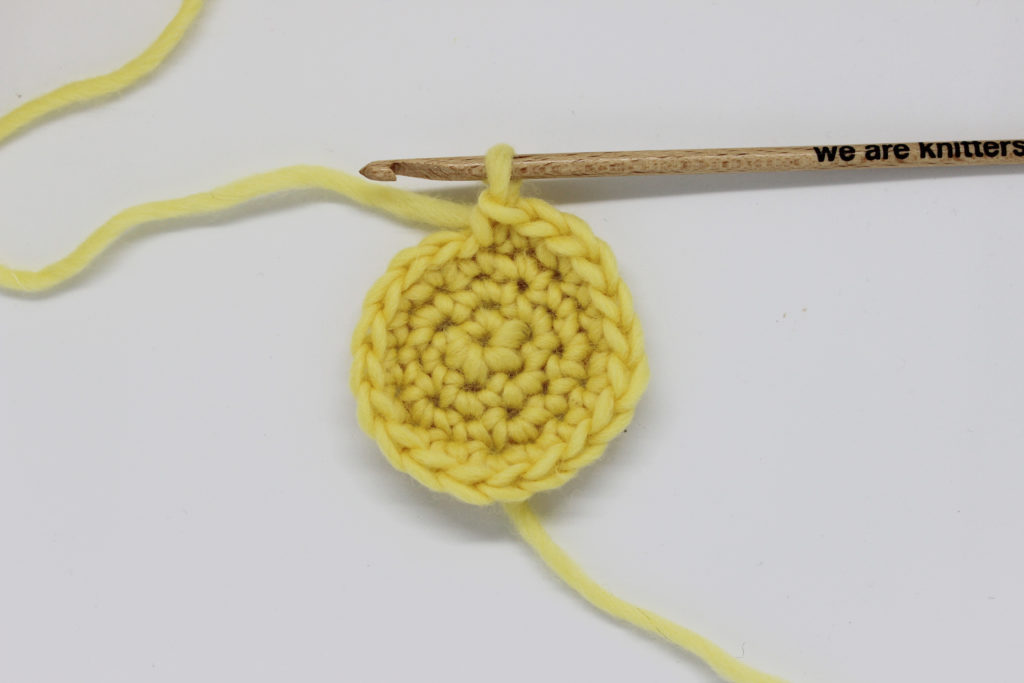
Round 4: *increase 1, 2 single crochet *. Repeat from * to * to the end of the round. In total, you should have 20 single crochet.
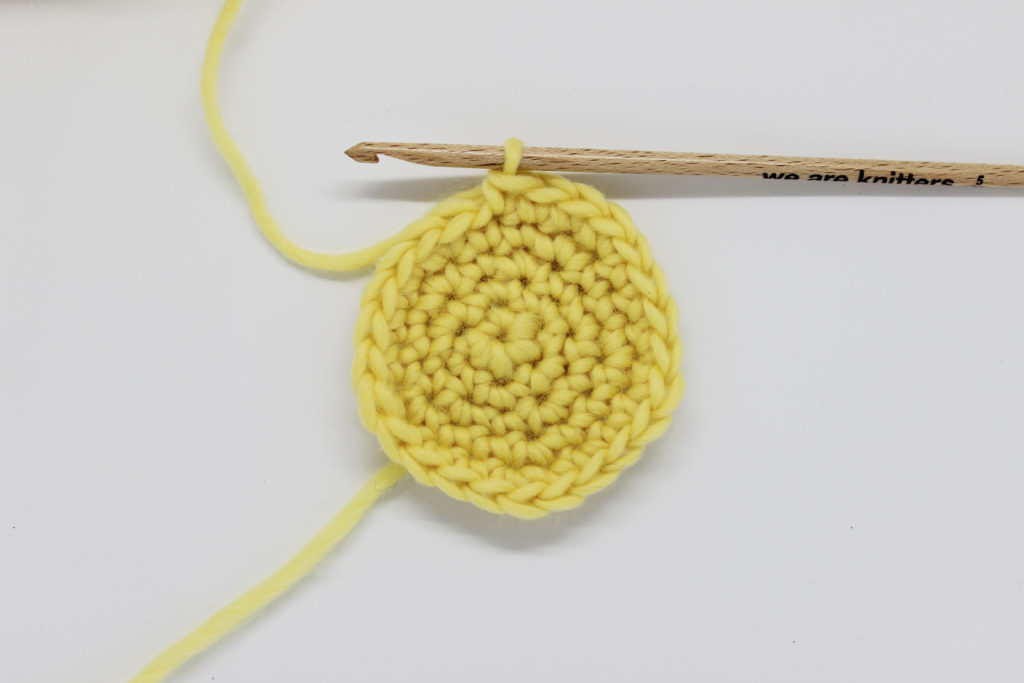
Round 5: *increase 1, 3 single crochet *. Repeat from * to * to the end of the round. In total, you should have 25 single crochet.
Round 6: *increase 1, 4 single crochet *. Repeat from * to * to the end of the round. In total, you should have 30 single crochet.
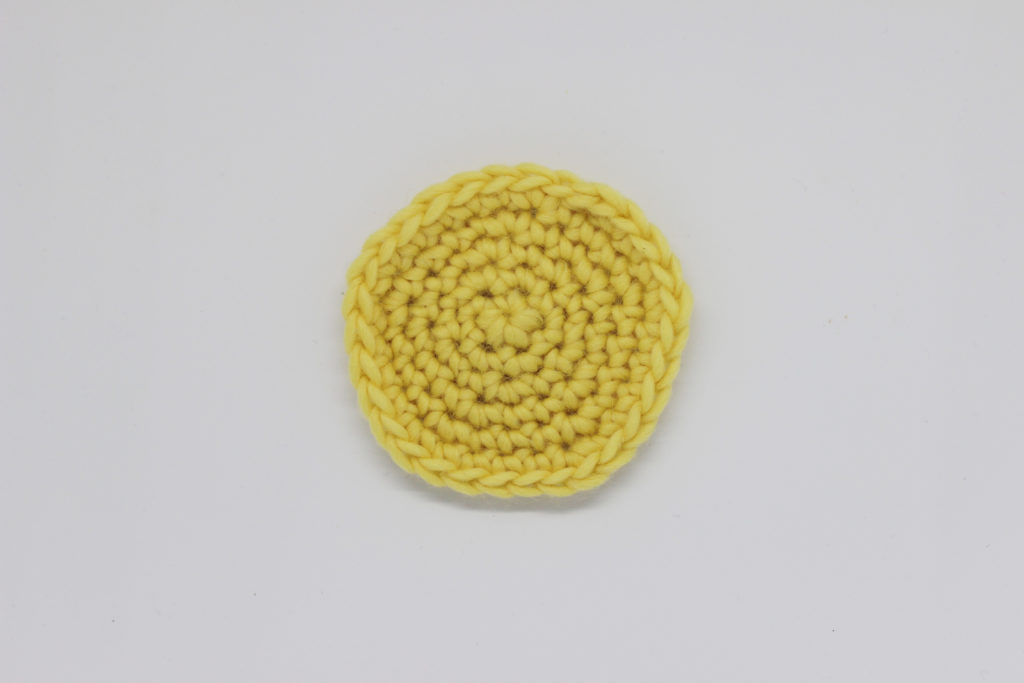
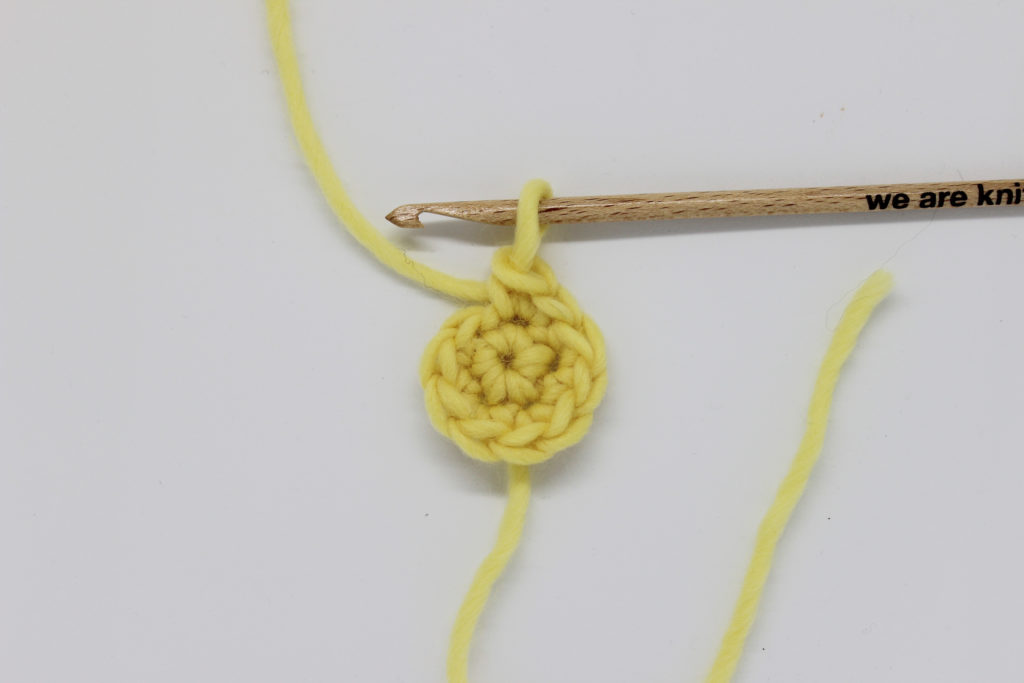
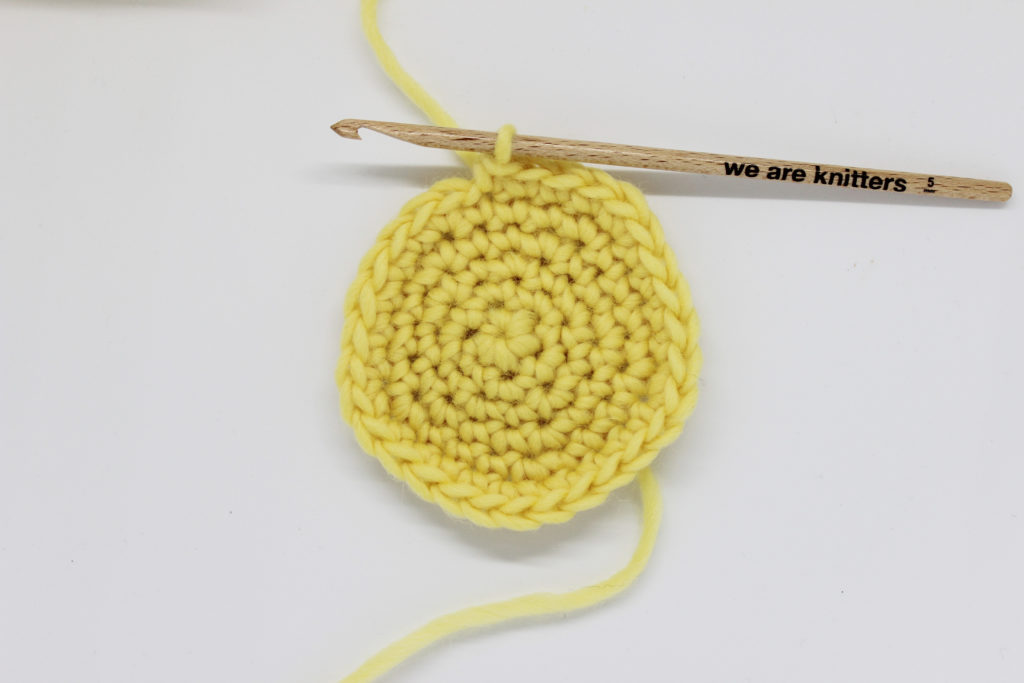
You’ve made the first circle! Now, you just have to close it off, and you’re ready.
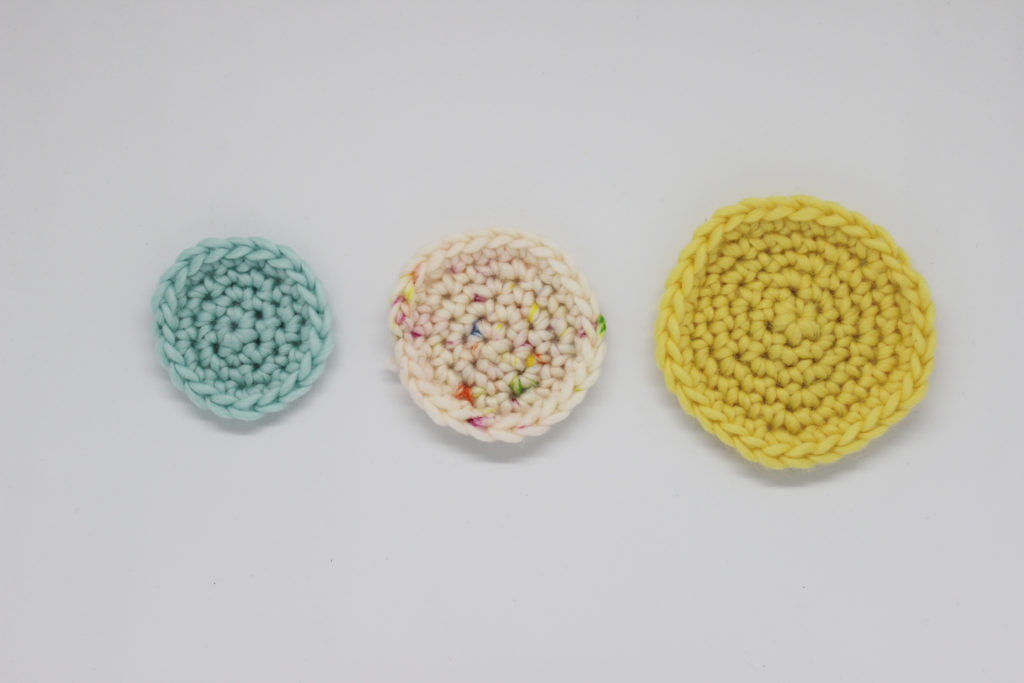
Repeat the previous process to make the other two circles. To make the medium one, work rounds 1 to 5, and to make the make the small one, work rounds 1 to 4.
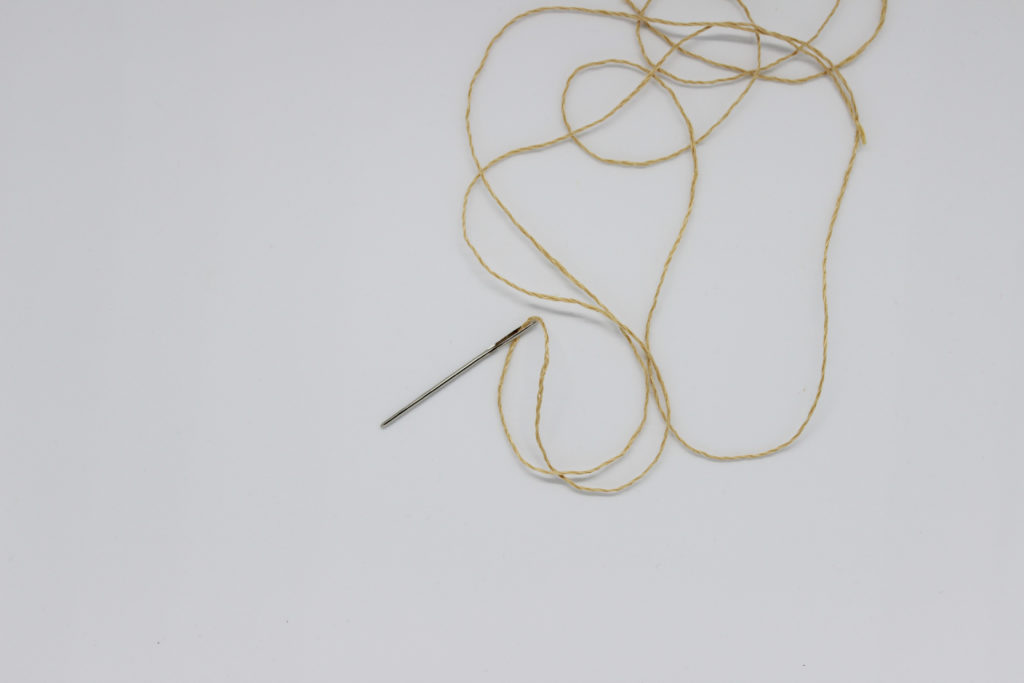
Now that we’ve made our circles, let’s move on to make the pendant. To do this, cut the cord in the length you want and thread the tapestry needle.
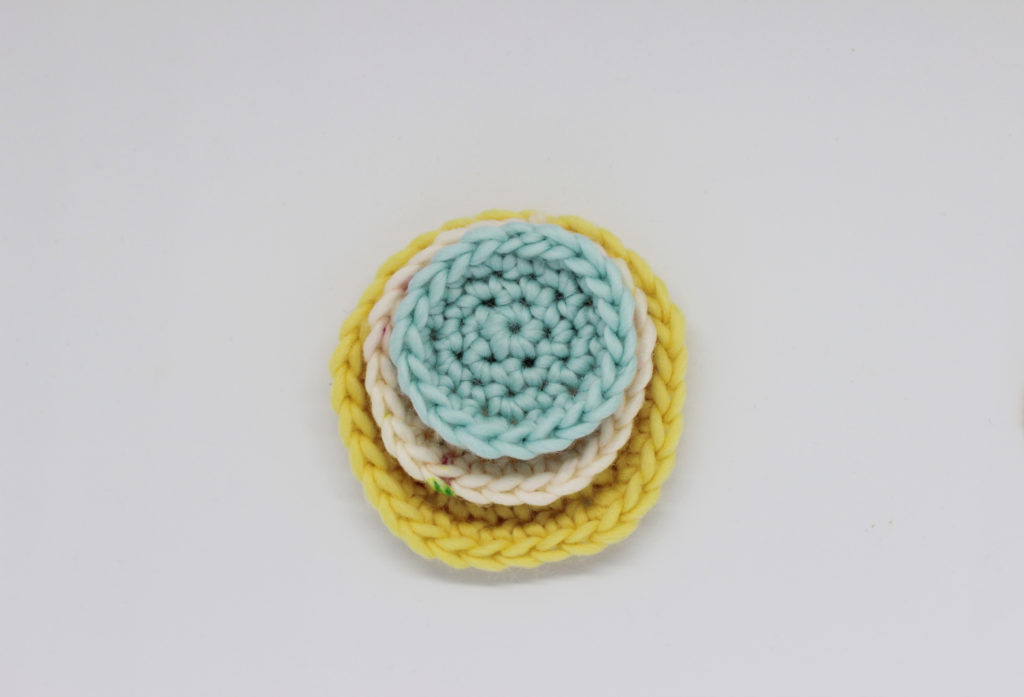
Stack the circles on top of each other, placing the largest at the base and the smallest at the top.
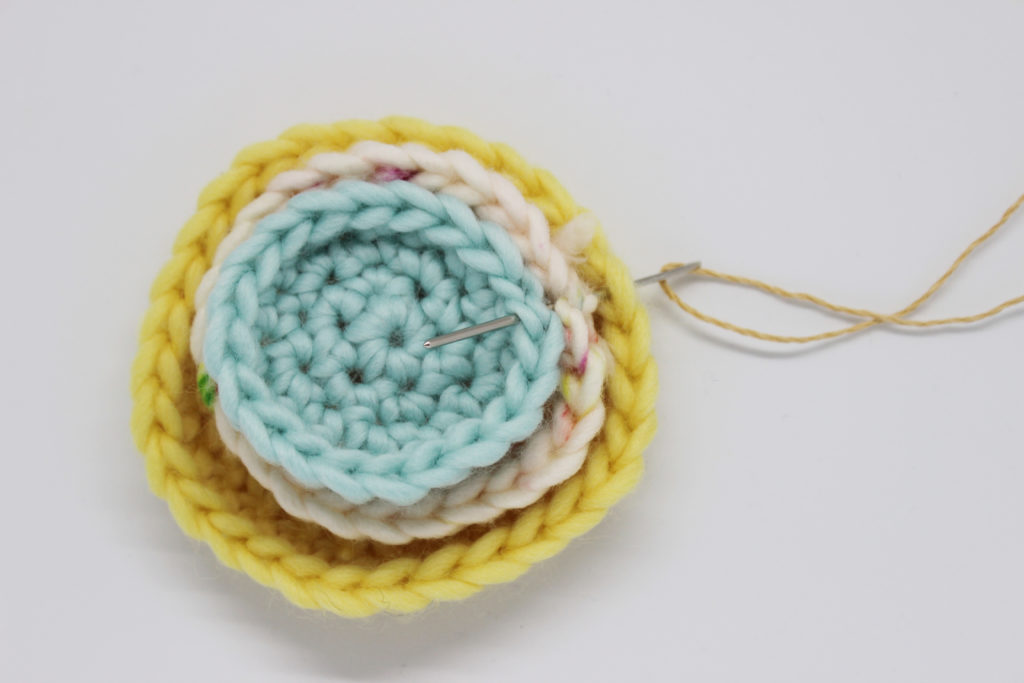
Now, pass the tapestry needle through the three circles from the back to front.
Then, pass it through again from front to back, leaving a small space from the stitch you just made.
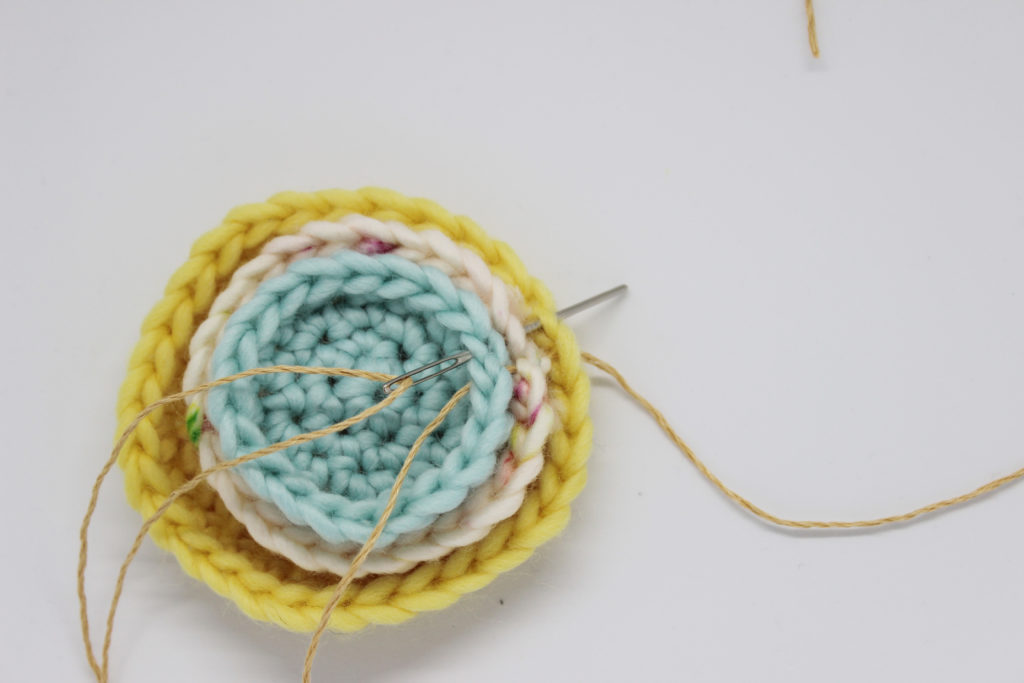
Form a loop with the rope, making sure that the pendant is in the center of the string.

Now pass the ends of the cord through the loop we made in the previous step. Go from back to front, as you see in the photo above.

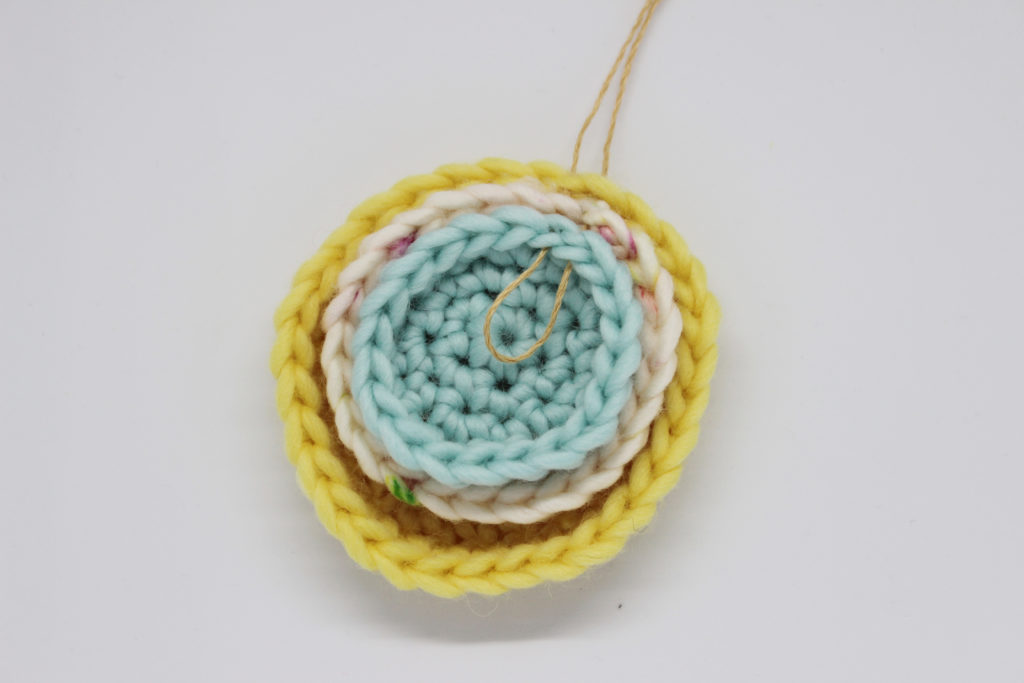
And now it’s ready to wear 🙂
We hope you like this idea for recycling those little yarn bits to make fun pendants. You can try one thousand and one combinations of colors and shapes. Don’t forget to share yours on social media with the hashtag #weareknitters. Until next time!