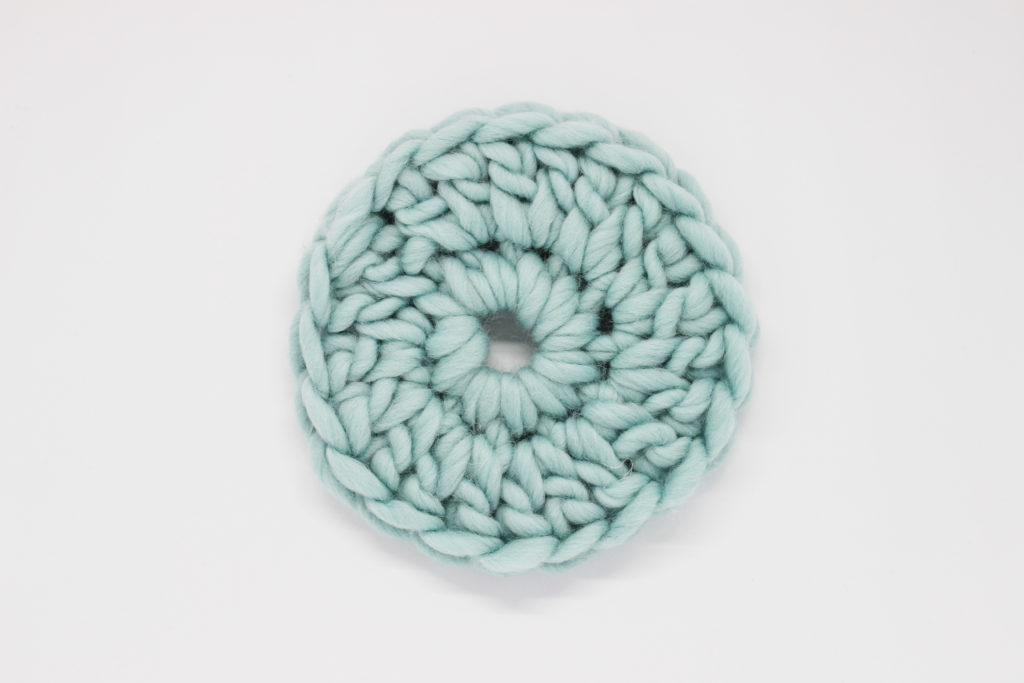
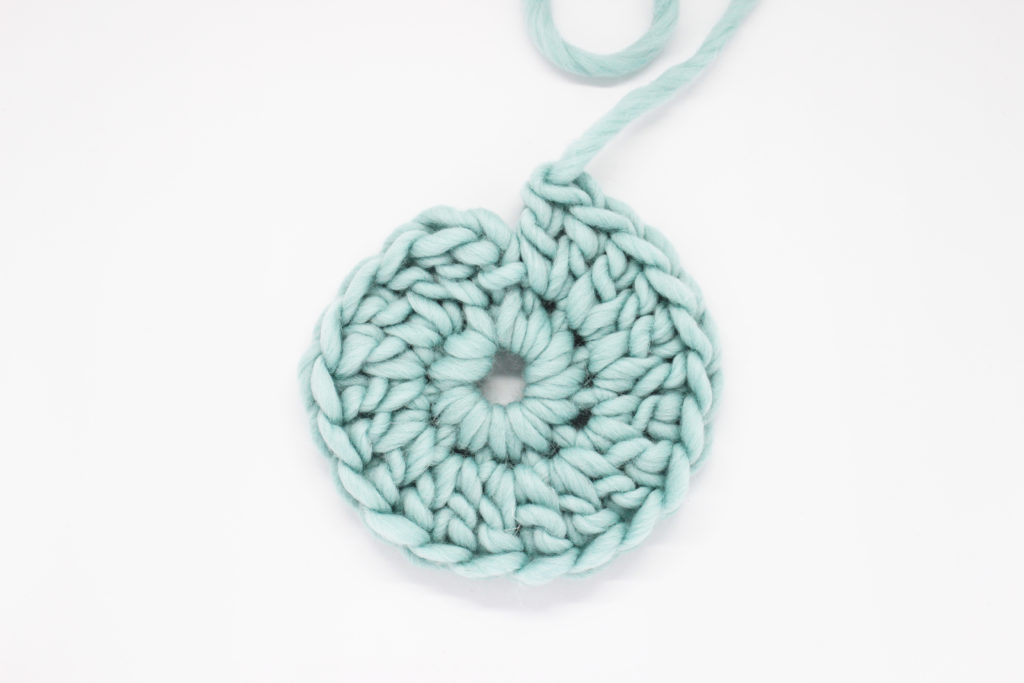
Every time we finish a project the part that causes the most trouble is the finishing. No matter how hard you try you can always notice where you fastened off, it sticks out it should not be noticeable. In this step-by-step tutorial we are going to show you a quick and easy way to finish your projects crocheted in the round.
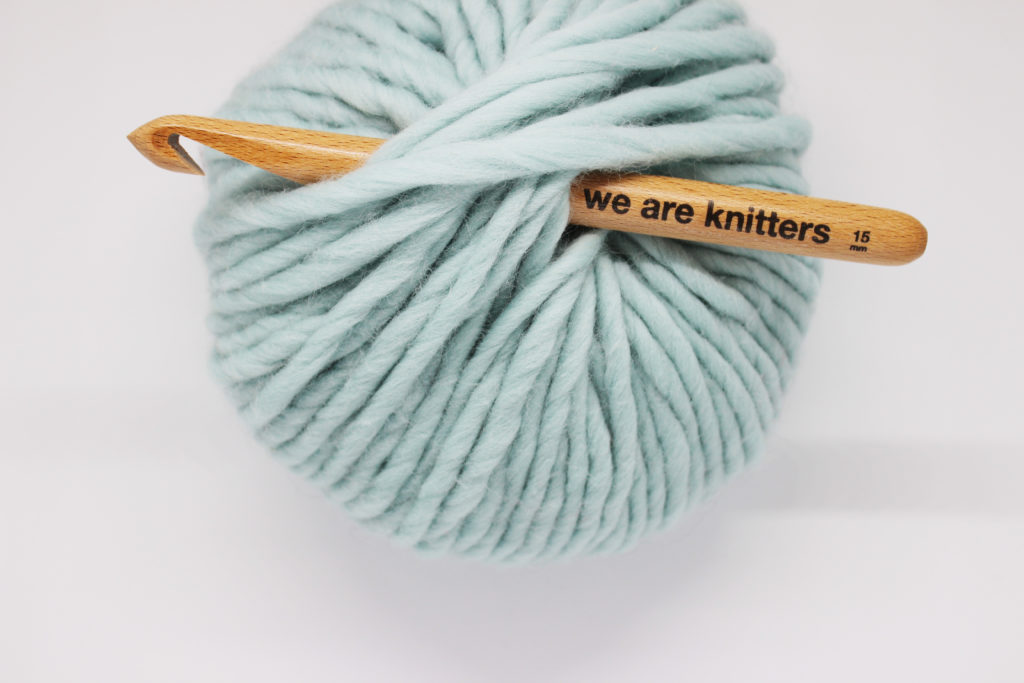
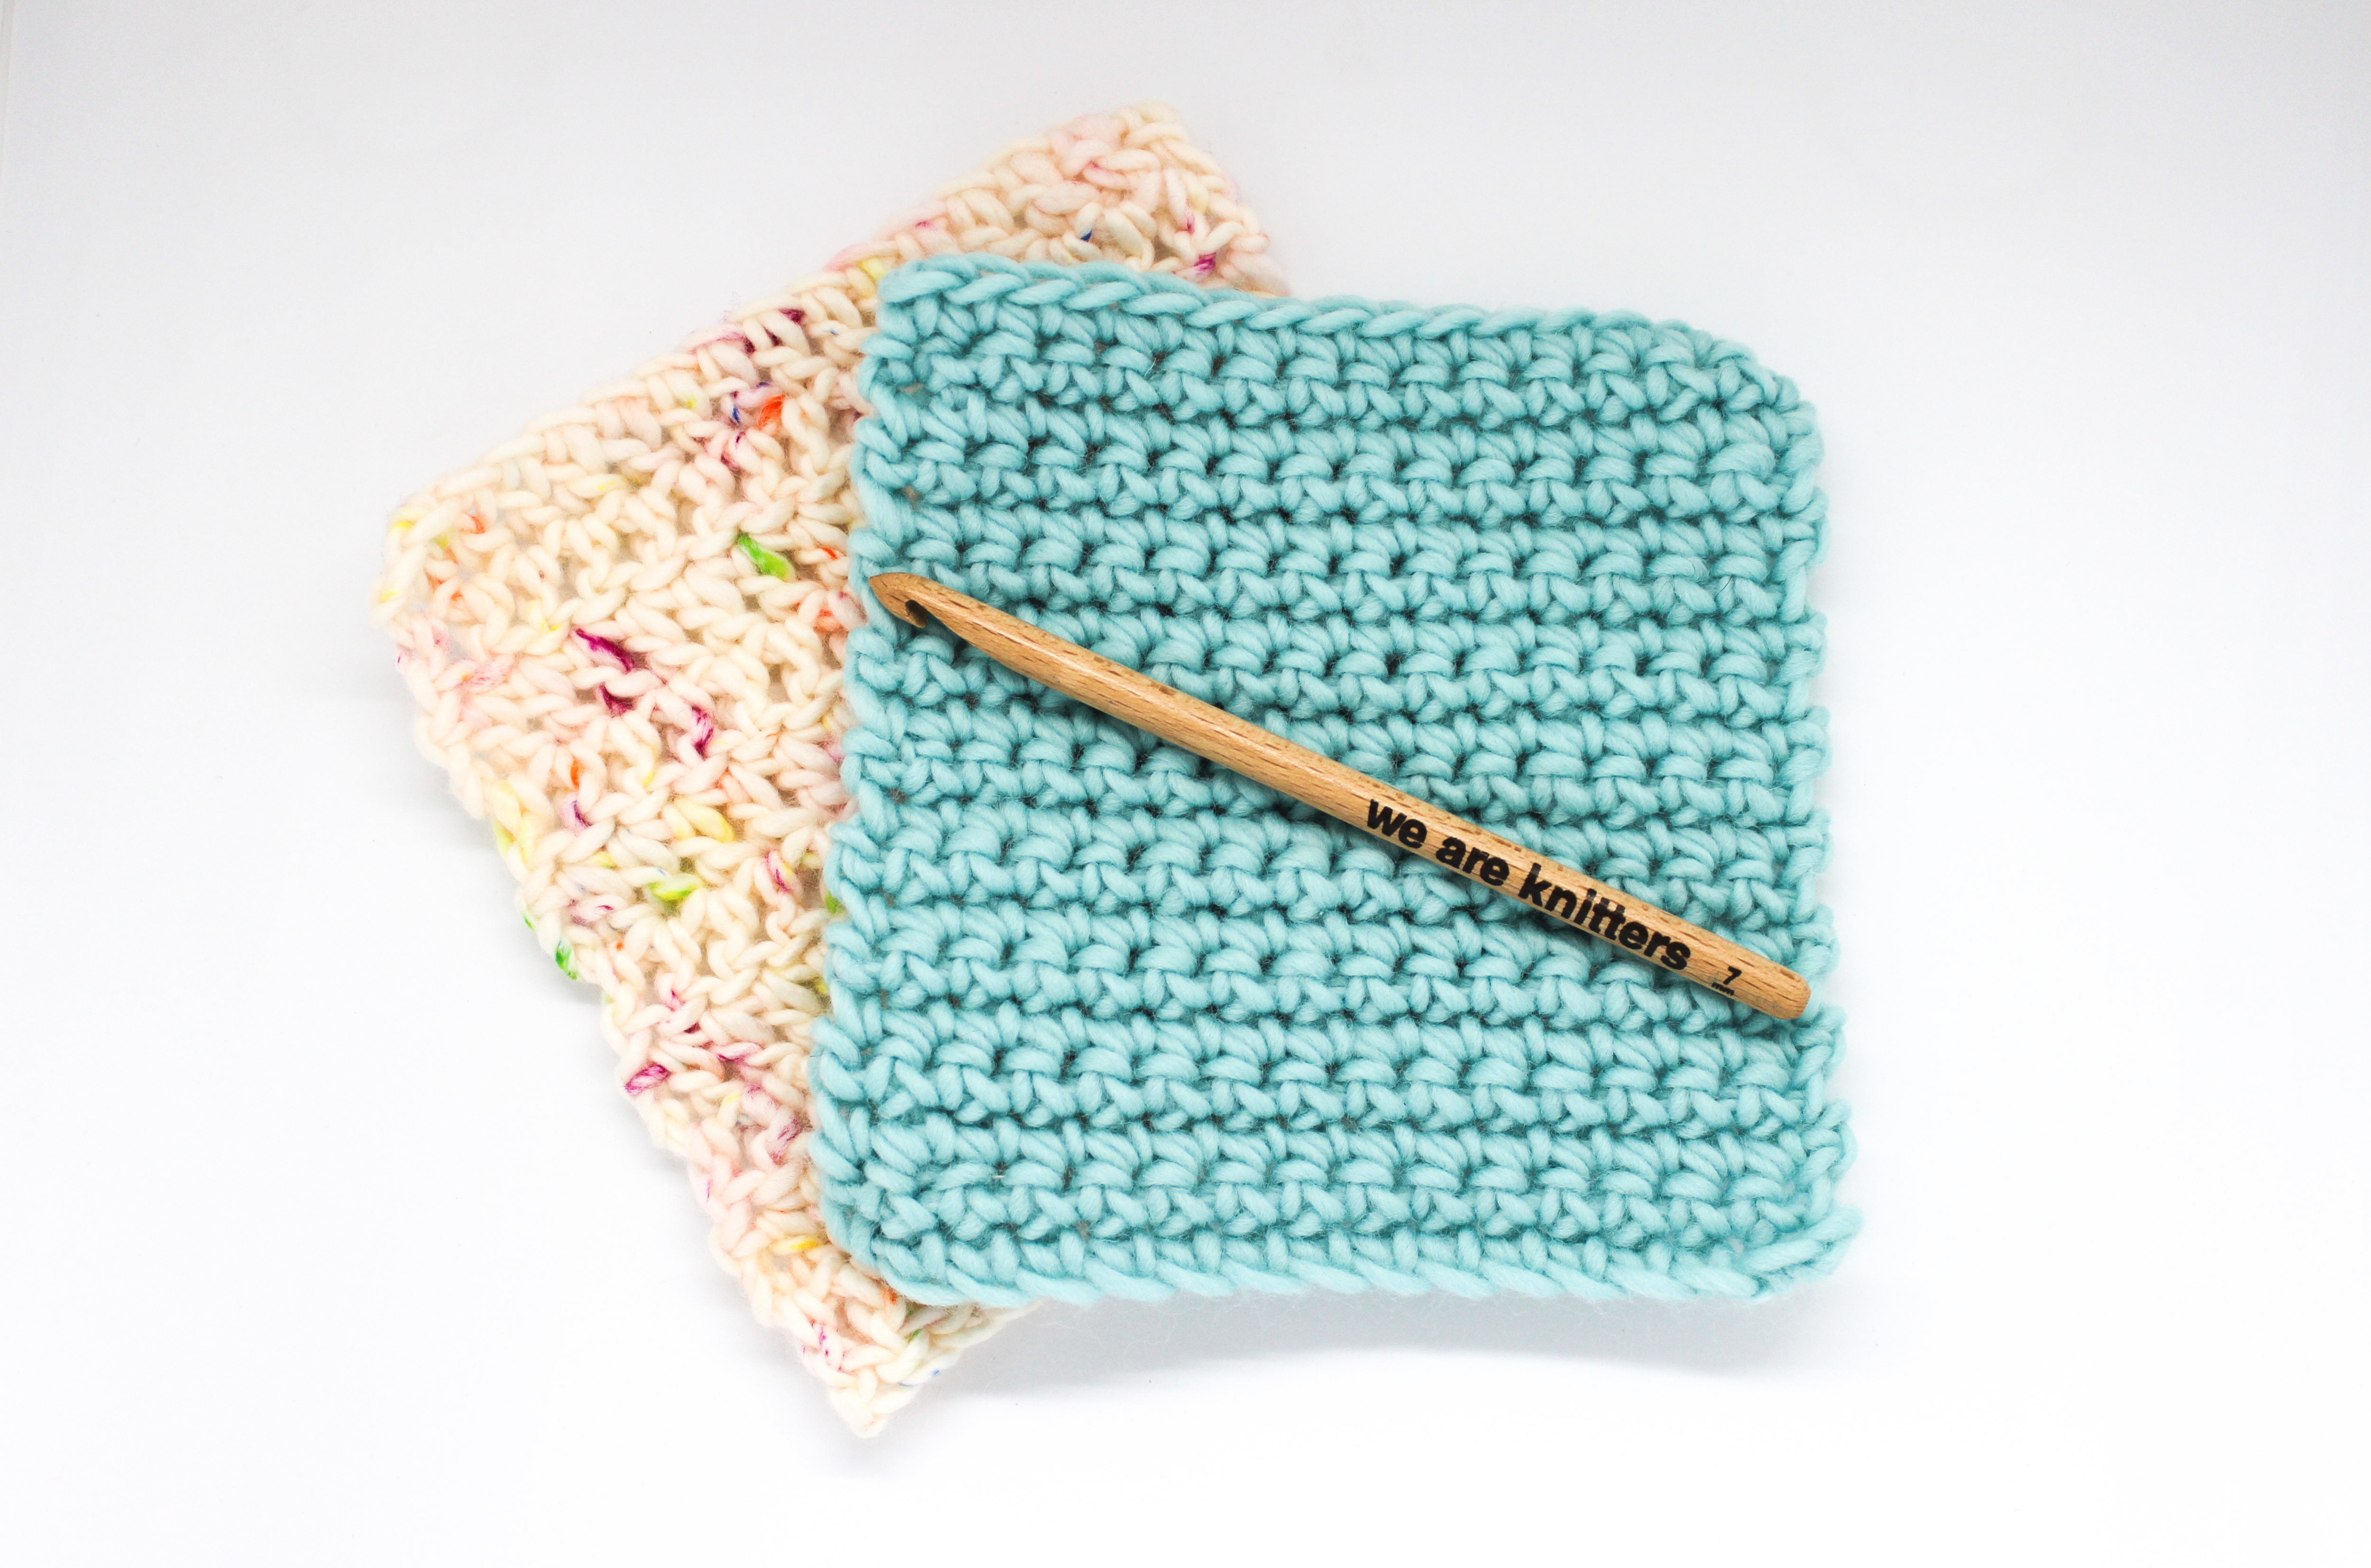
For this tutorial we used: a size 19 crochet hook, a tapestry needle, and one of our skeins of chunky wool The Wool.
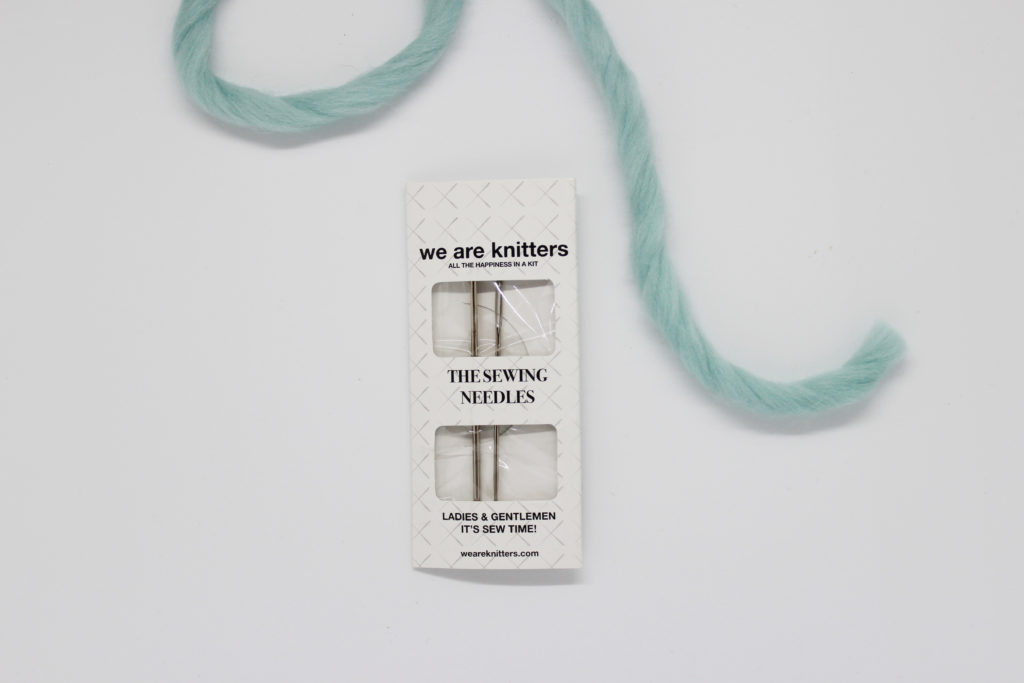
To finish off this project we used a tapestry needle that allows us to work more comfortably with the thickness of the yarn.
Once you have finished your crochet project, cut the yarn leaving a tail end about 6 inches long (15 cm).
Thread the tapestry needle with the yarn you just cut to finish your project.
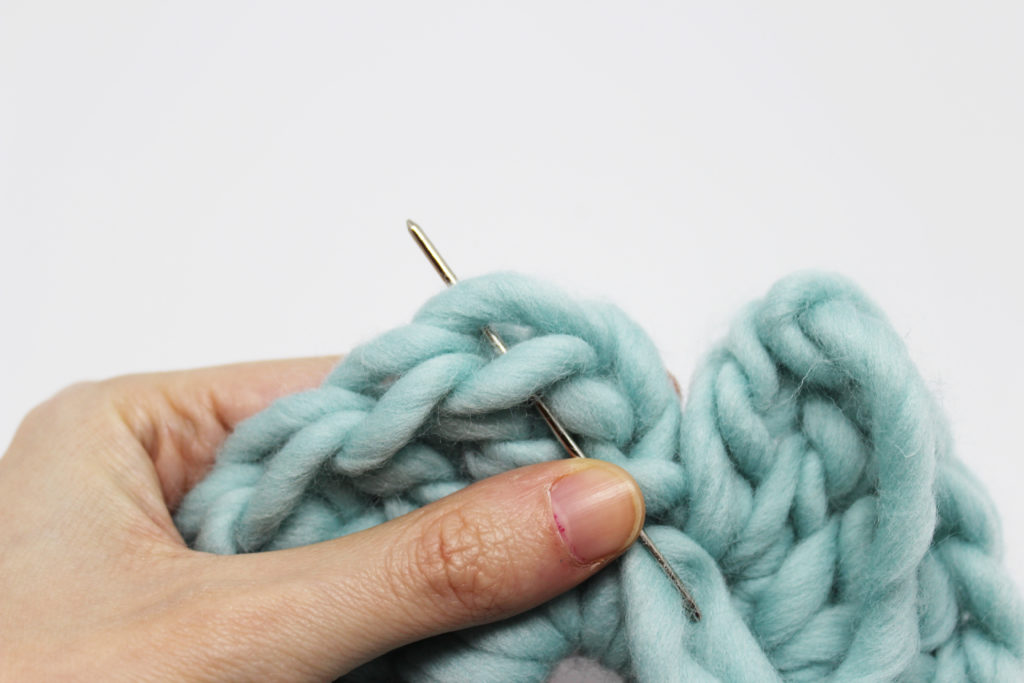
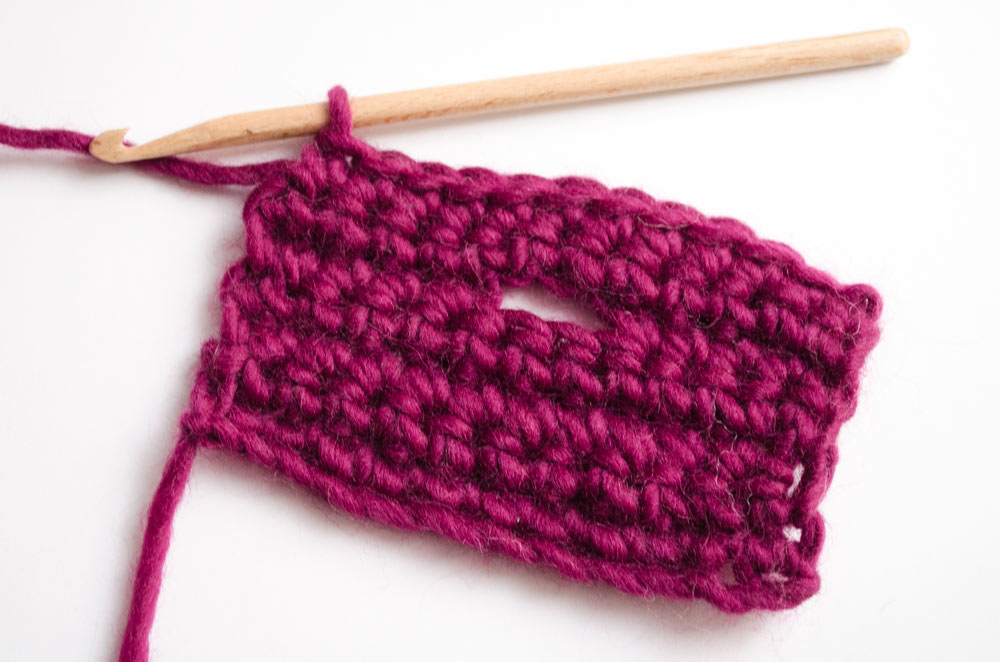
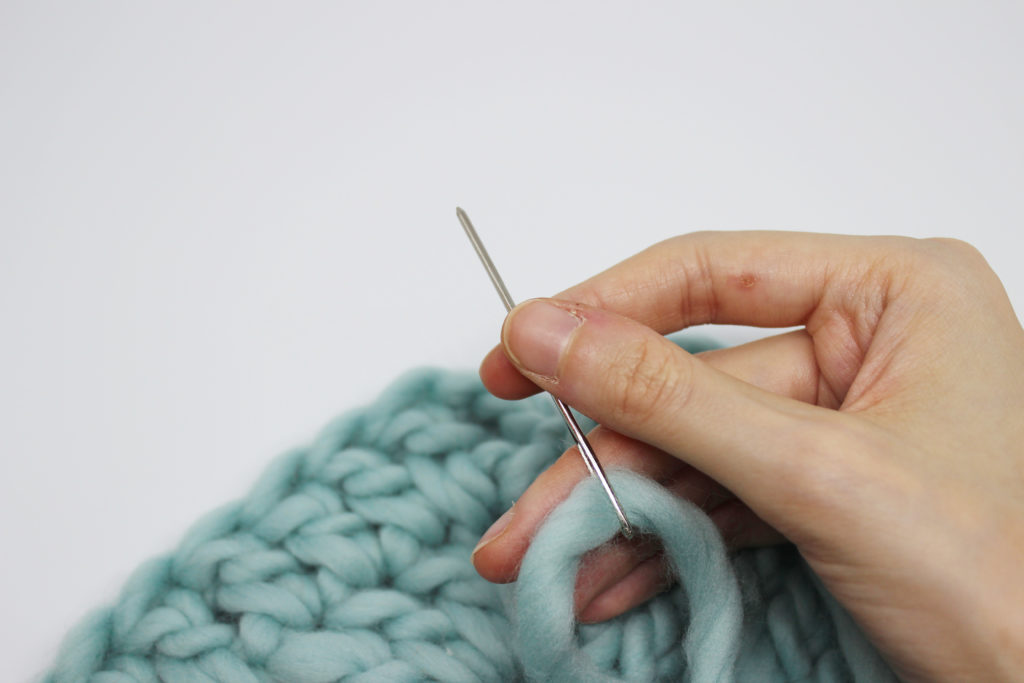
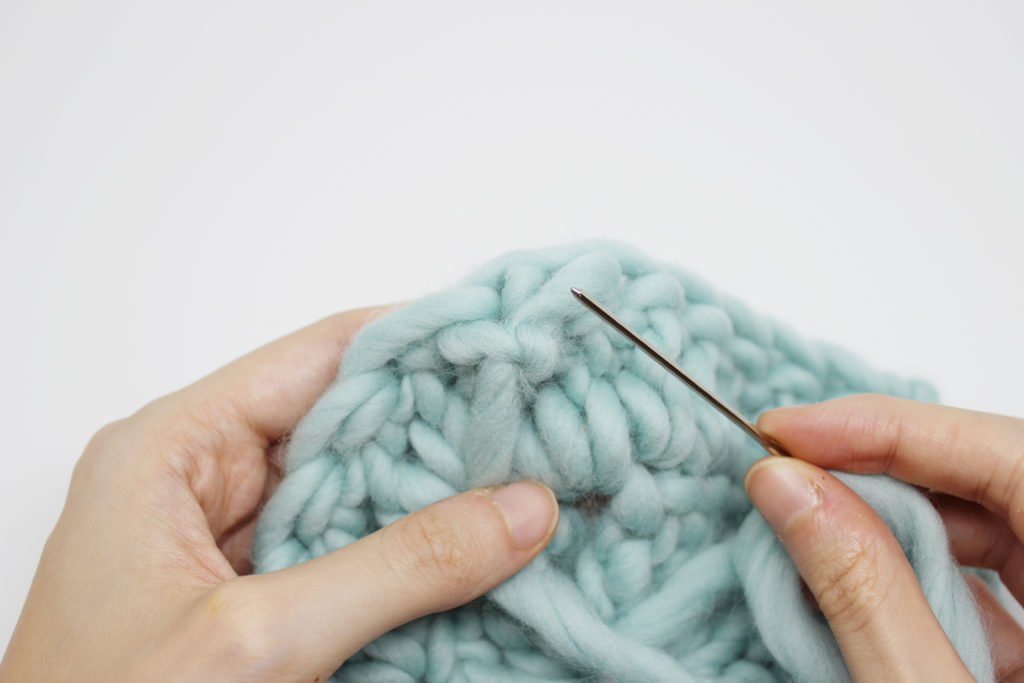
Now, on the right side of your work, insert the needle into the second stitch (counting from right to left). As shown in the photo above.
Pull the needle completely through the stitch.
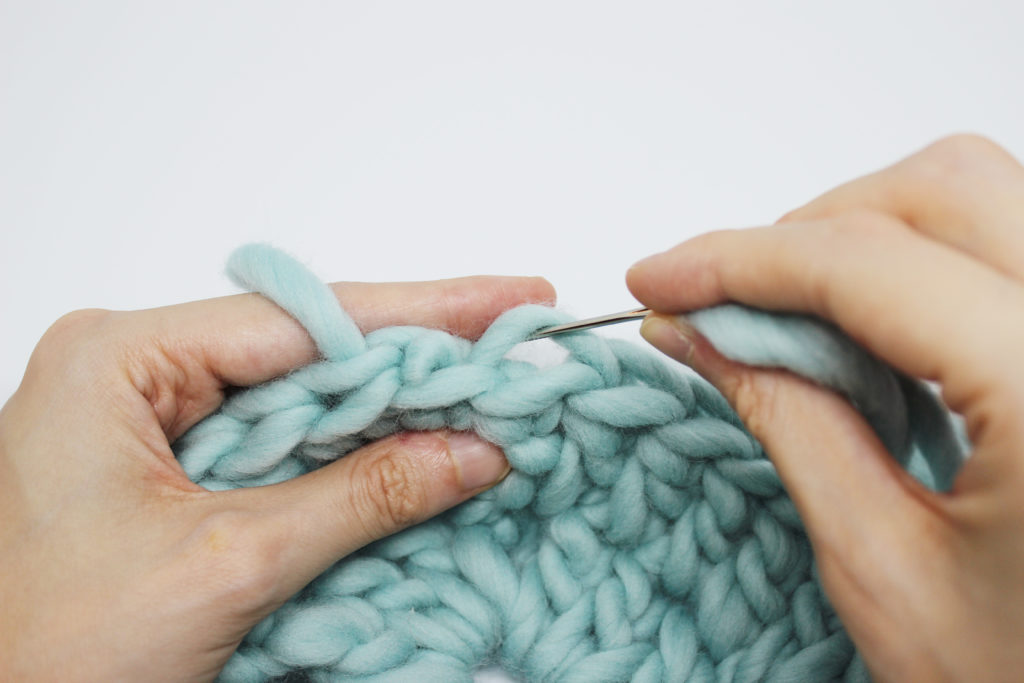
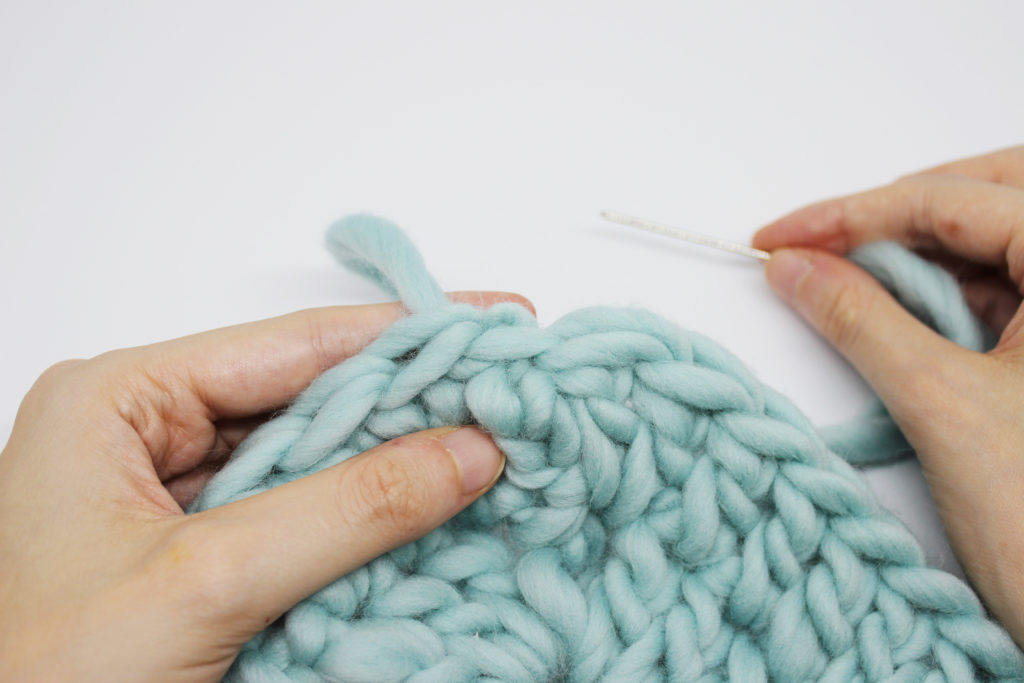
Insert the needle back into the middle of the last stitch you worked. Between the two stands of the stitch.
Pull the needle completely through the stitch.
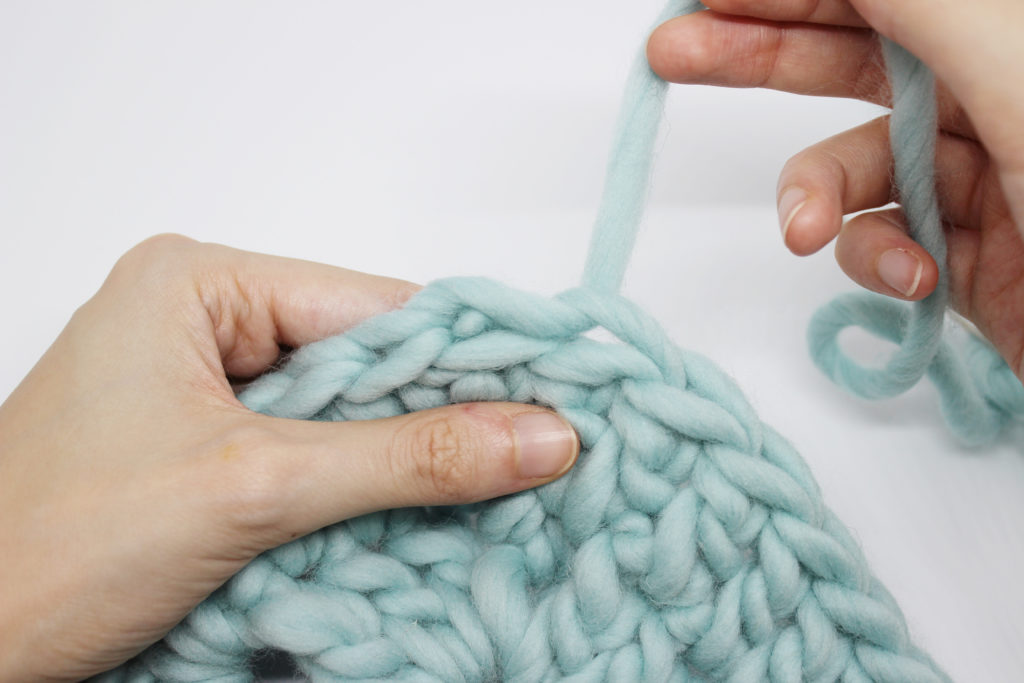
Weave in the end of the yarn on the wrong side, so when you cut the yarn it does not unravel.
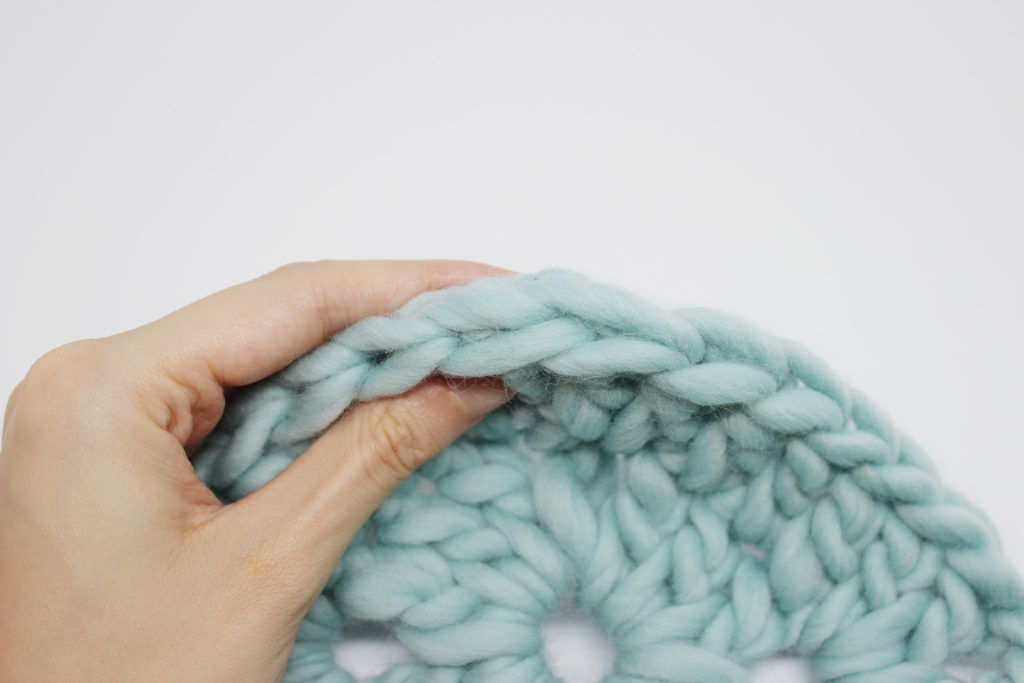
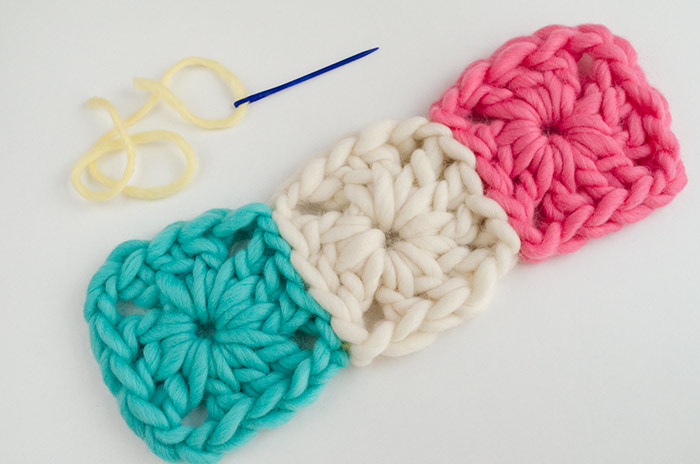
Now you have your project perfectly finished, you don’t notice the finish and it blends in with the other stitches. We hope this step-by-step tutorial is useful, and don’t forget to share your projects with us on social networks using the hashtag #weareknitters.