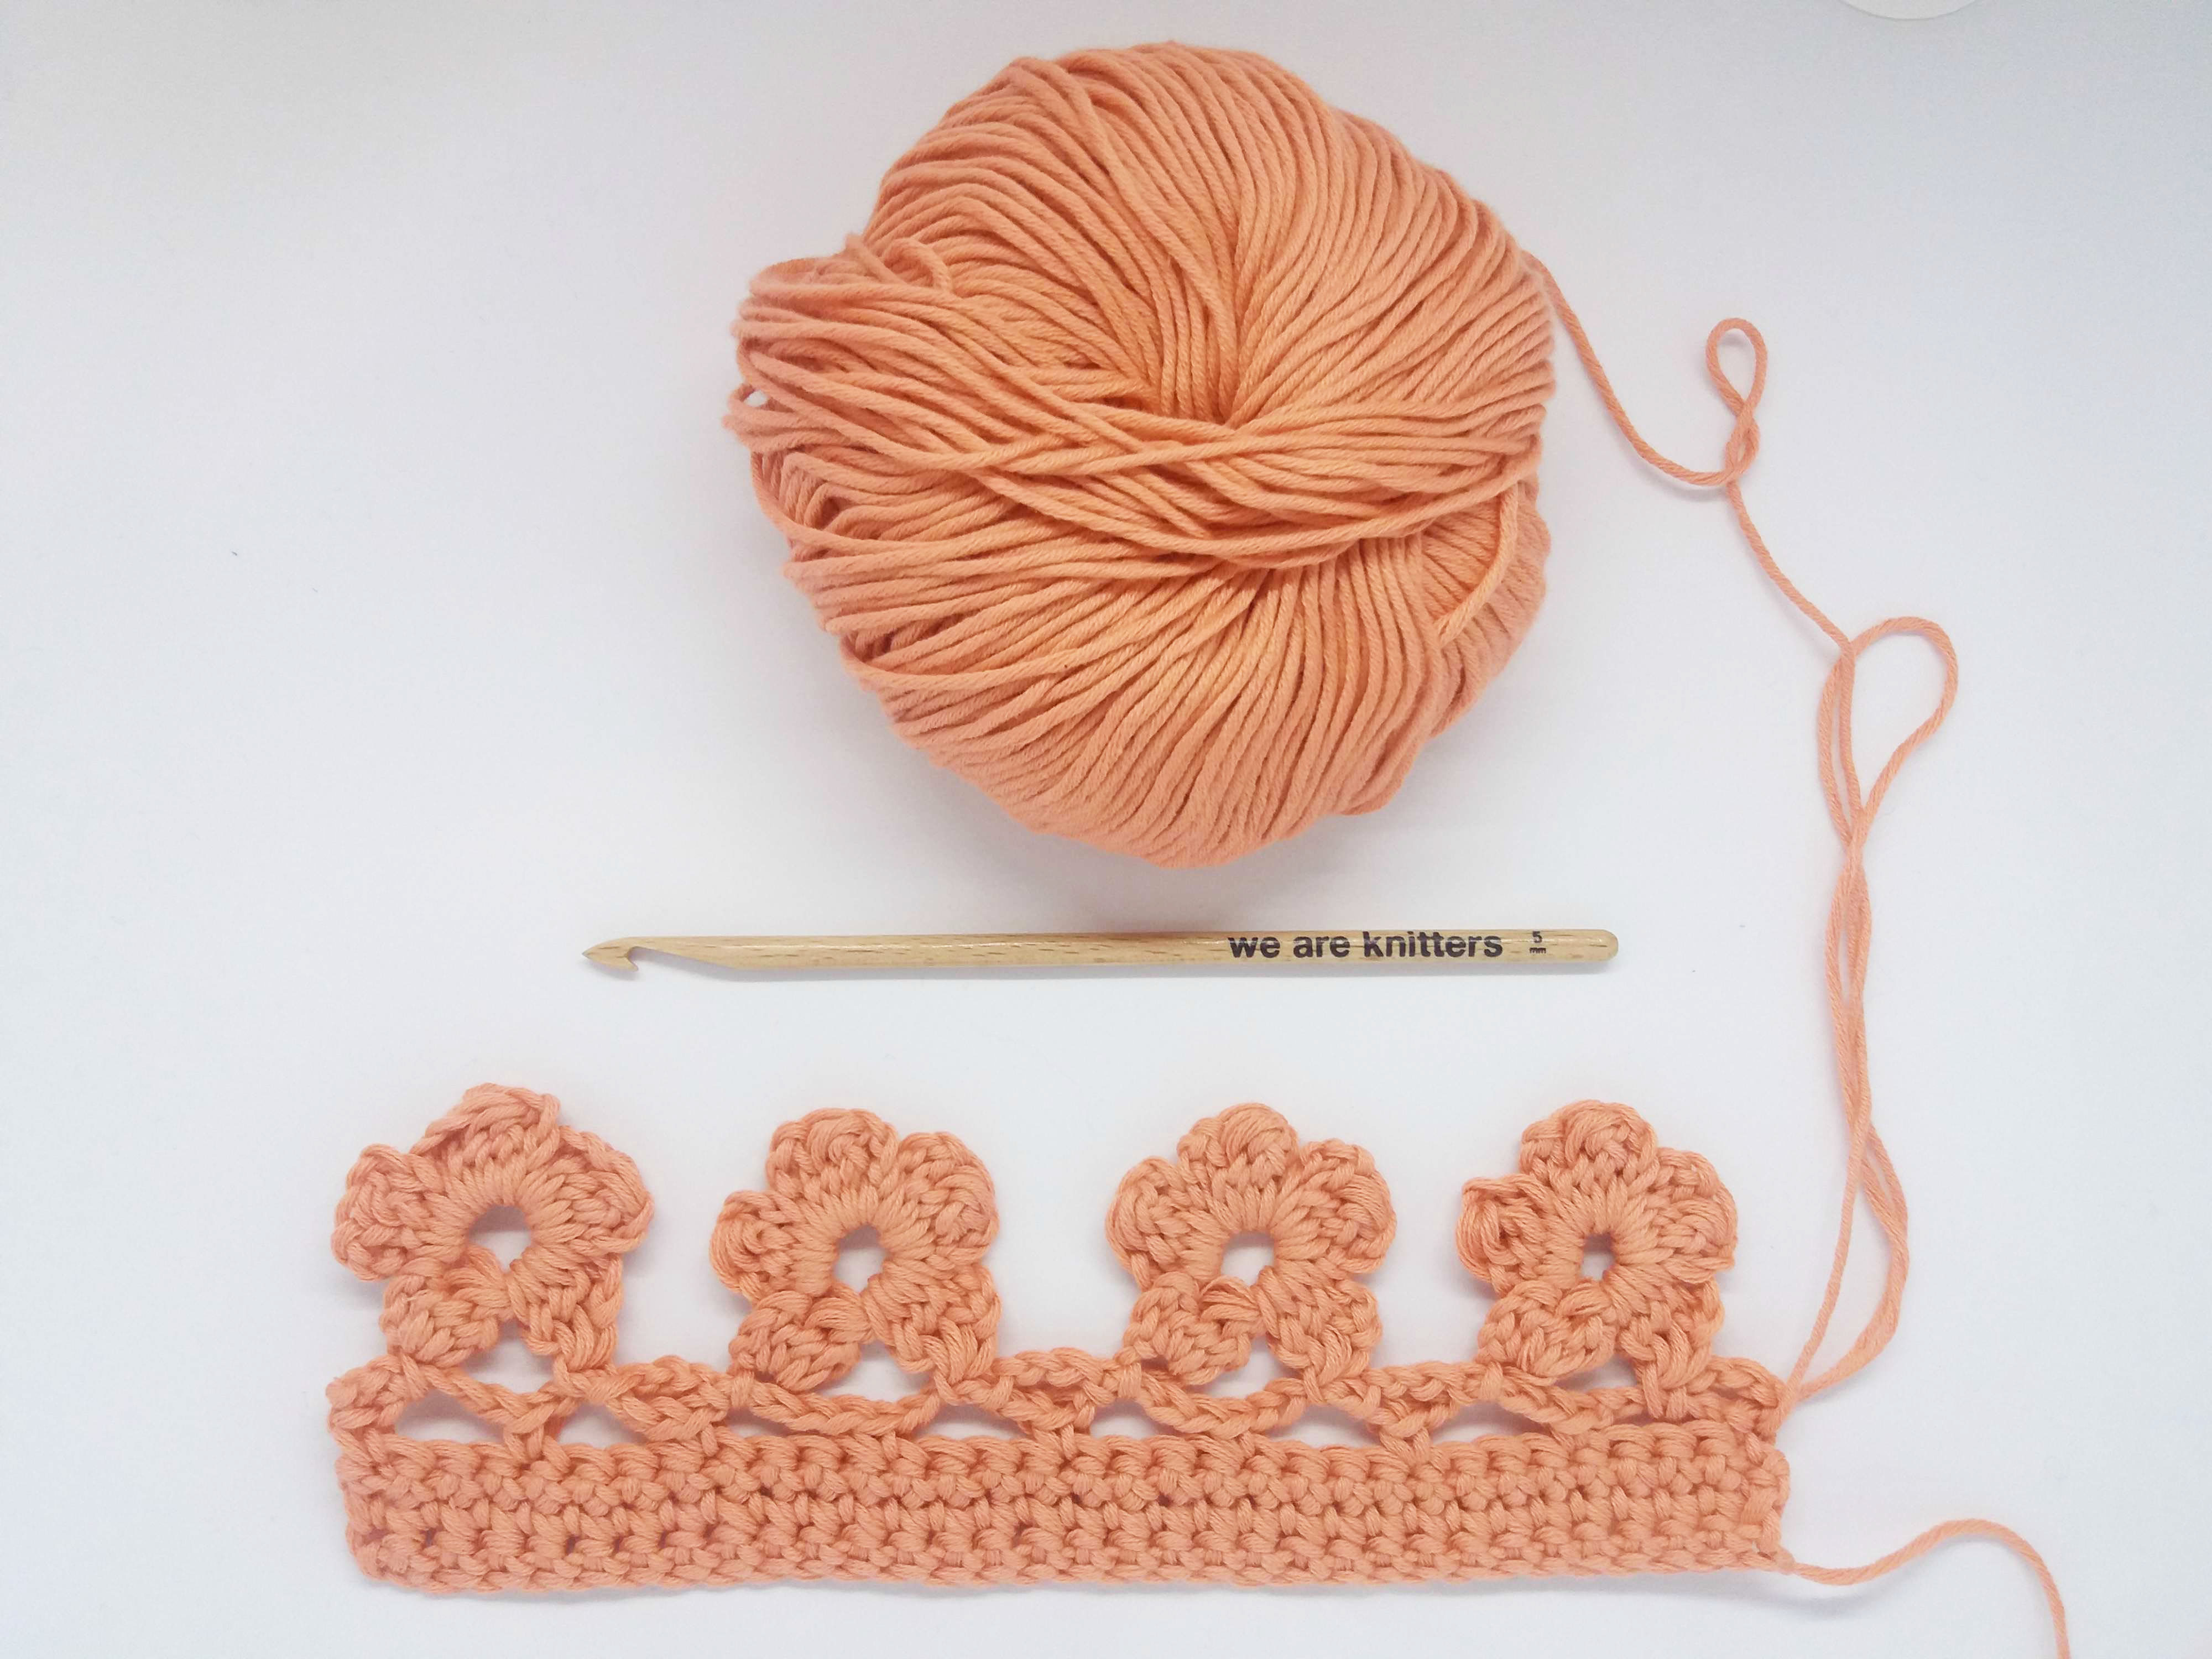
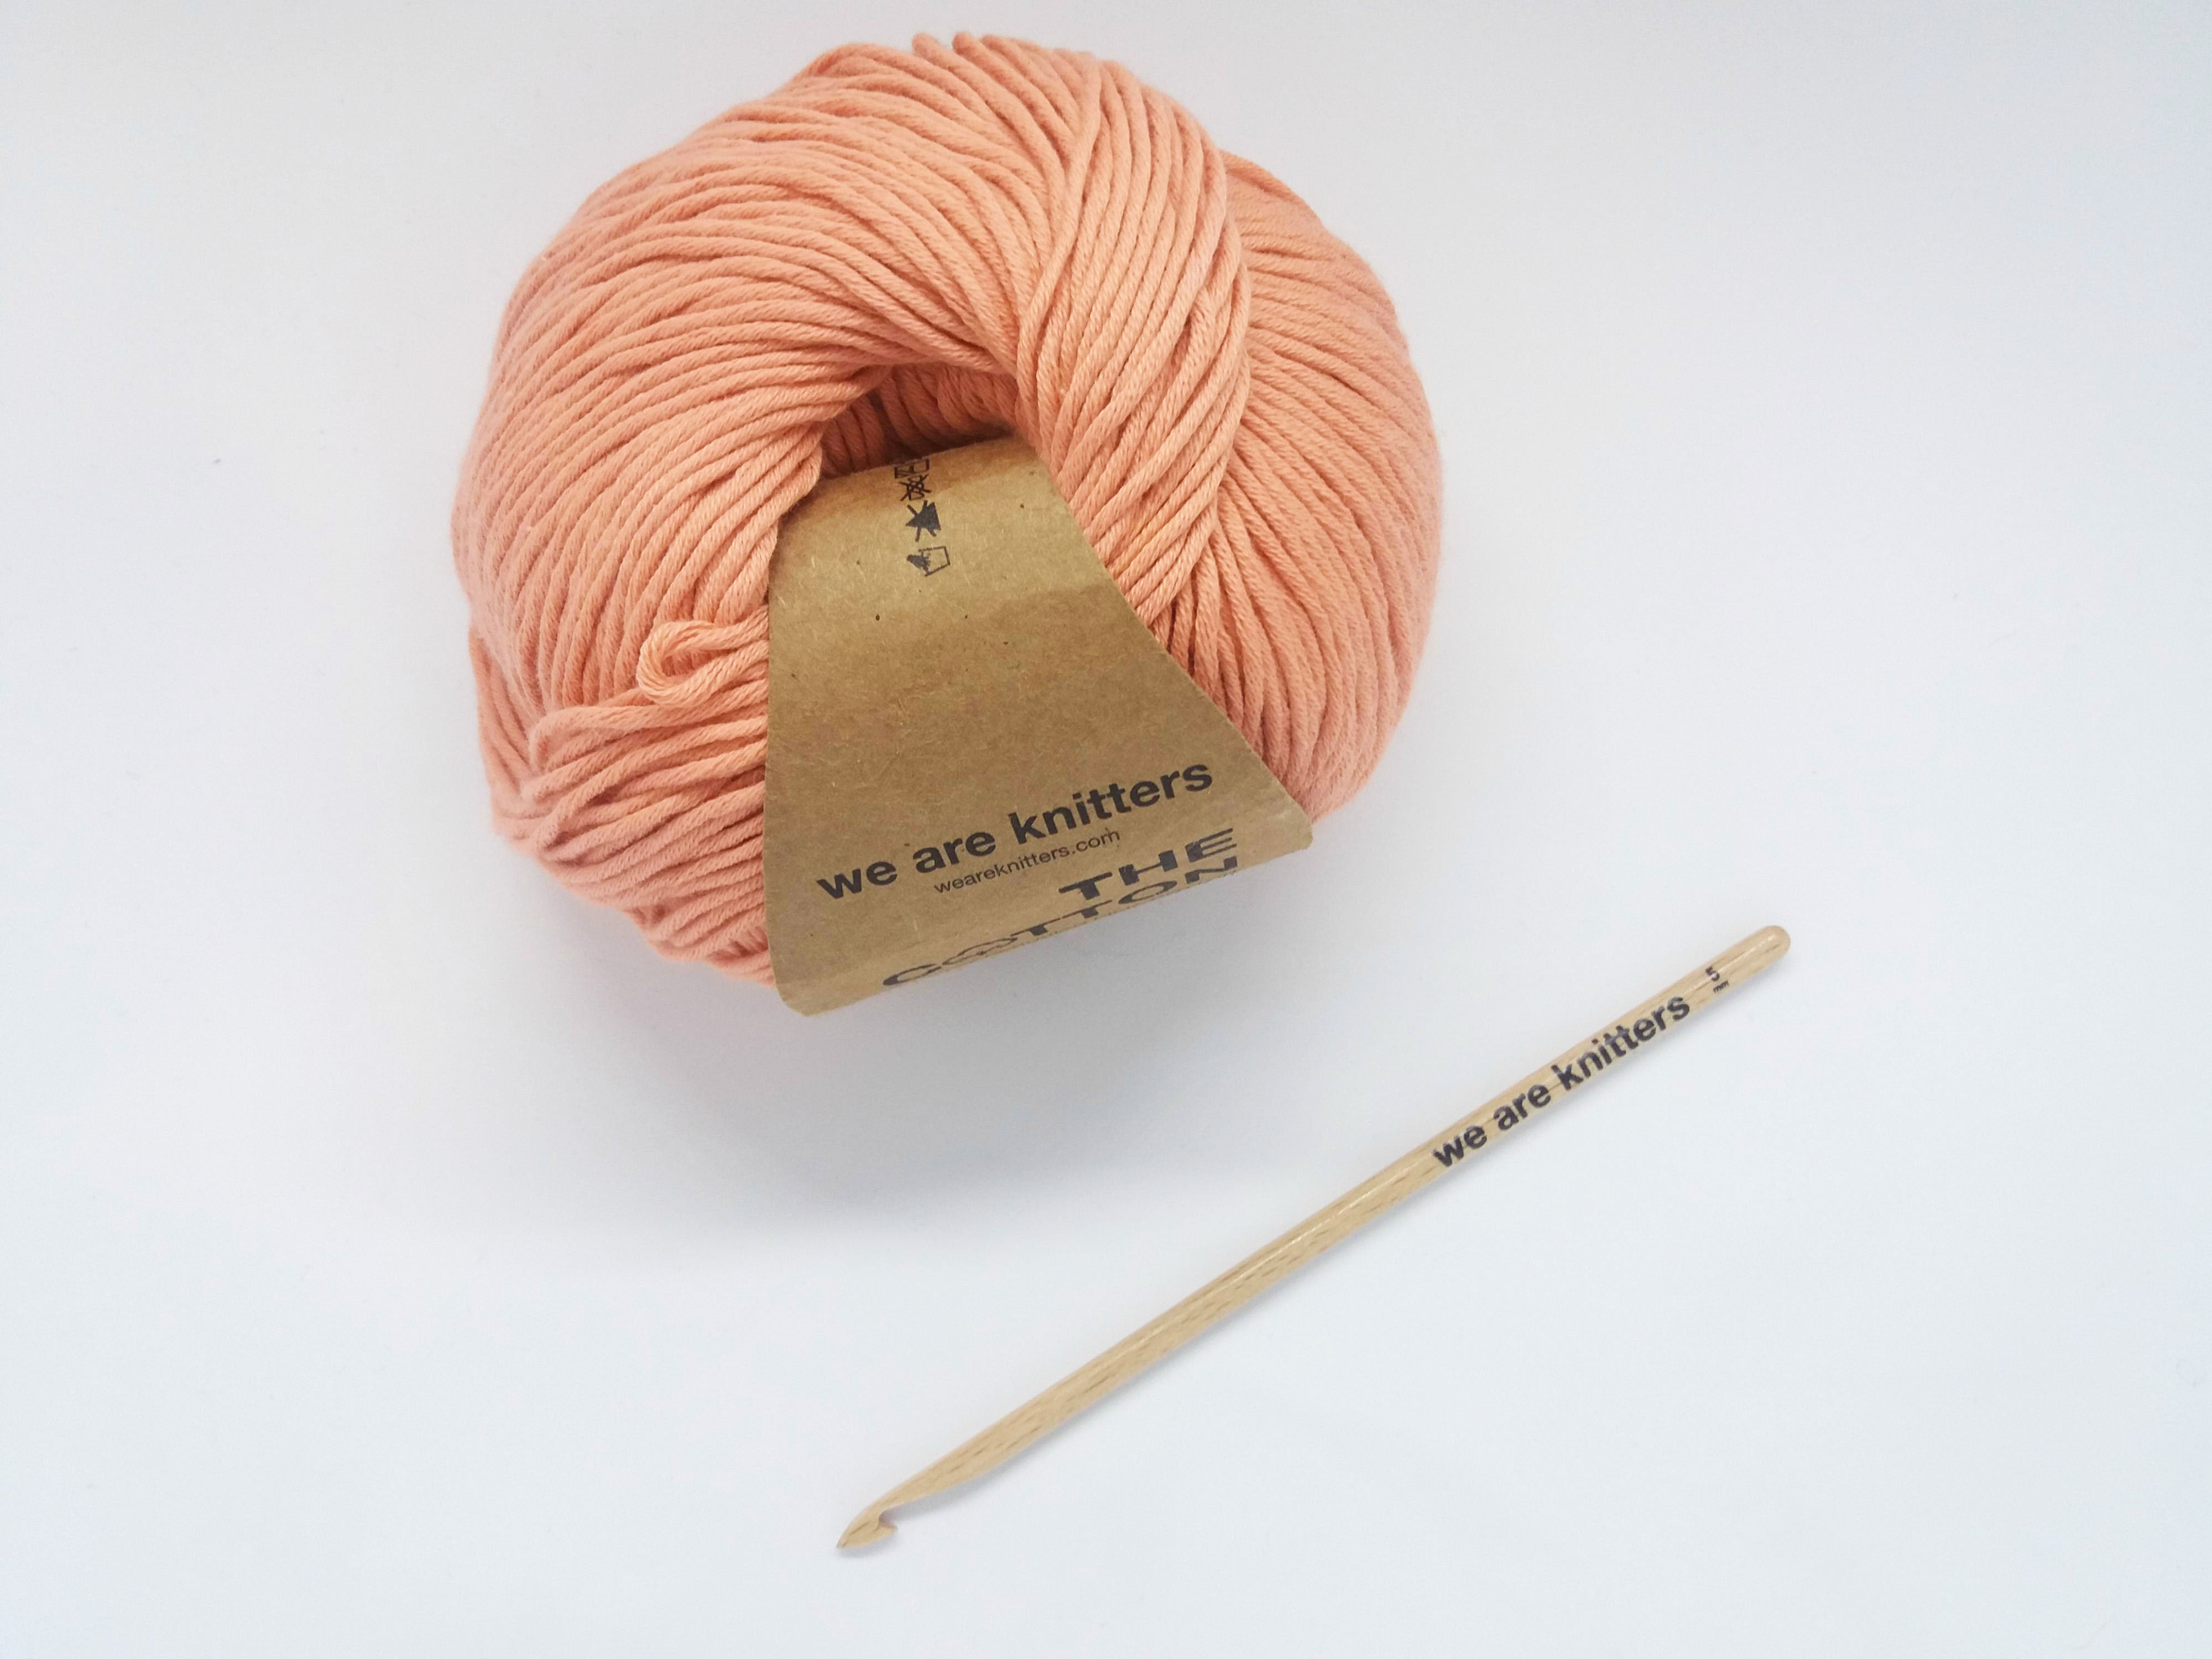
In crochet it’s easy to create borders of different kinds and styles, giving your garment a unique finish. In this post we teach you to make a flower border that you can add to shawls, scarfs, or even to decorate a summery basket. The materials we used are Pima Cotton in salmon and a size US 8 (5 mm) crochet hook.
The level of this stitch is intermediate, and you just need to follow the instructions. The stitches you need to know how to do are:
- Chain
- Slip stitch
- Single crochet
- Double crochet
- 3 double crochets closed together
- 2 double crochets closed together
Don’t worry, if you don’t know how to do some of these stitches you can check the We are knitters’ website where you will find the tutorials.
This border is made in 2 rows, so once your project where you want to add the border is finishes, work rows 1 and 2 as follows (in order to achieve the best results with this border, we suggest that the project has a multiple of 6 stitches):
Row 1: tie the yarn strand by making a slip stitch on the first stitch. *chain 5, skip 2 stitches, work 1 single crochet*. Repeat from * to * until you reach the end of the row.
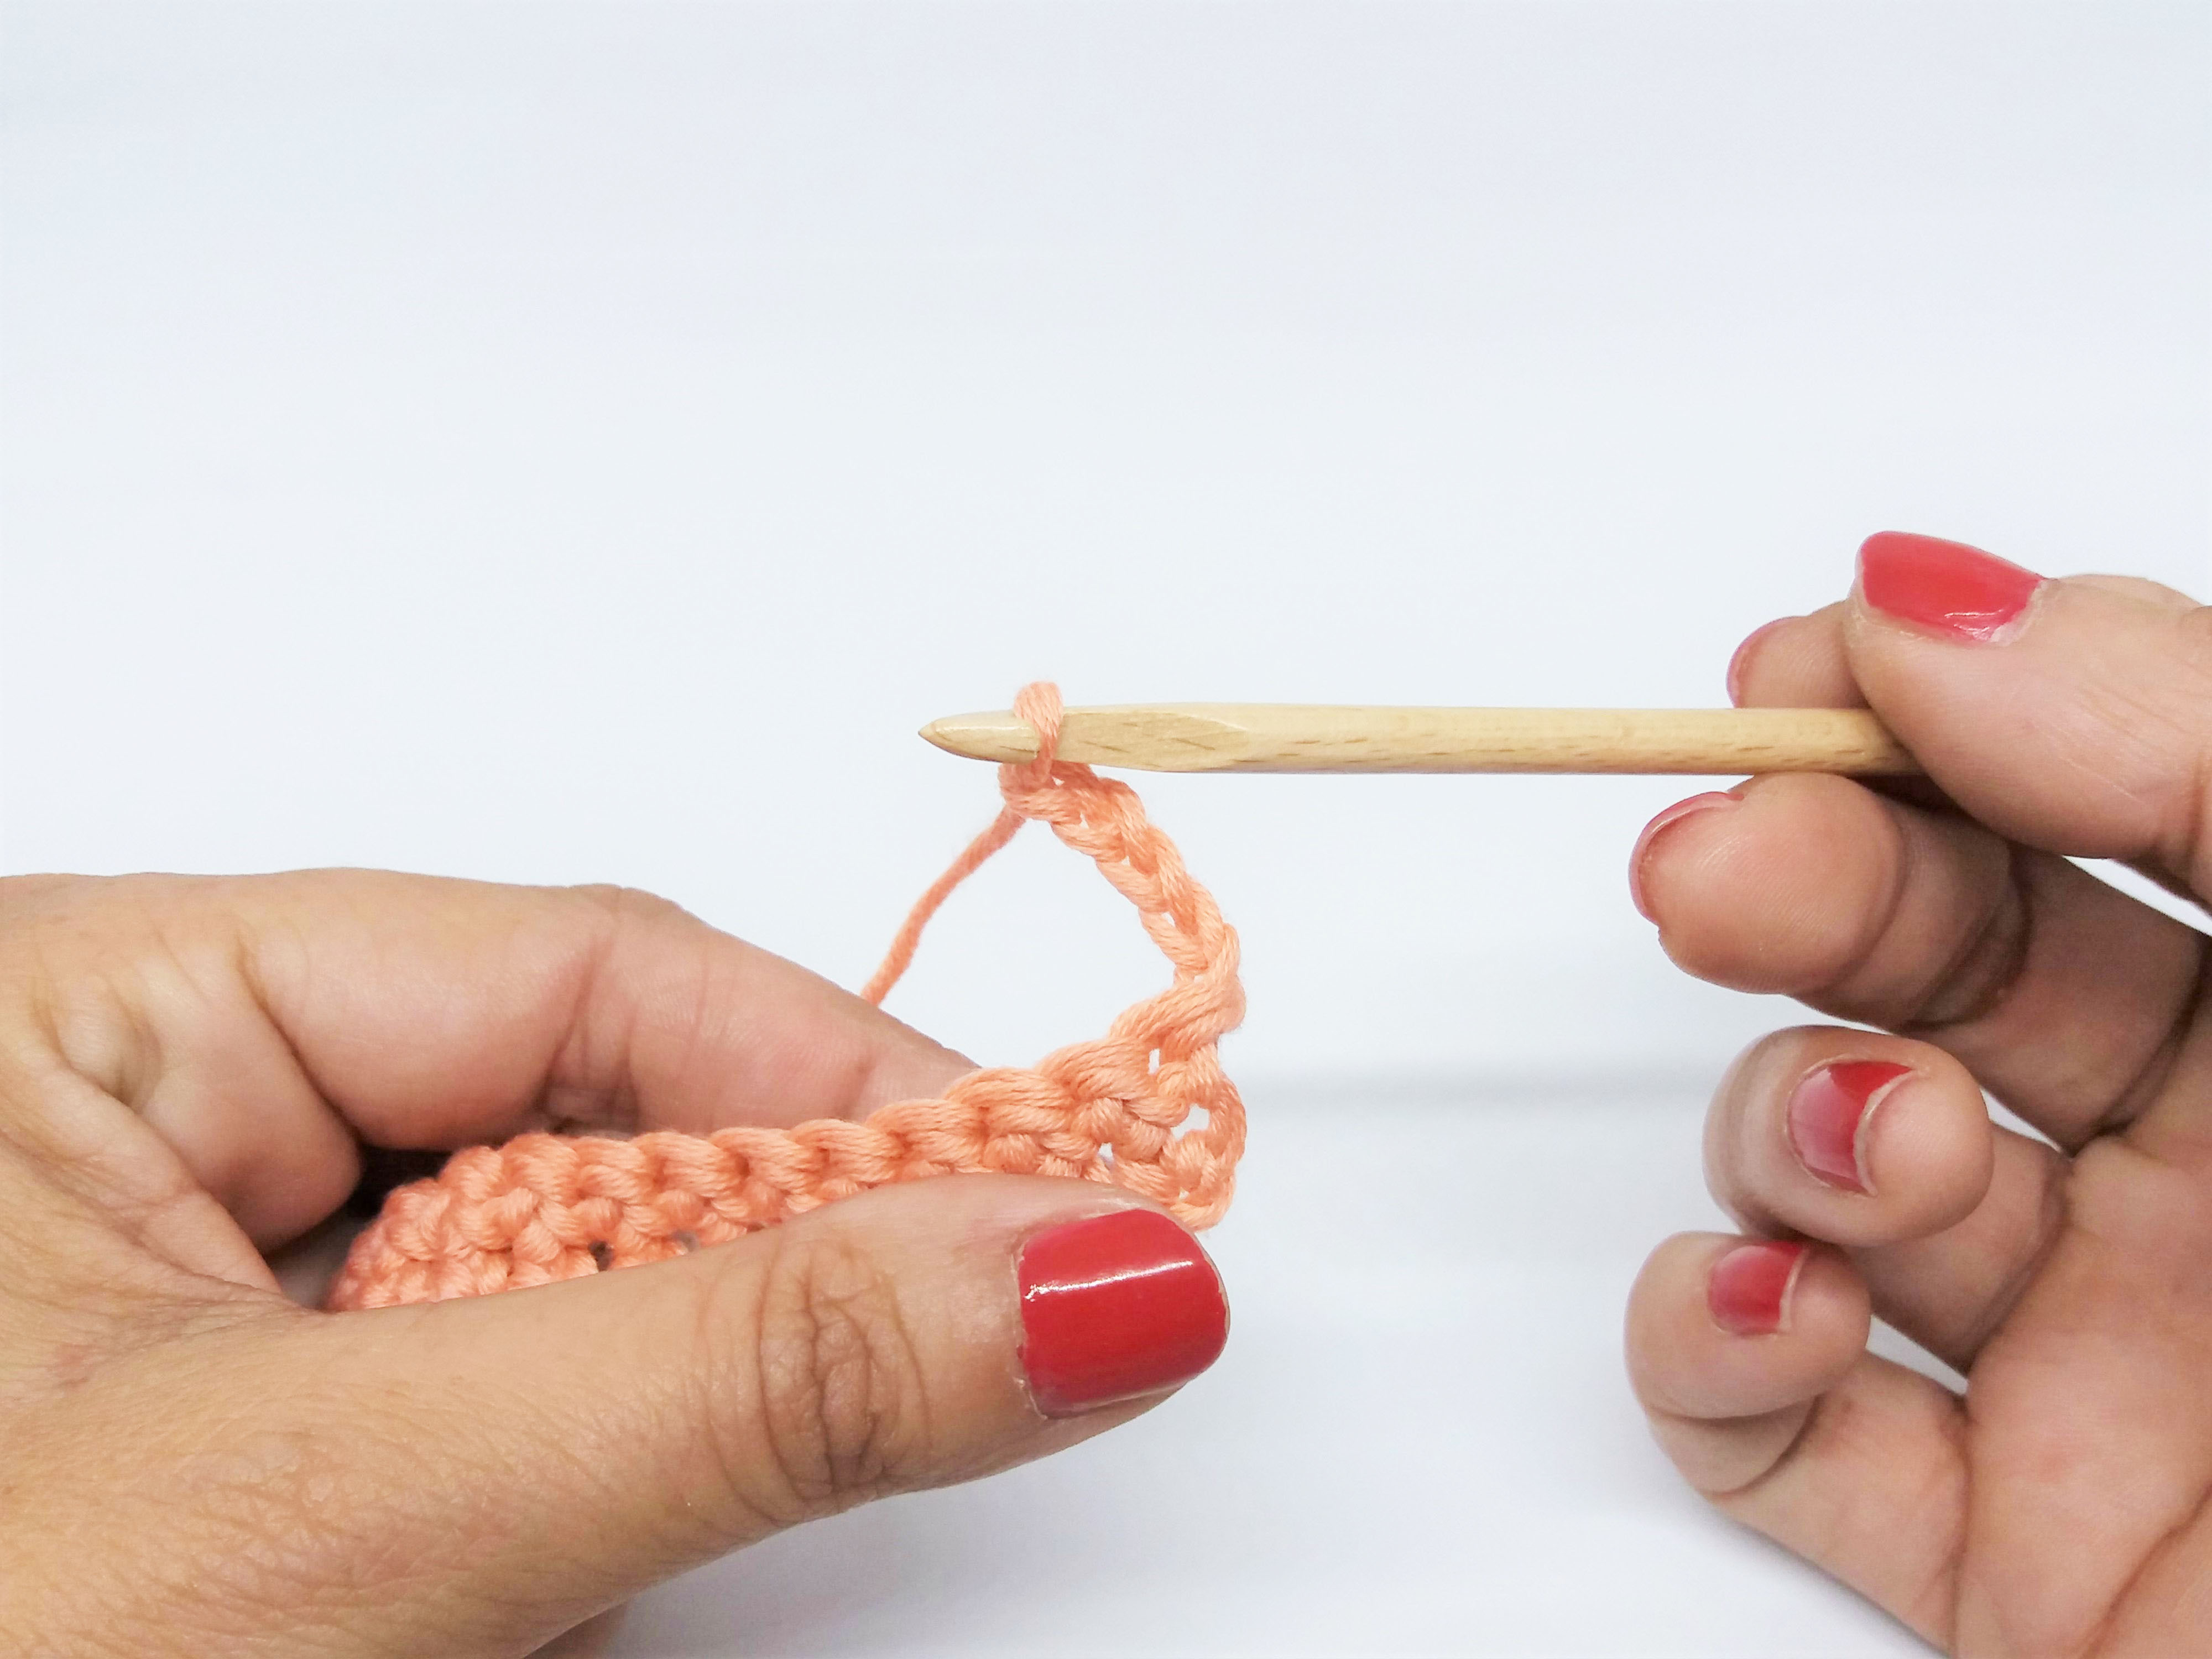
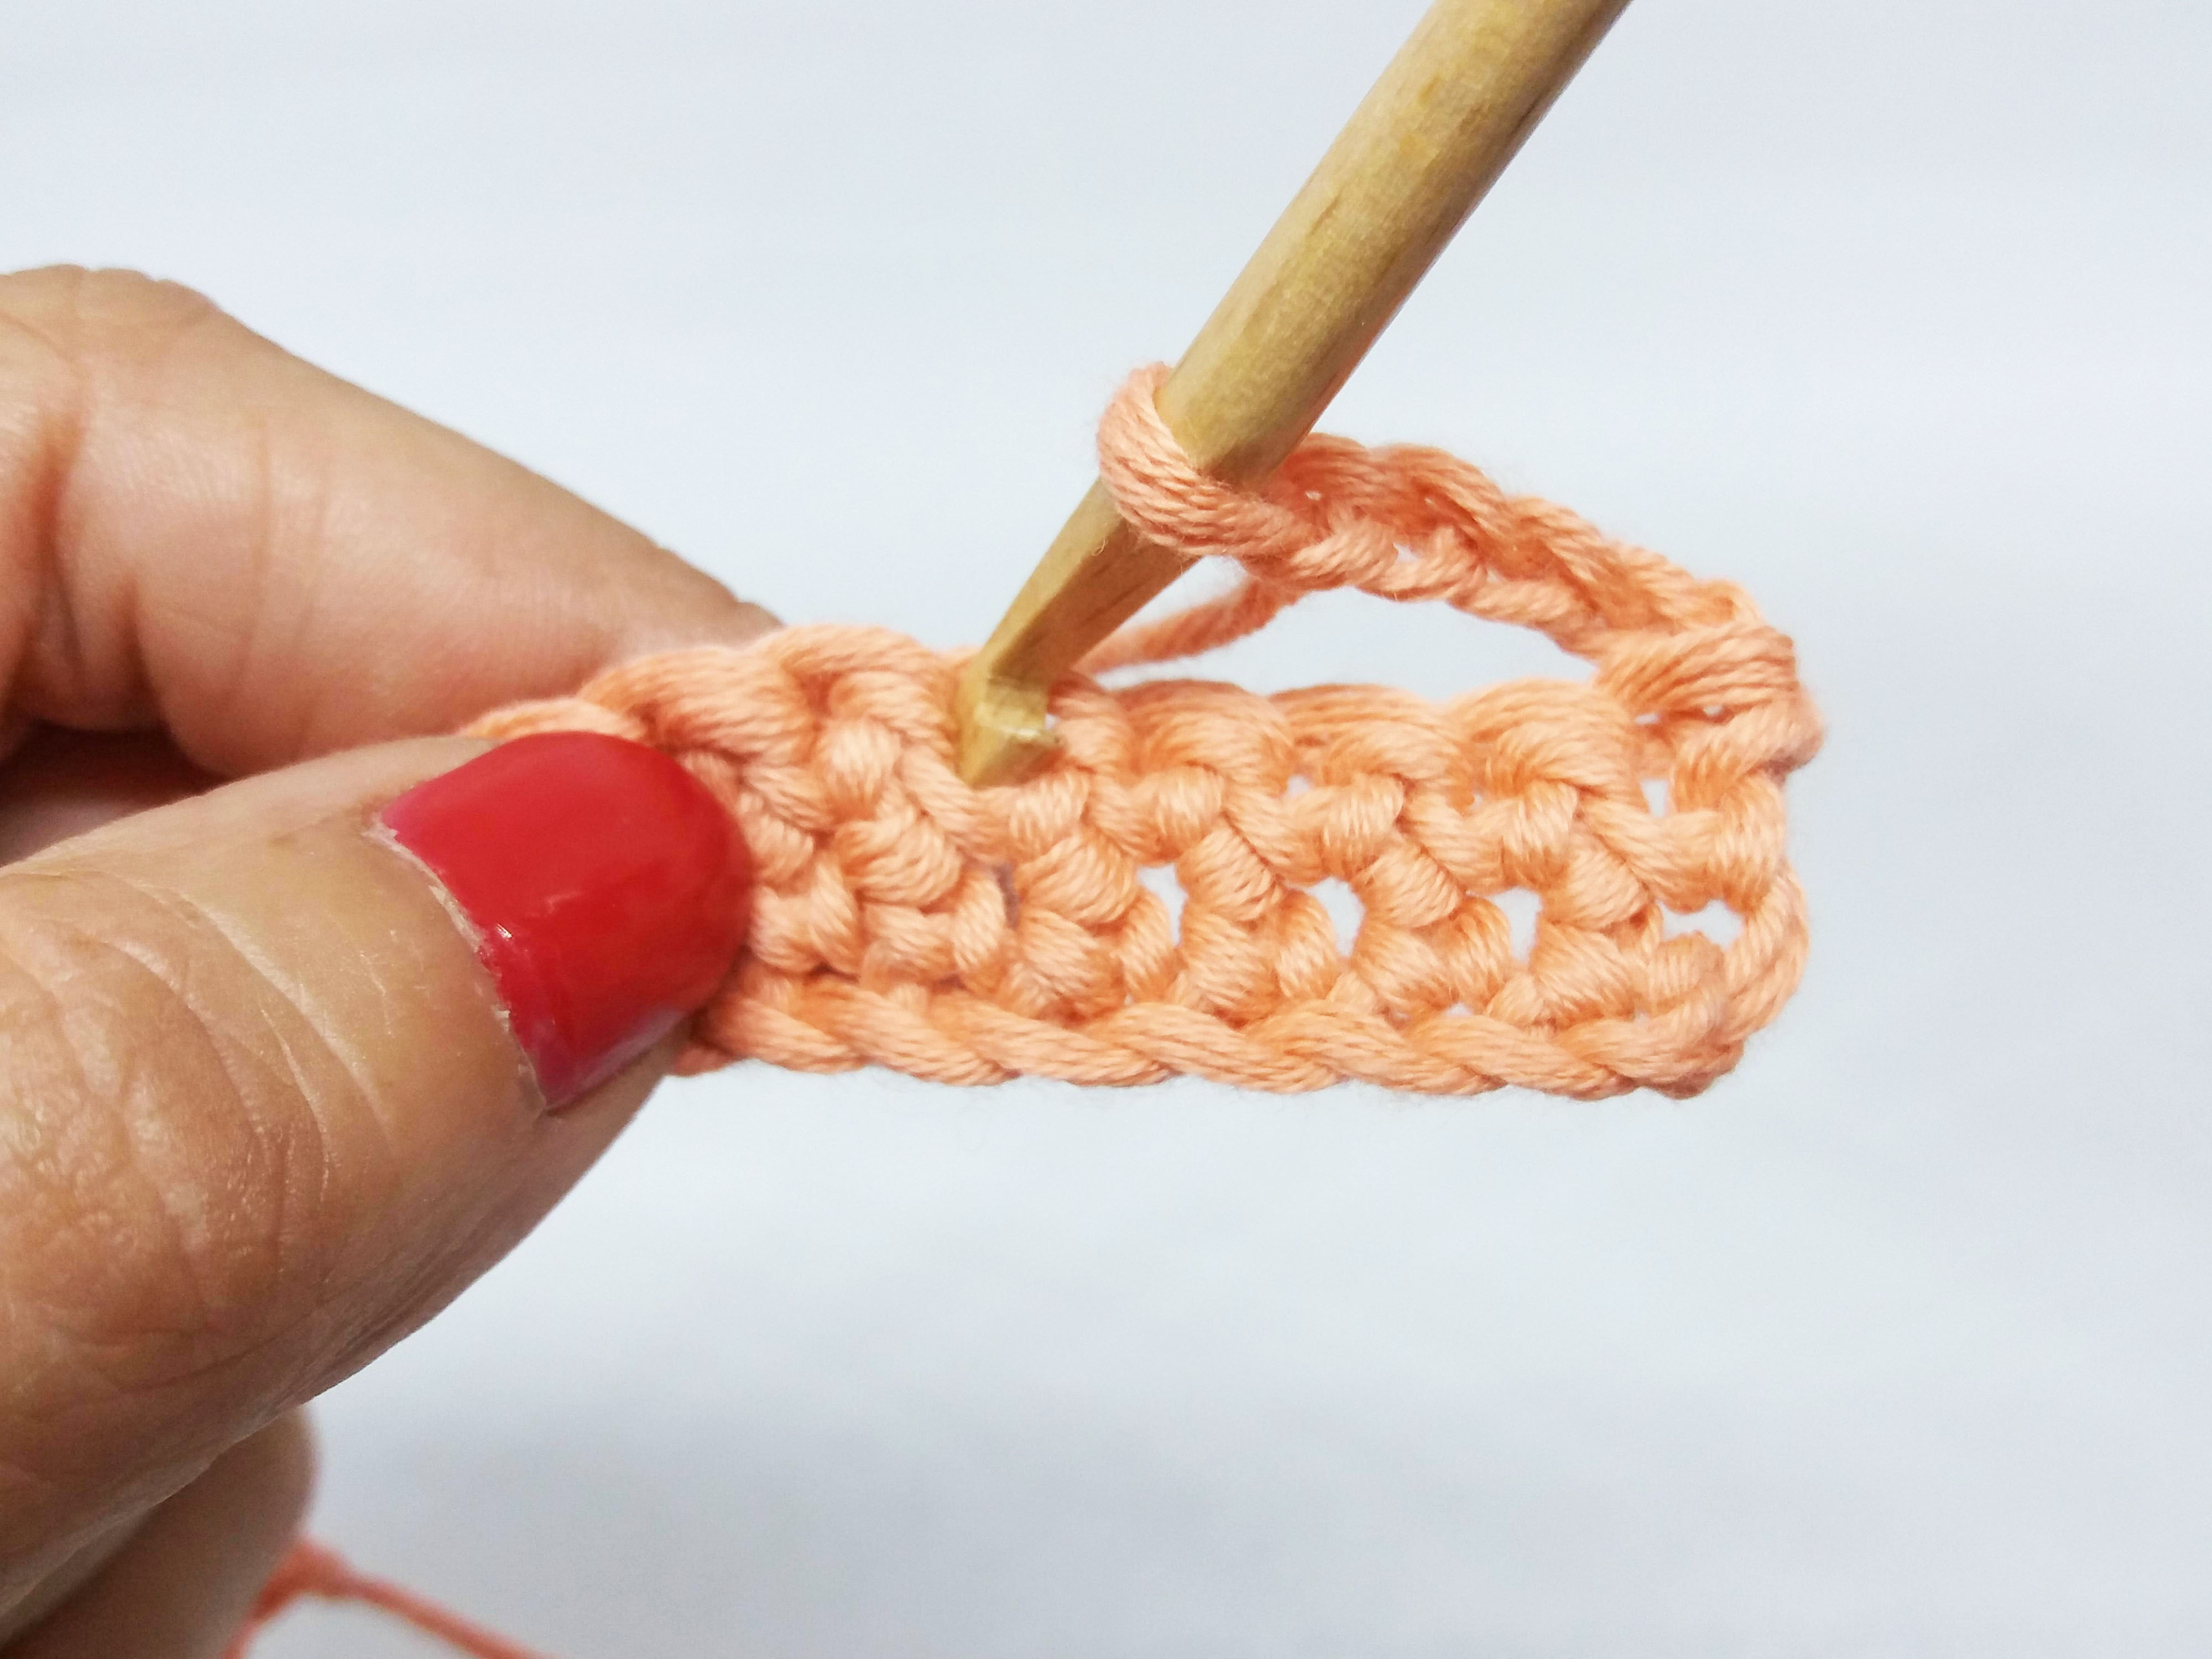
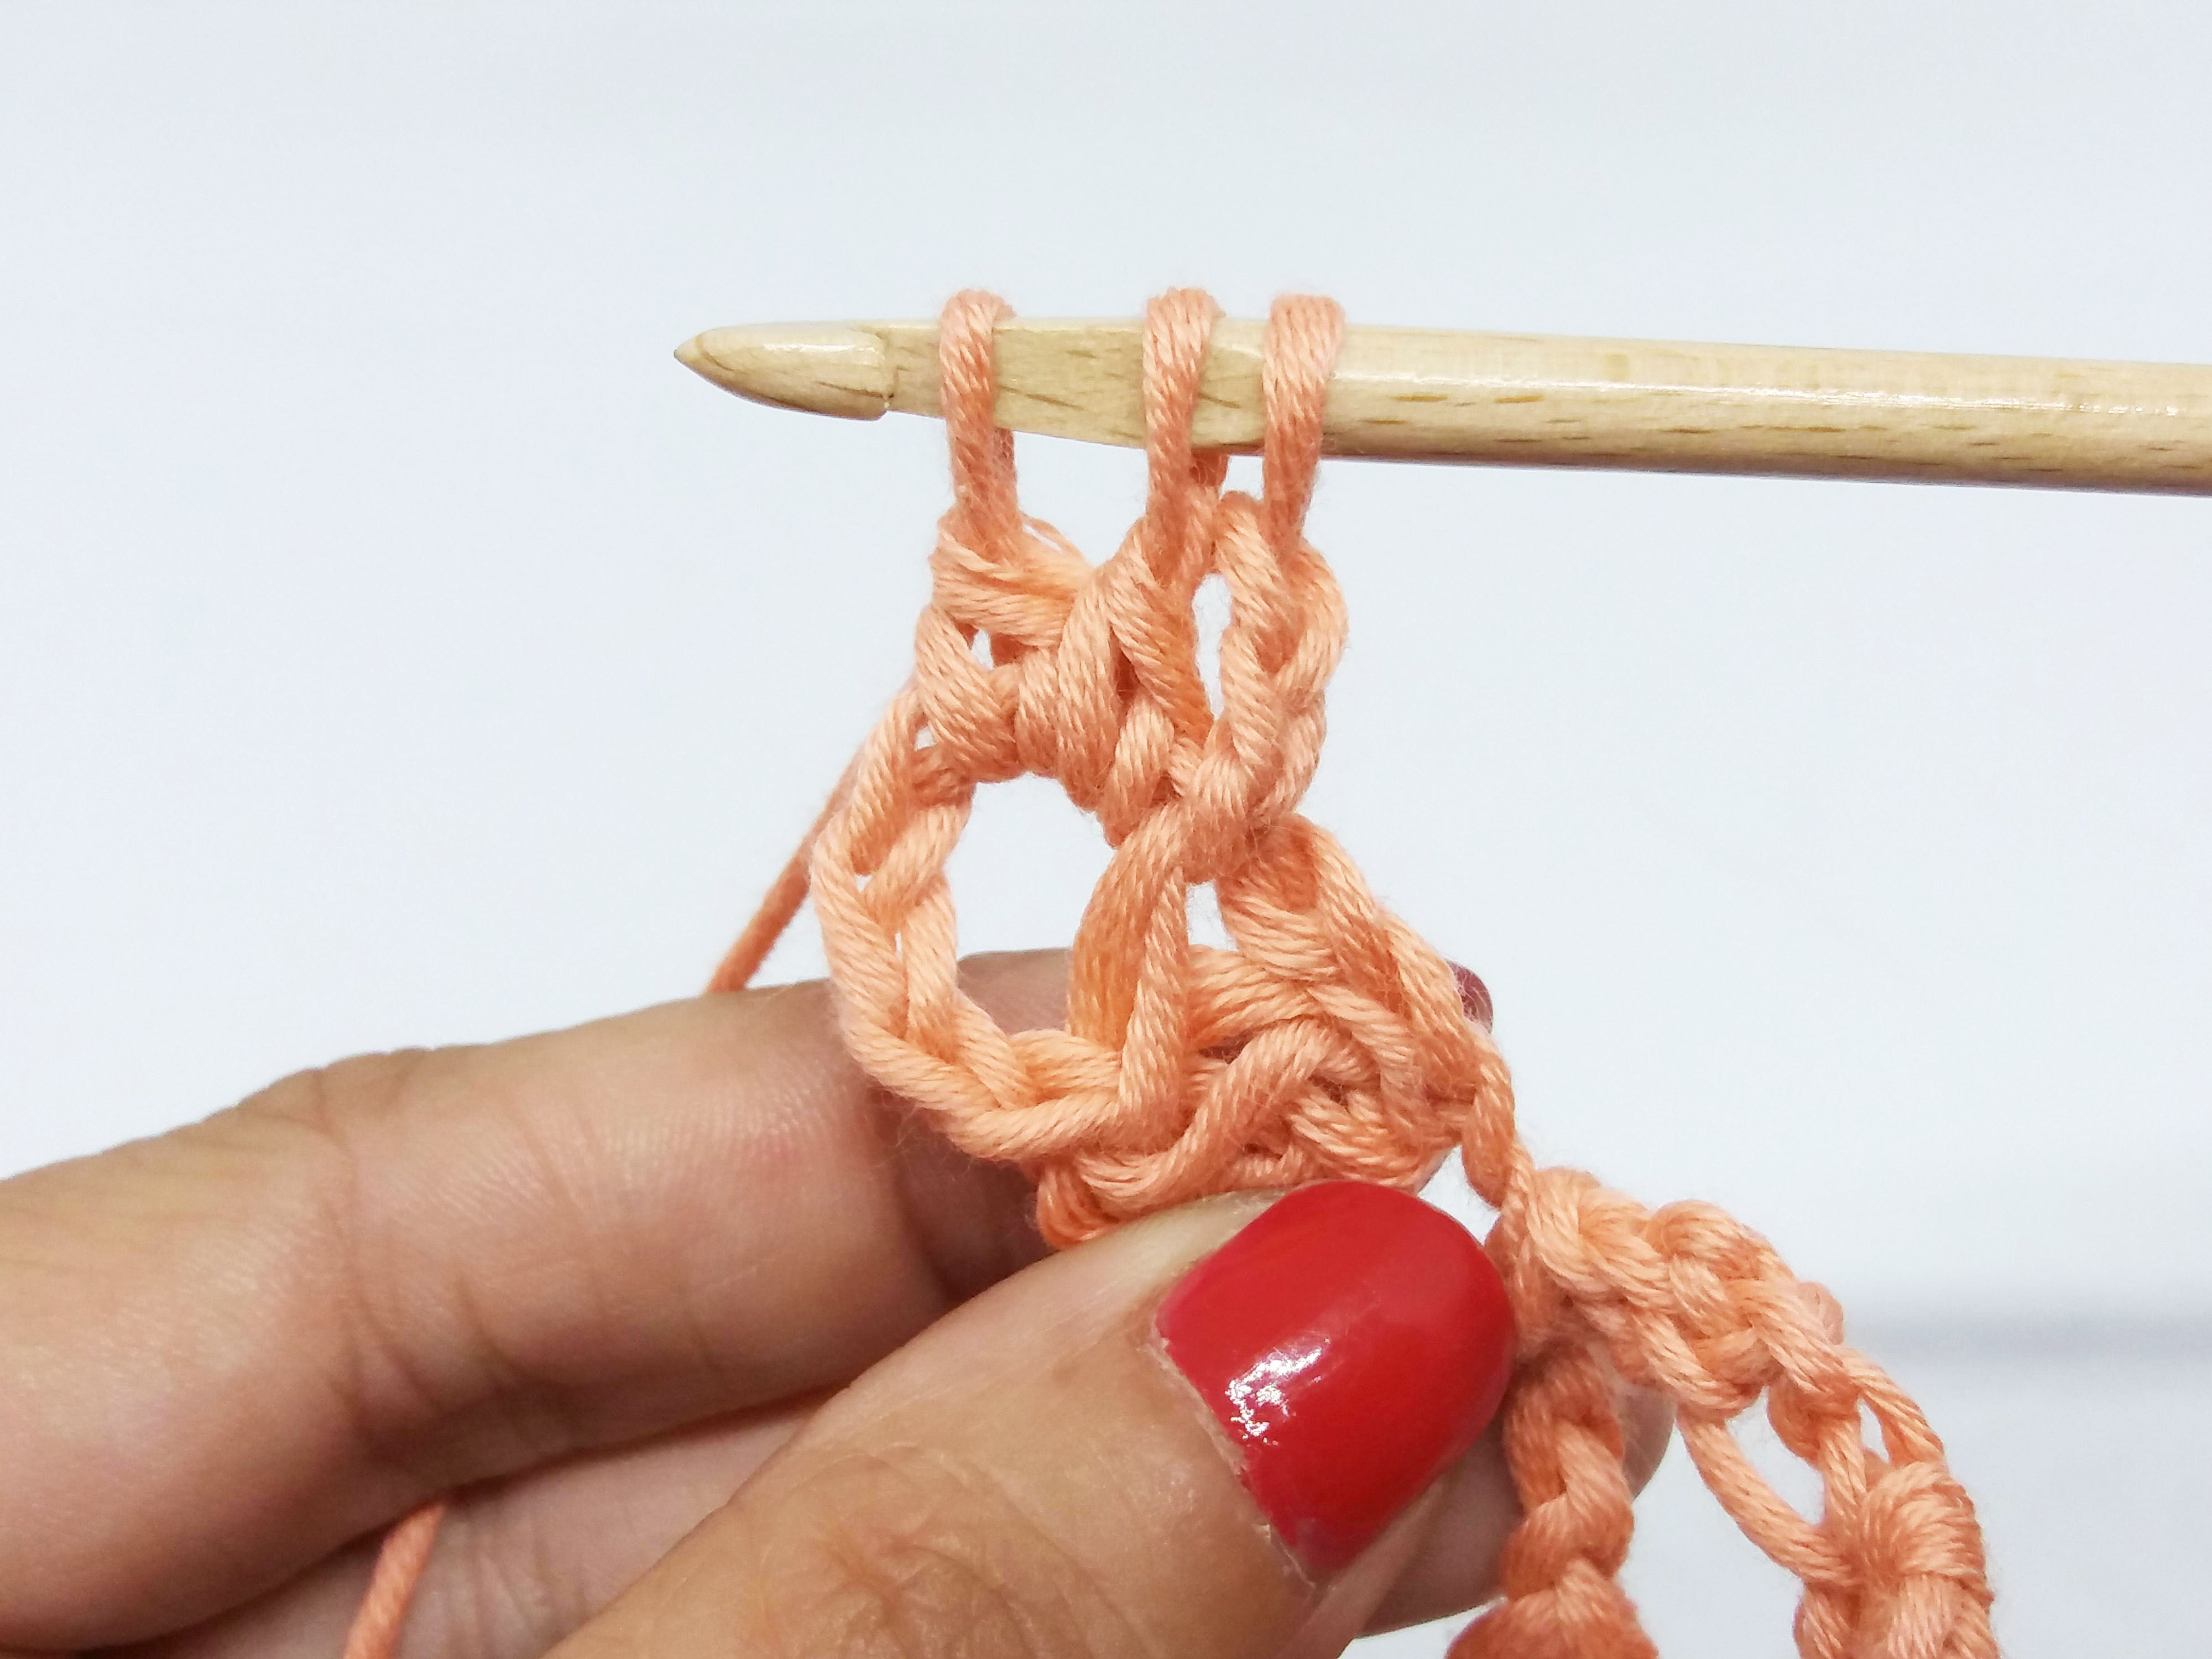
Row 2: *chain 3, work 1 single crochet into the next chain space formed by the chains in the previous row.

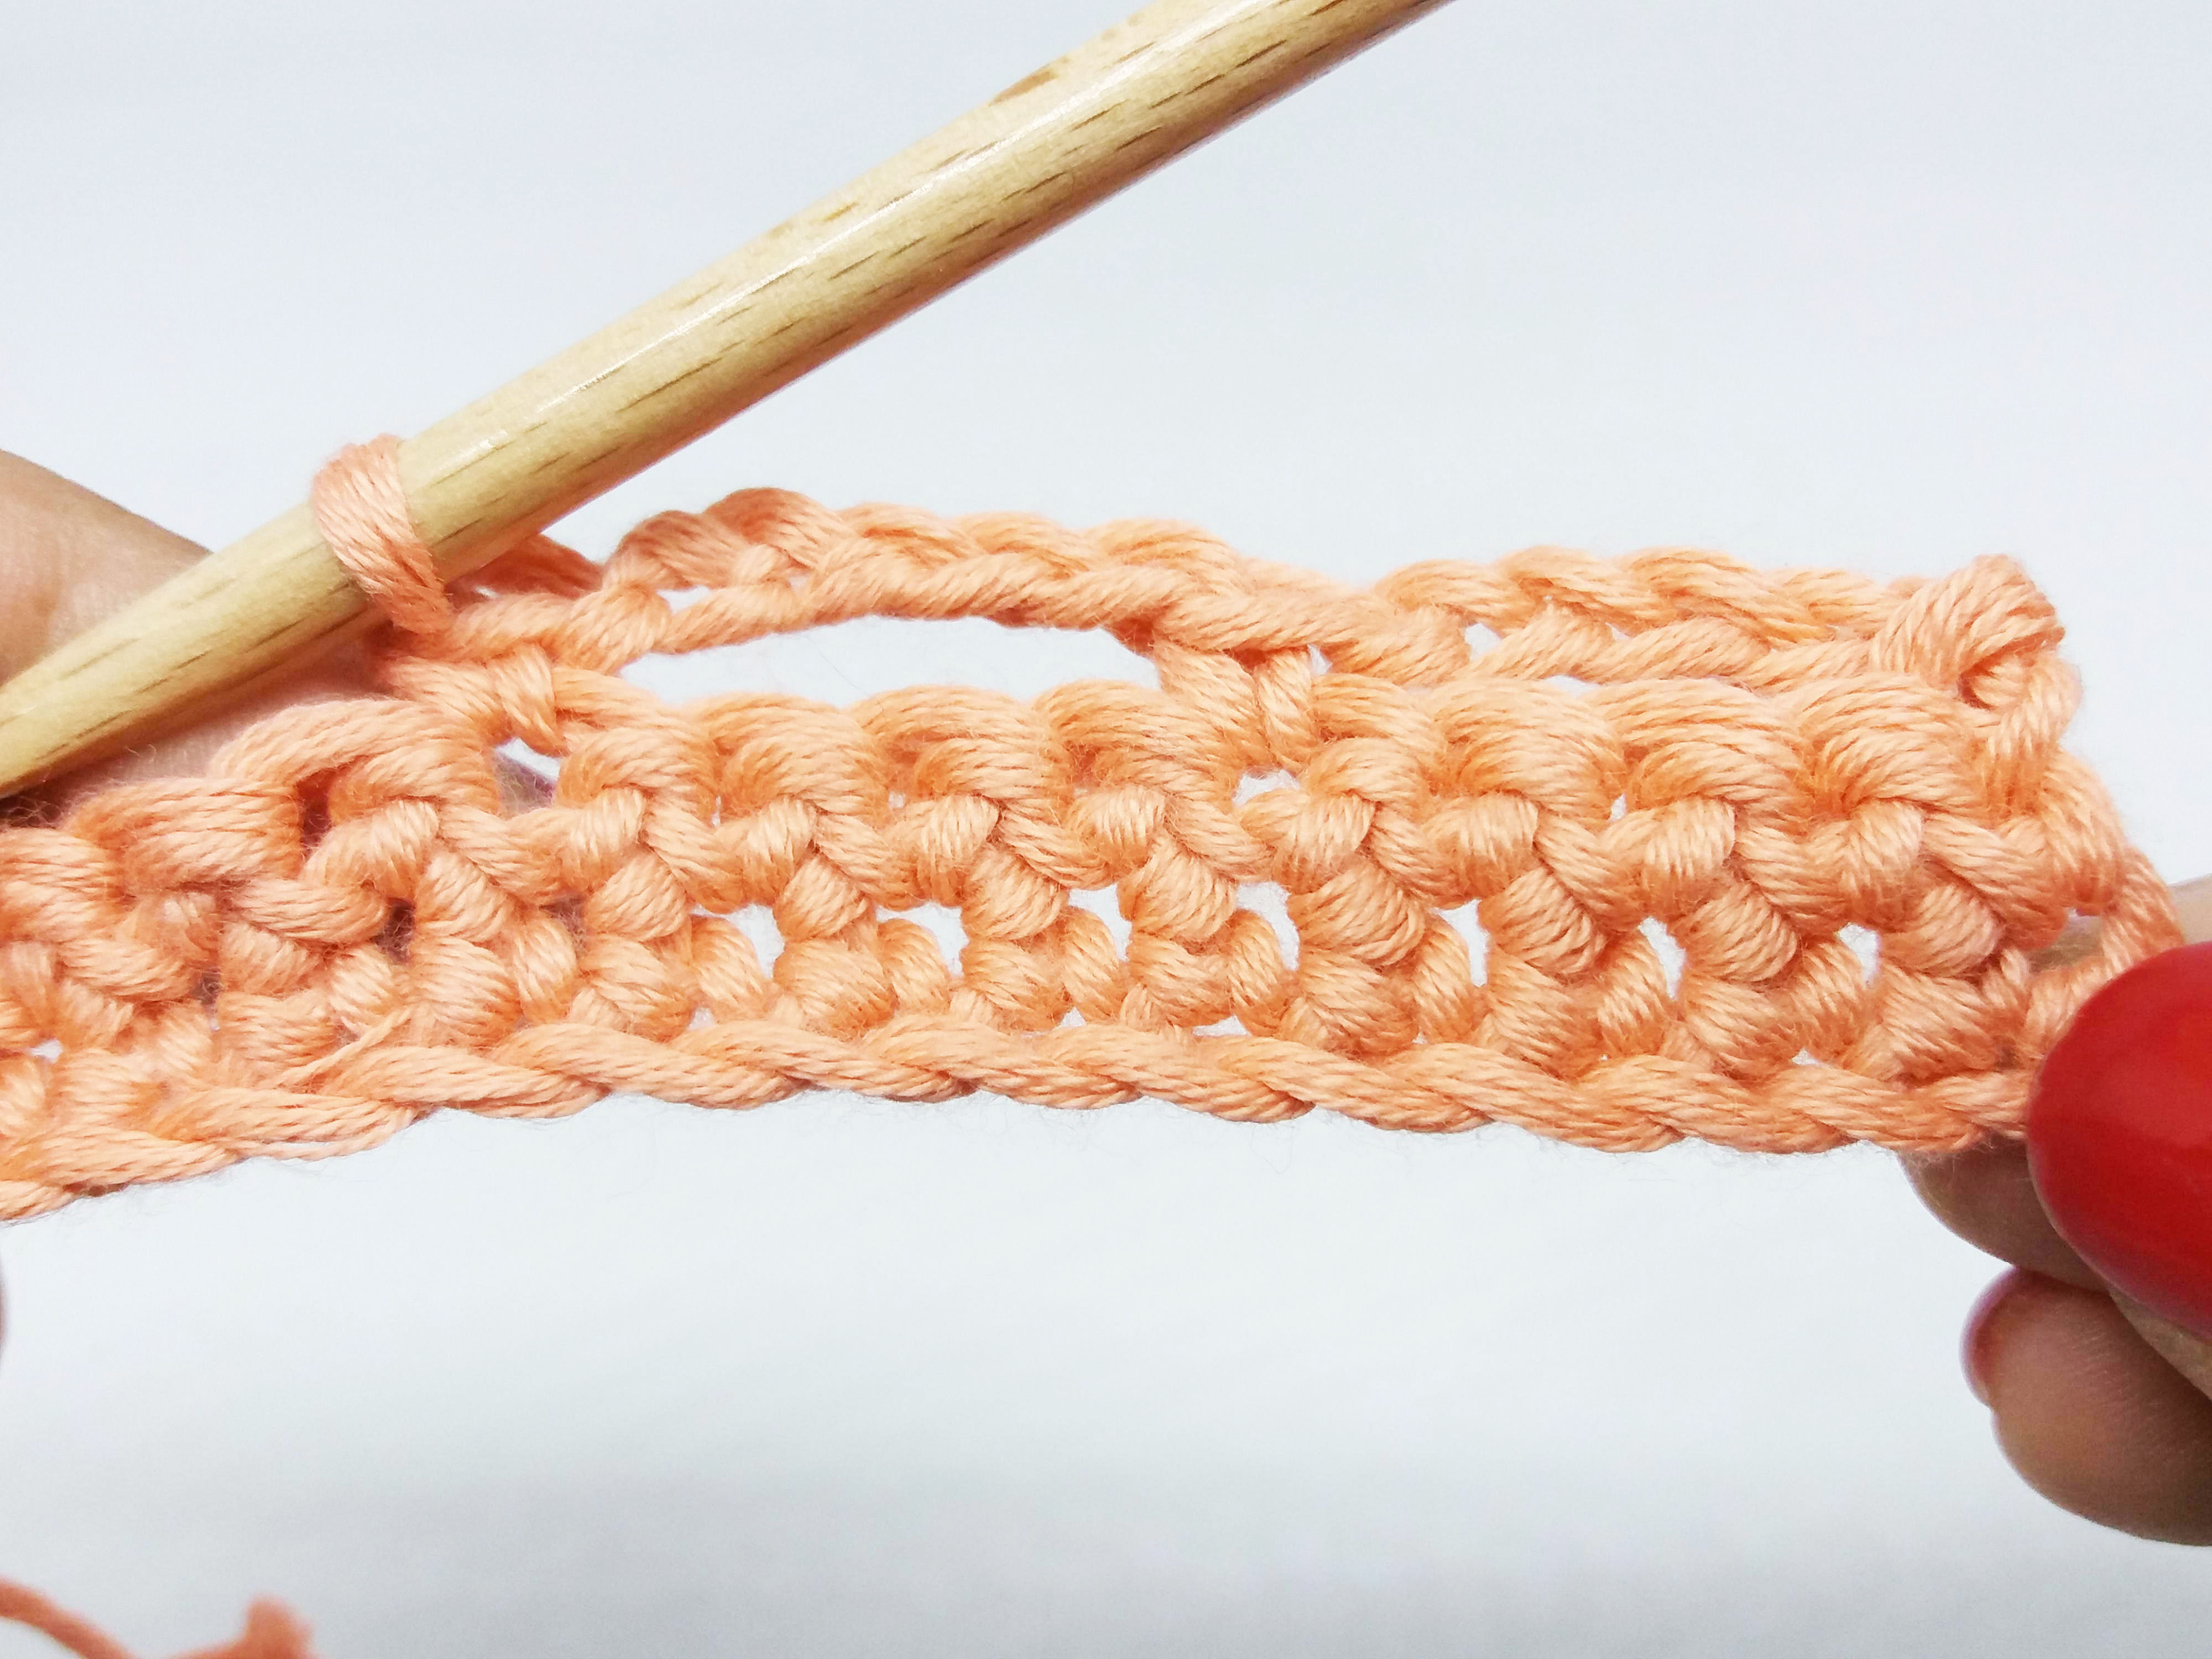
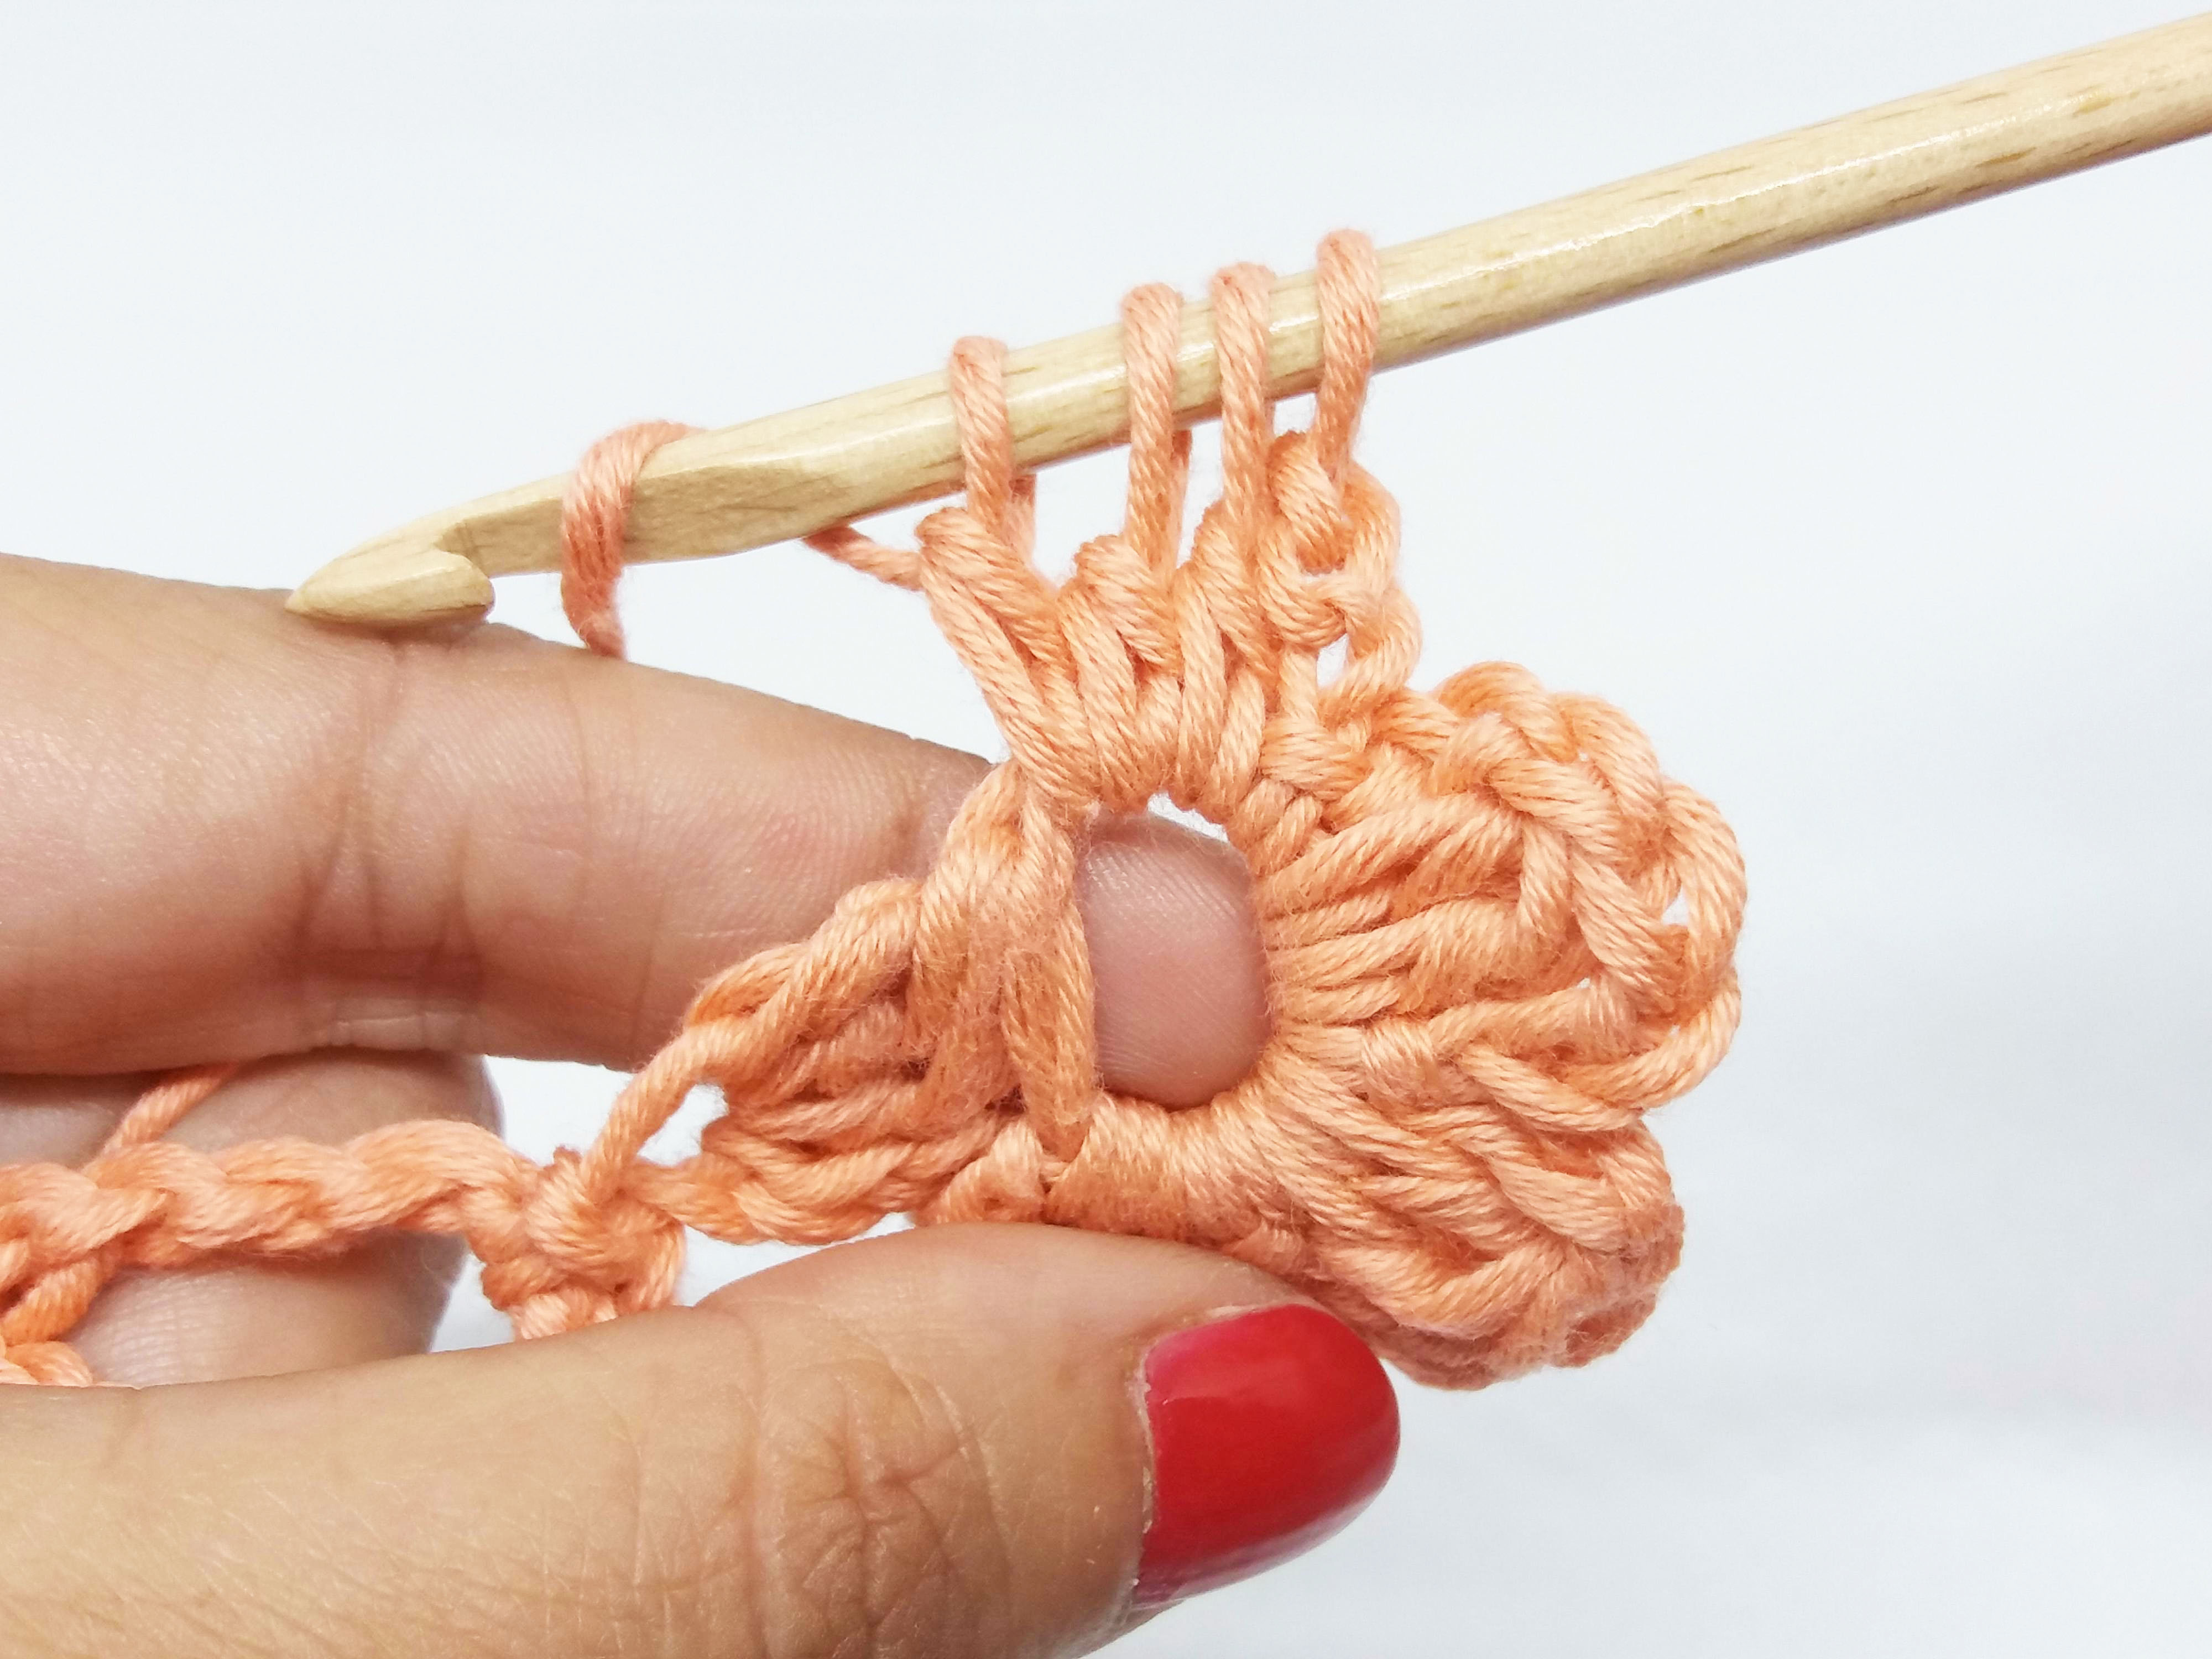
Chain 4, work 3 double crochets closed together on the base of the single crochet, and you have the first petal of the flower.

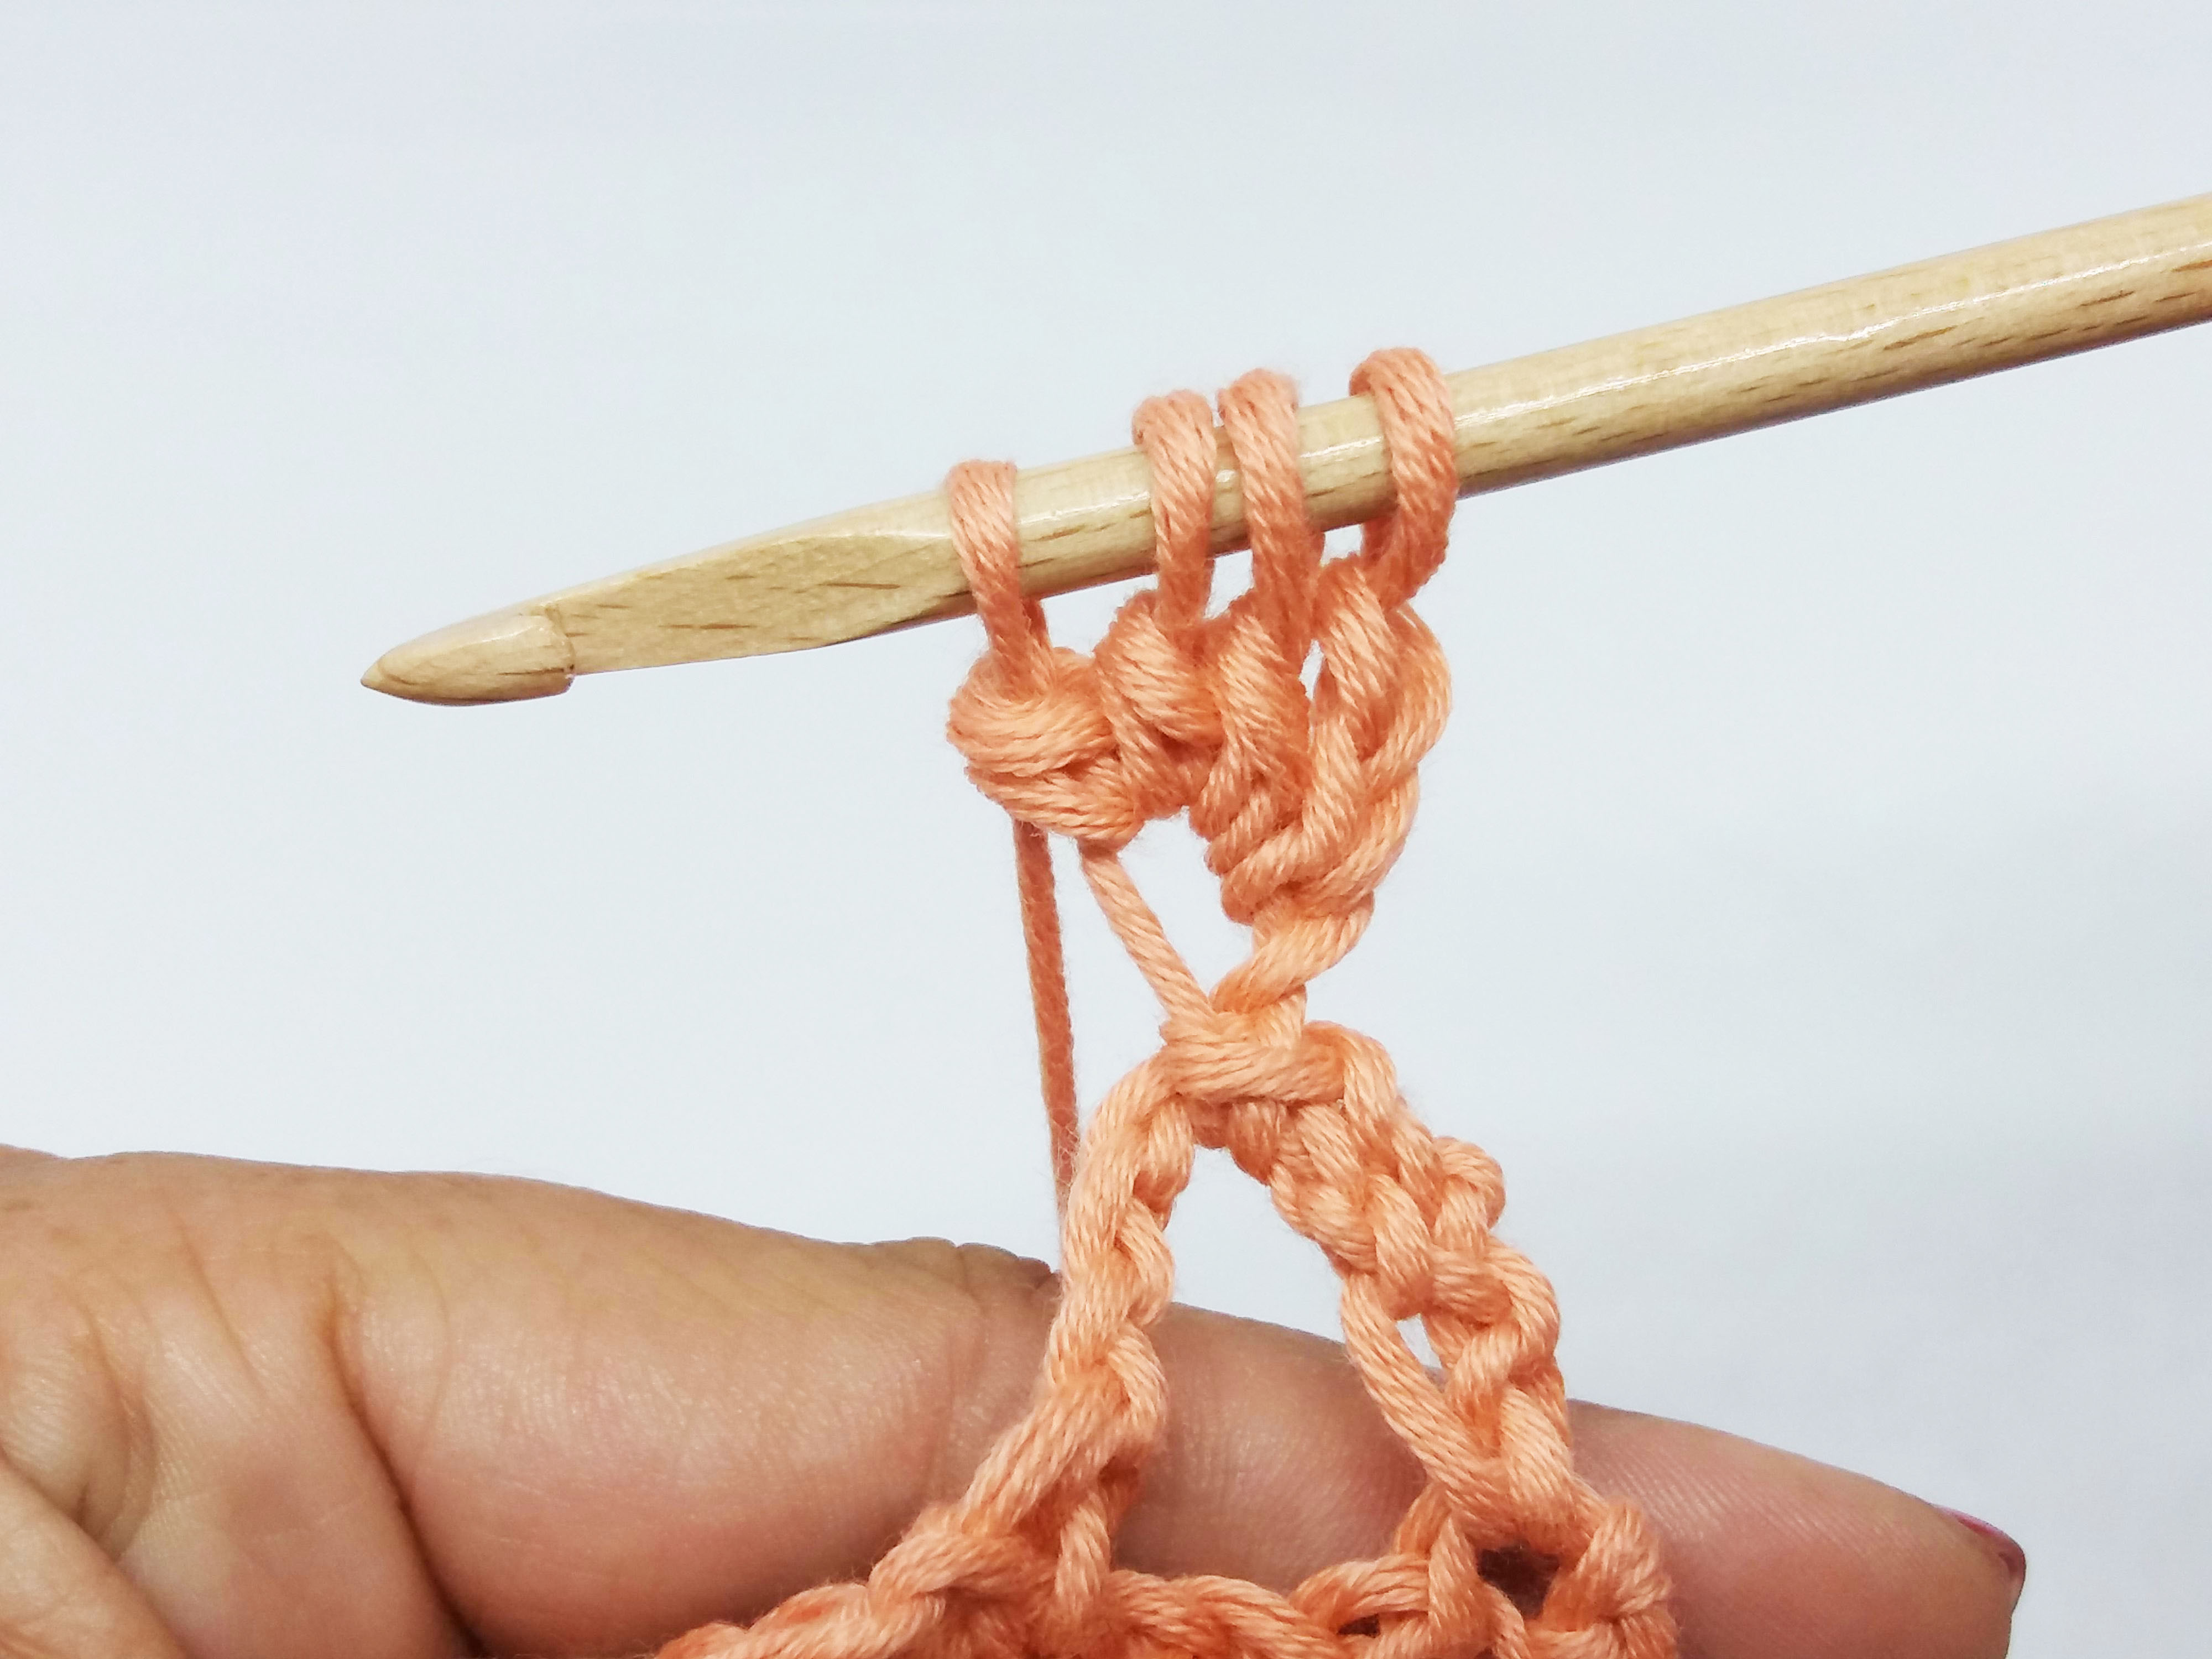
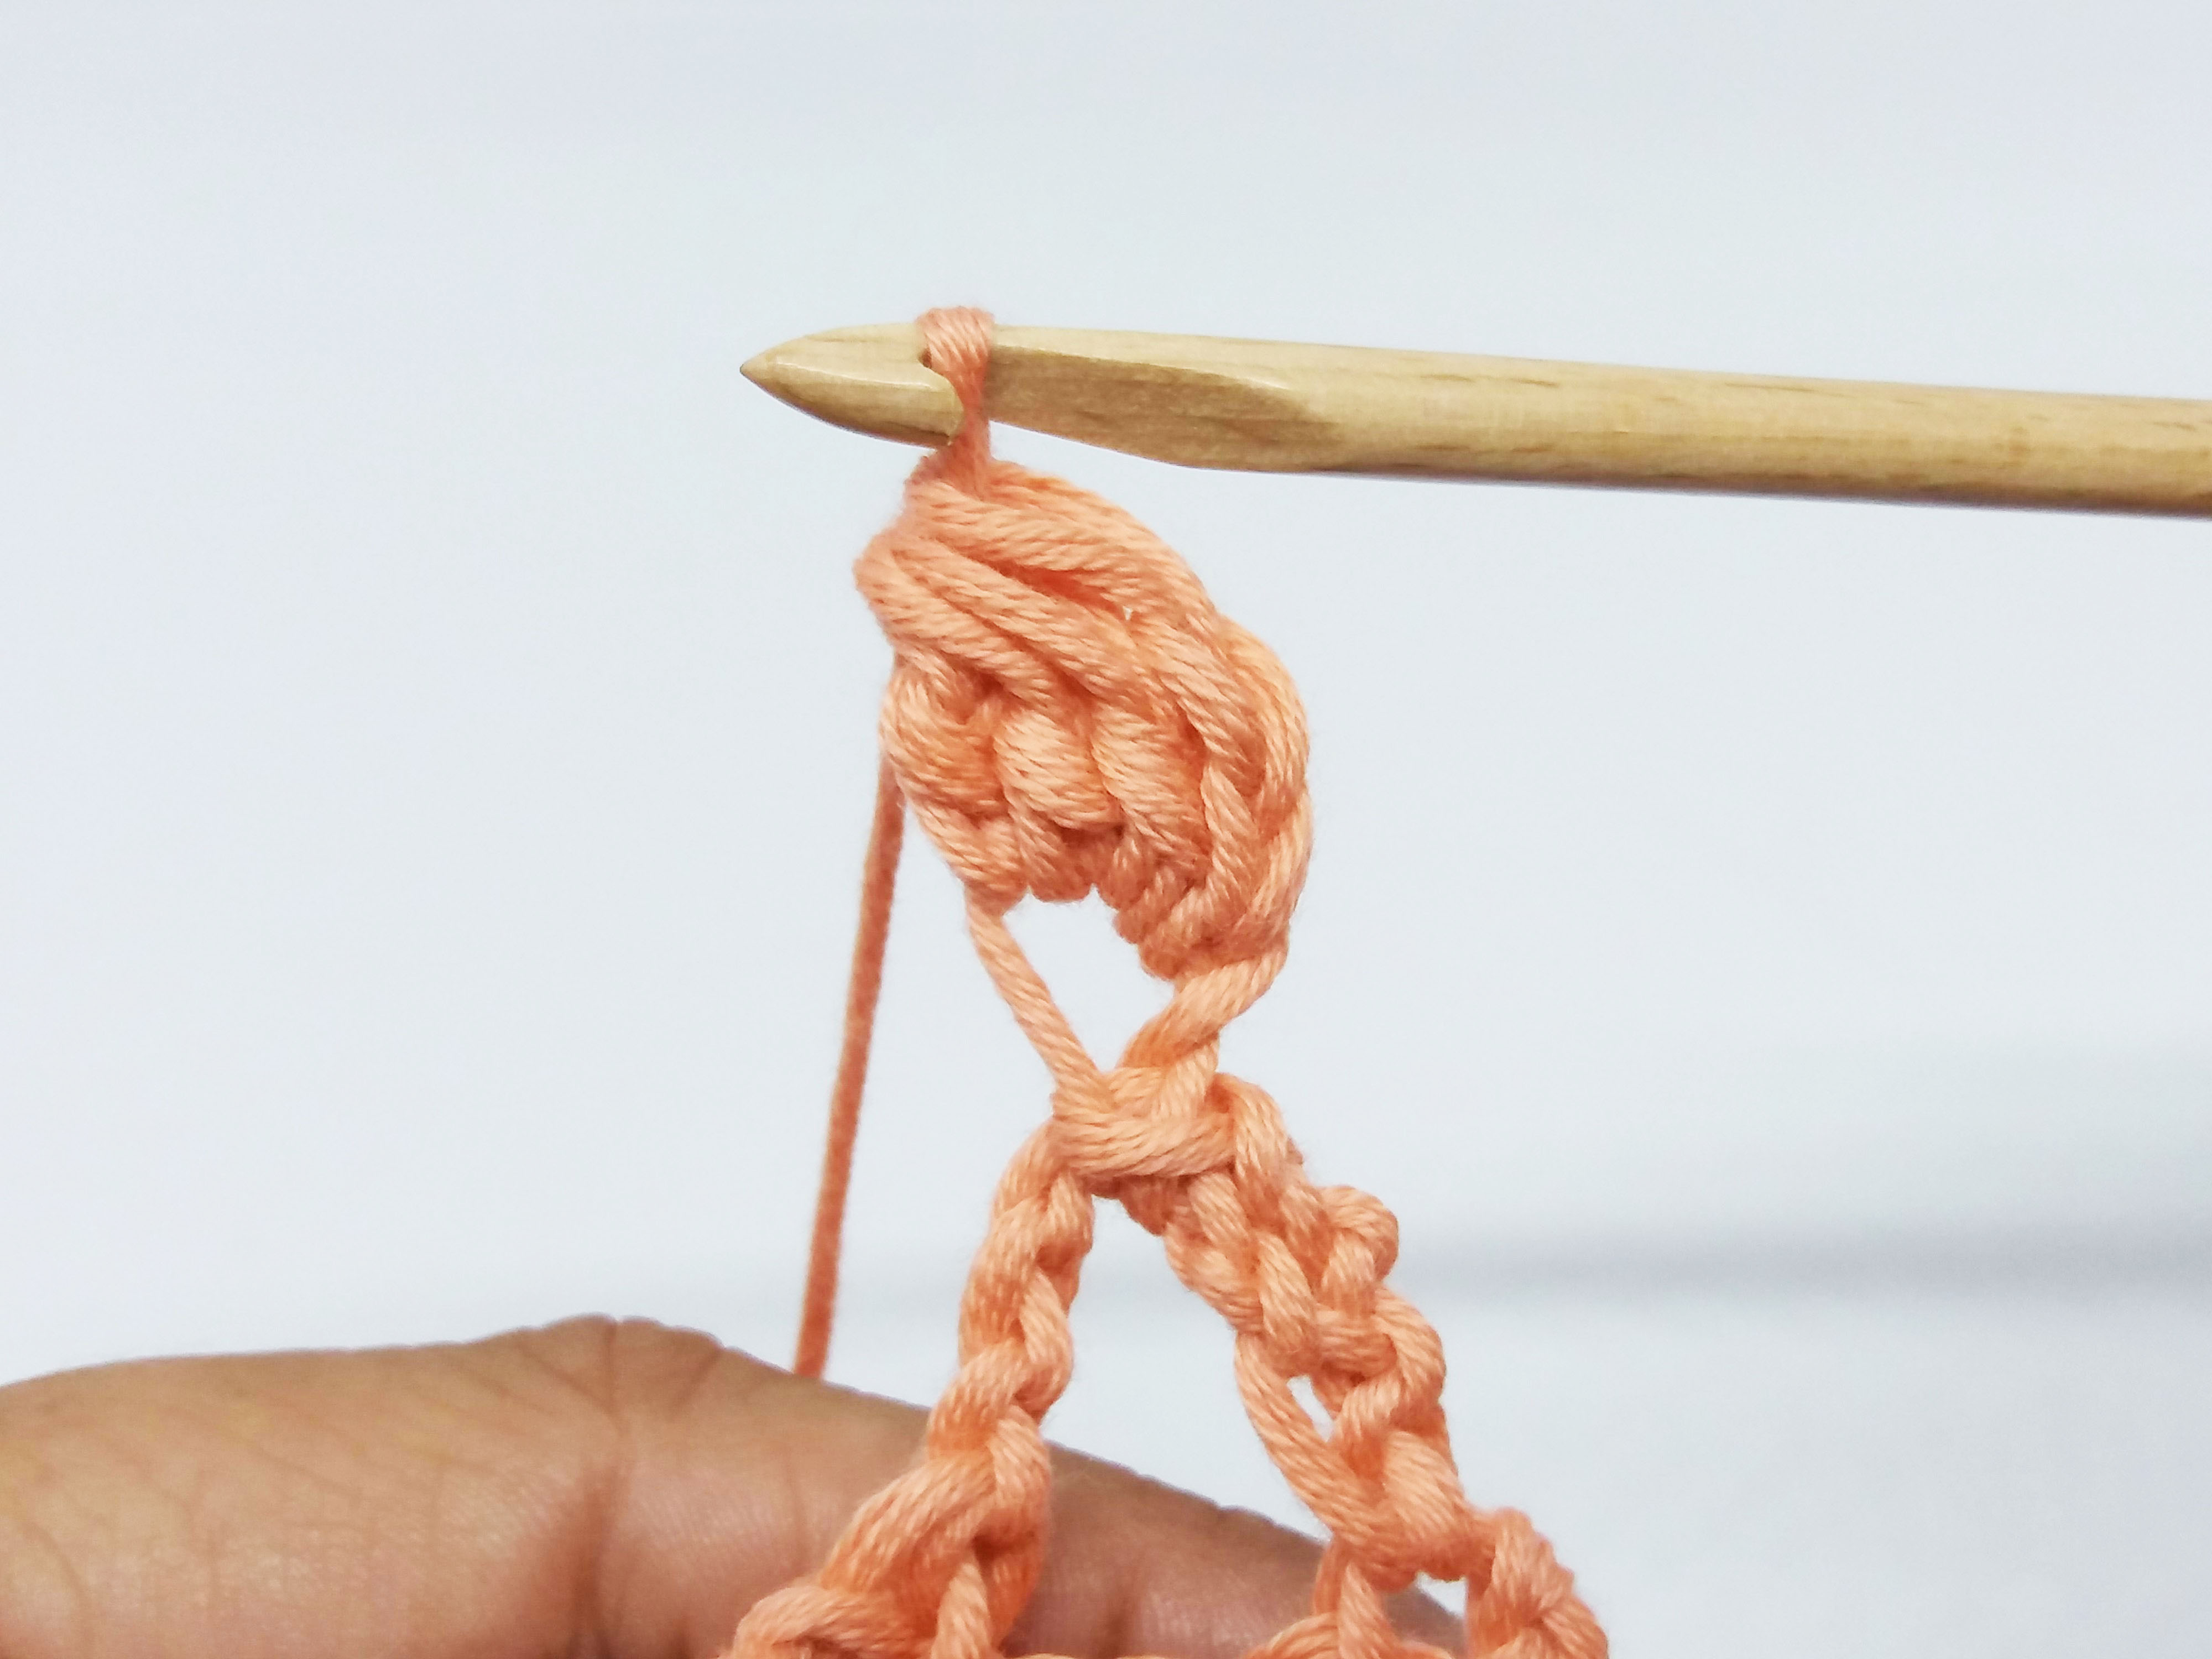
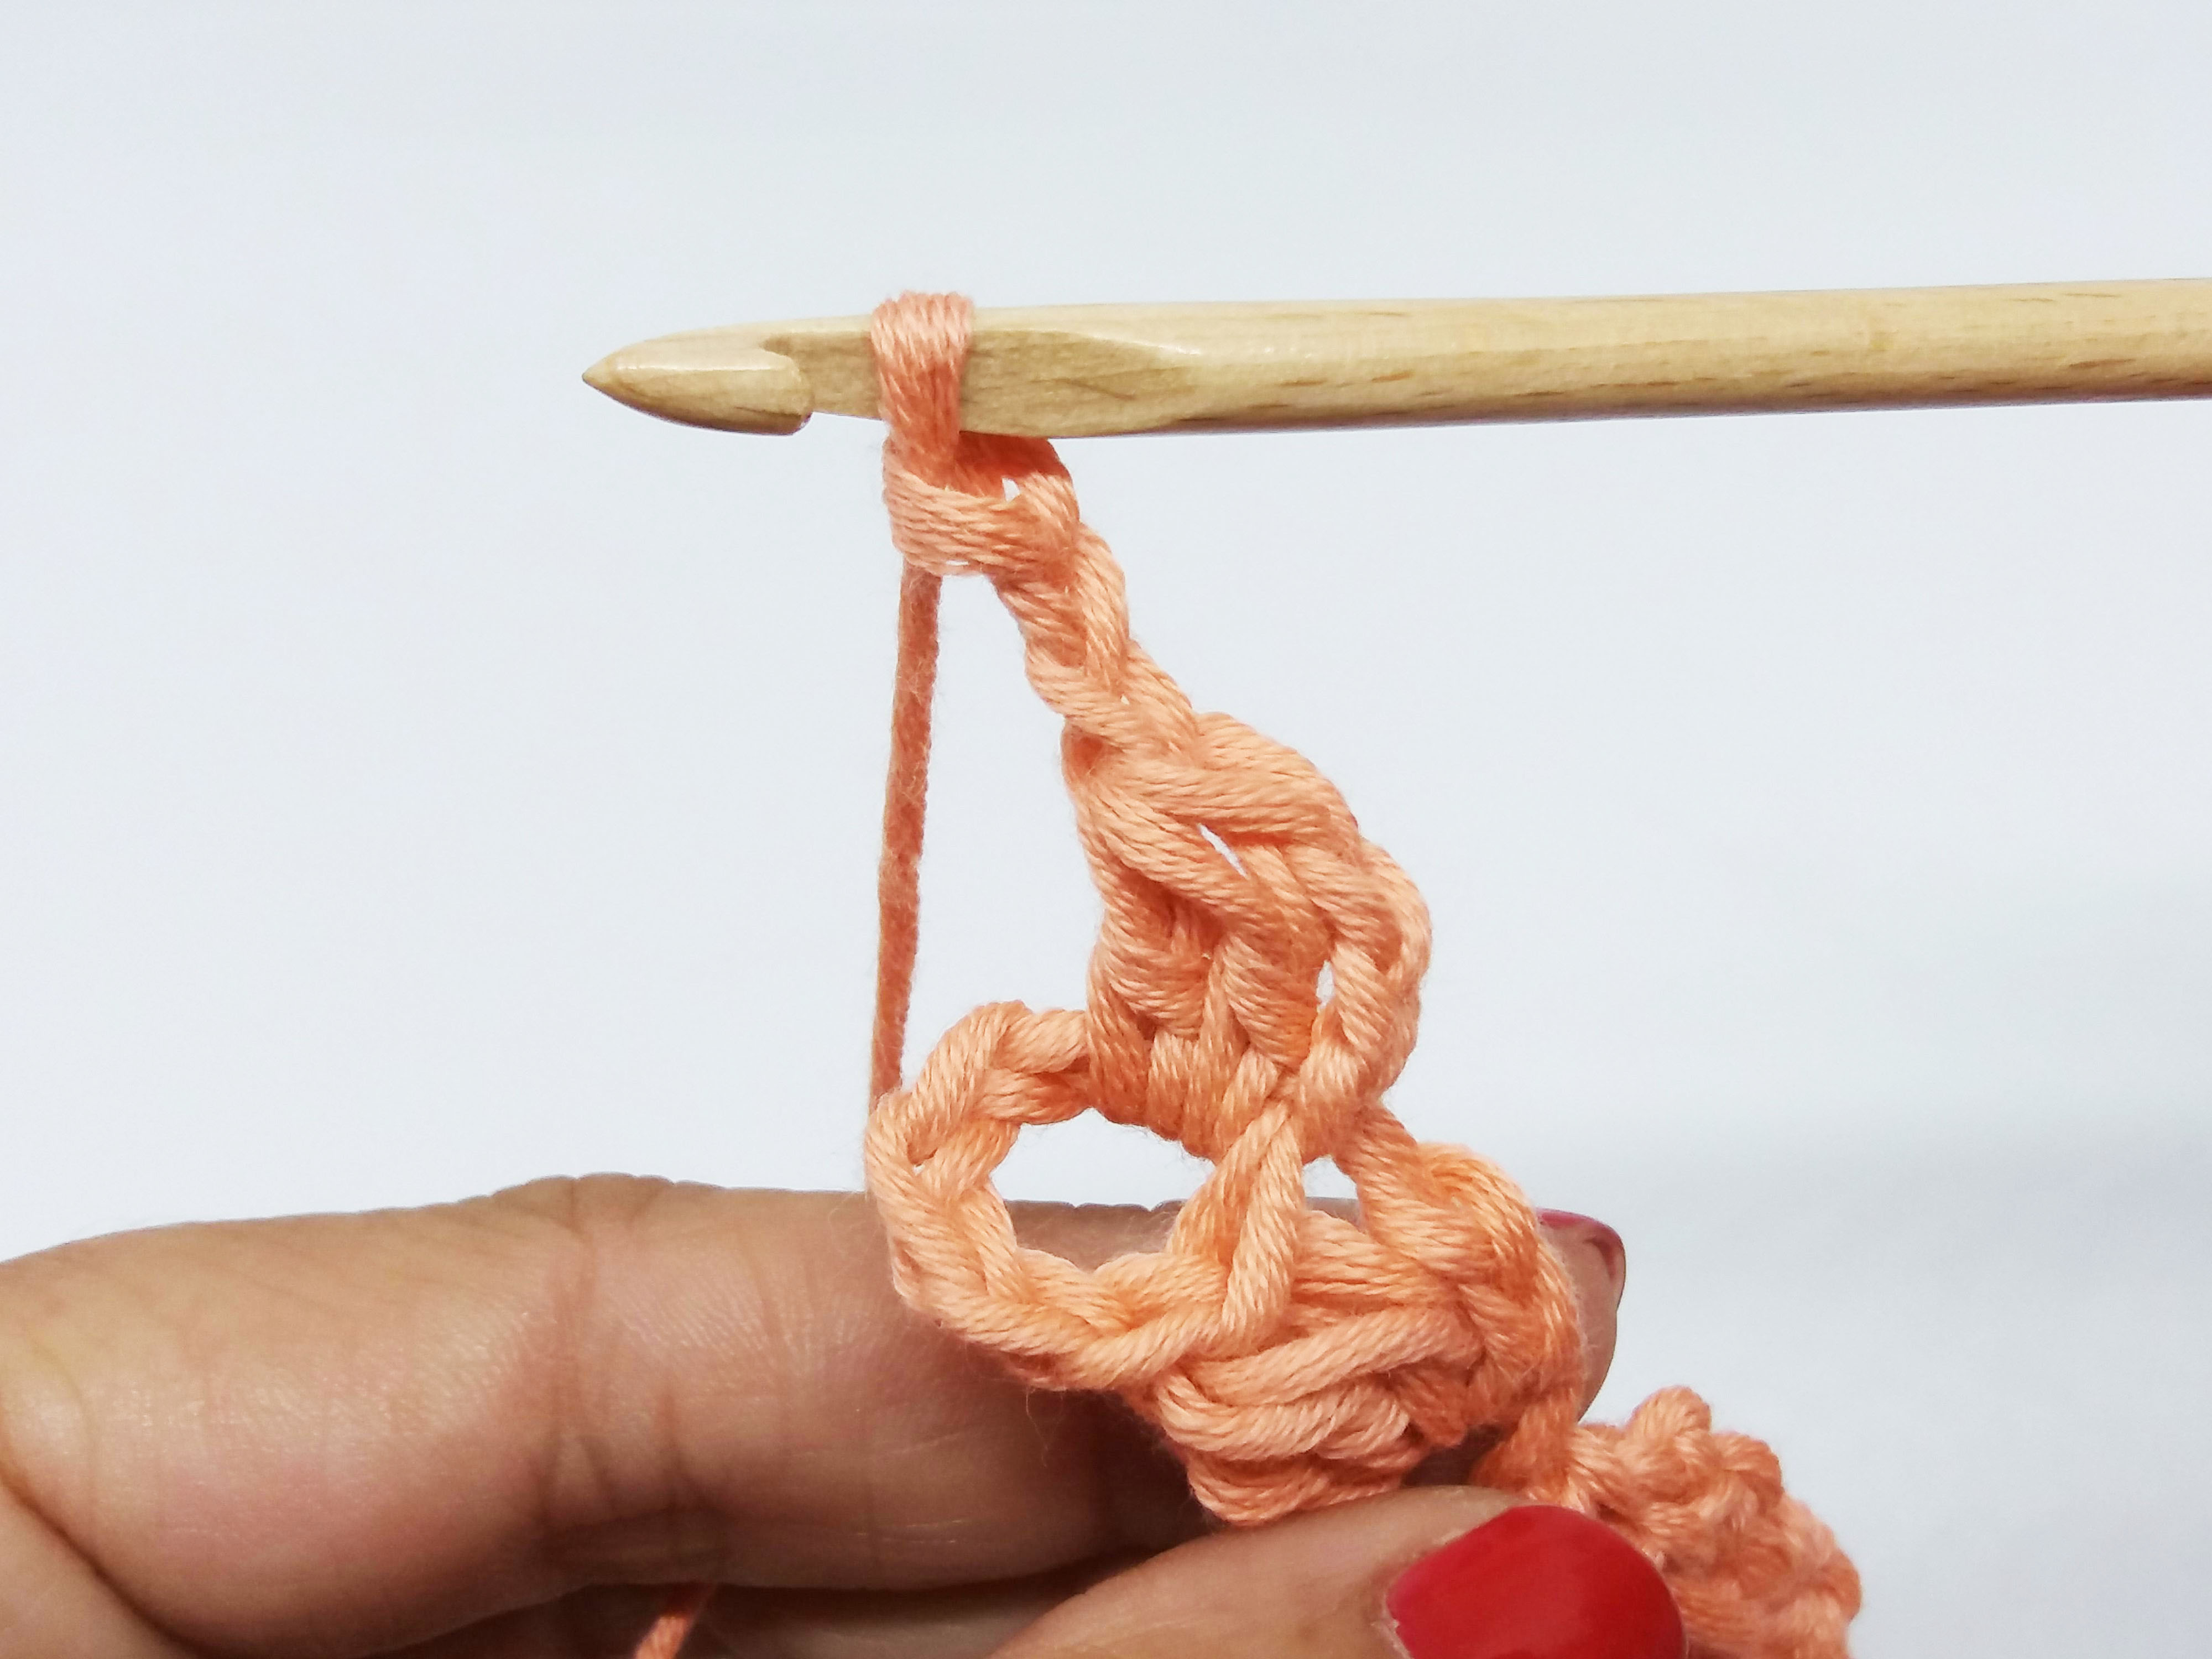
Chain 5, pull out the hook from the chain and pass the hook through the upper part of the 3 double crochets closed together and the last chain. Now close with a slip stitch and form a circle.
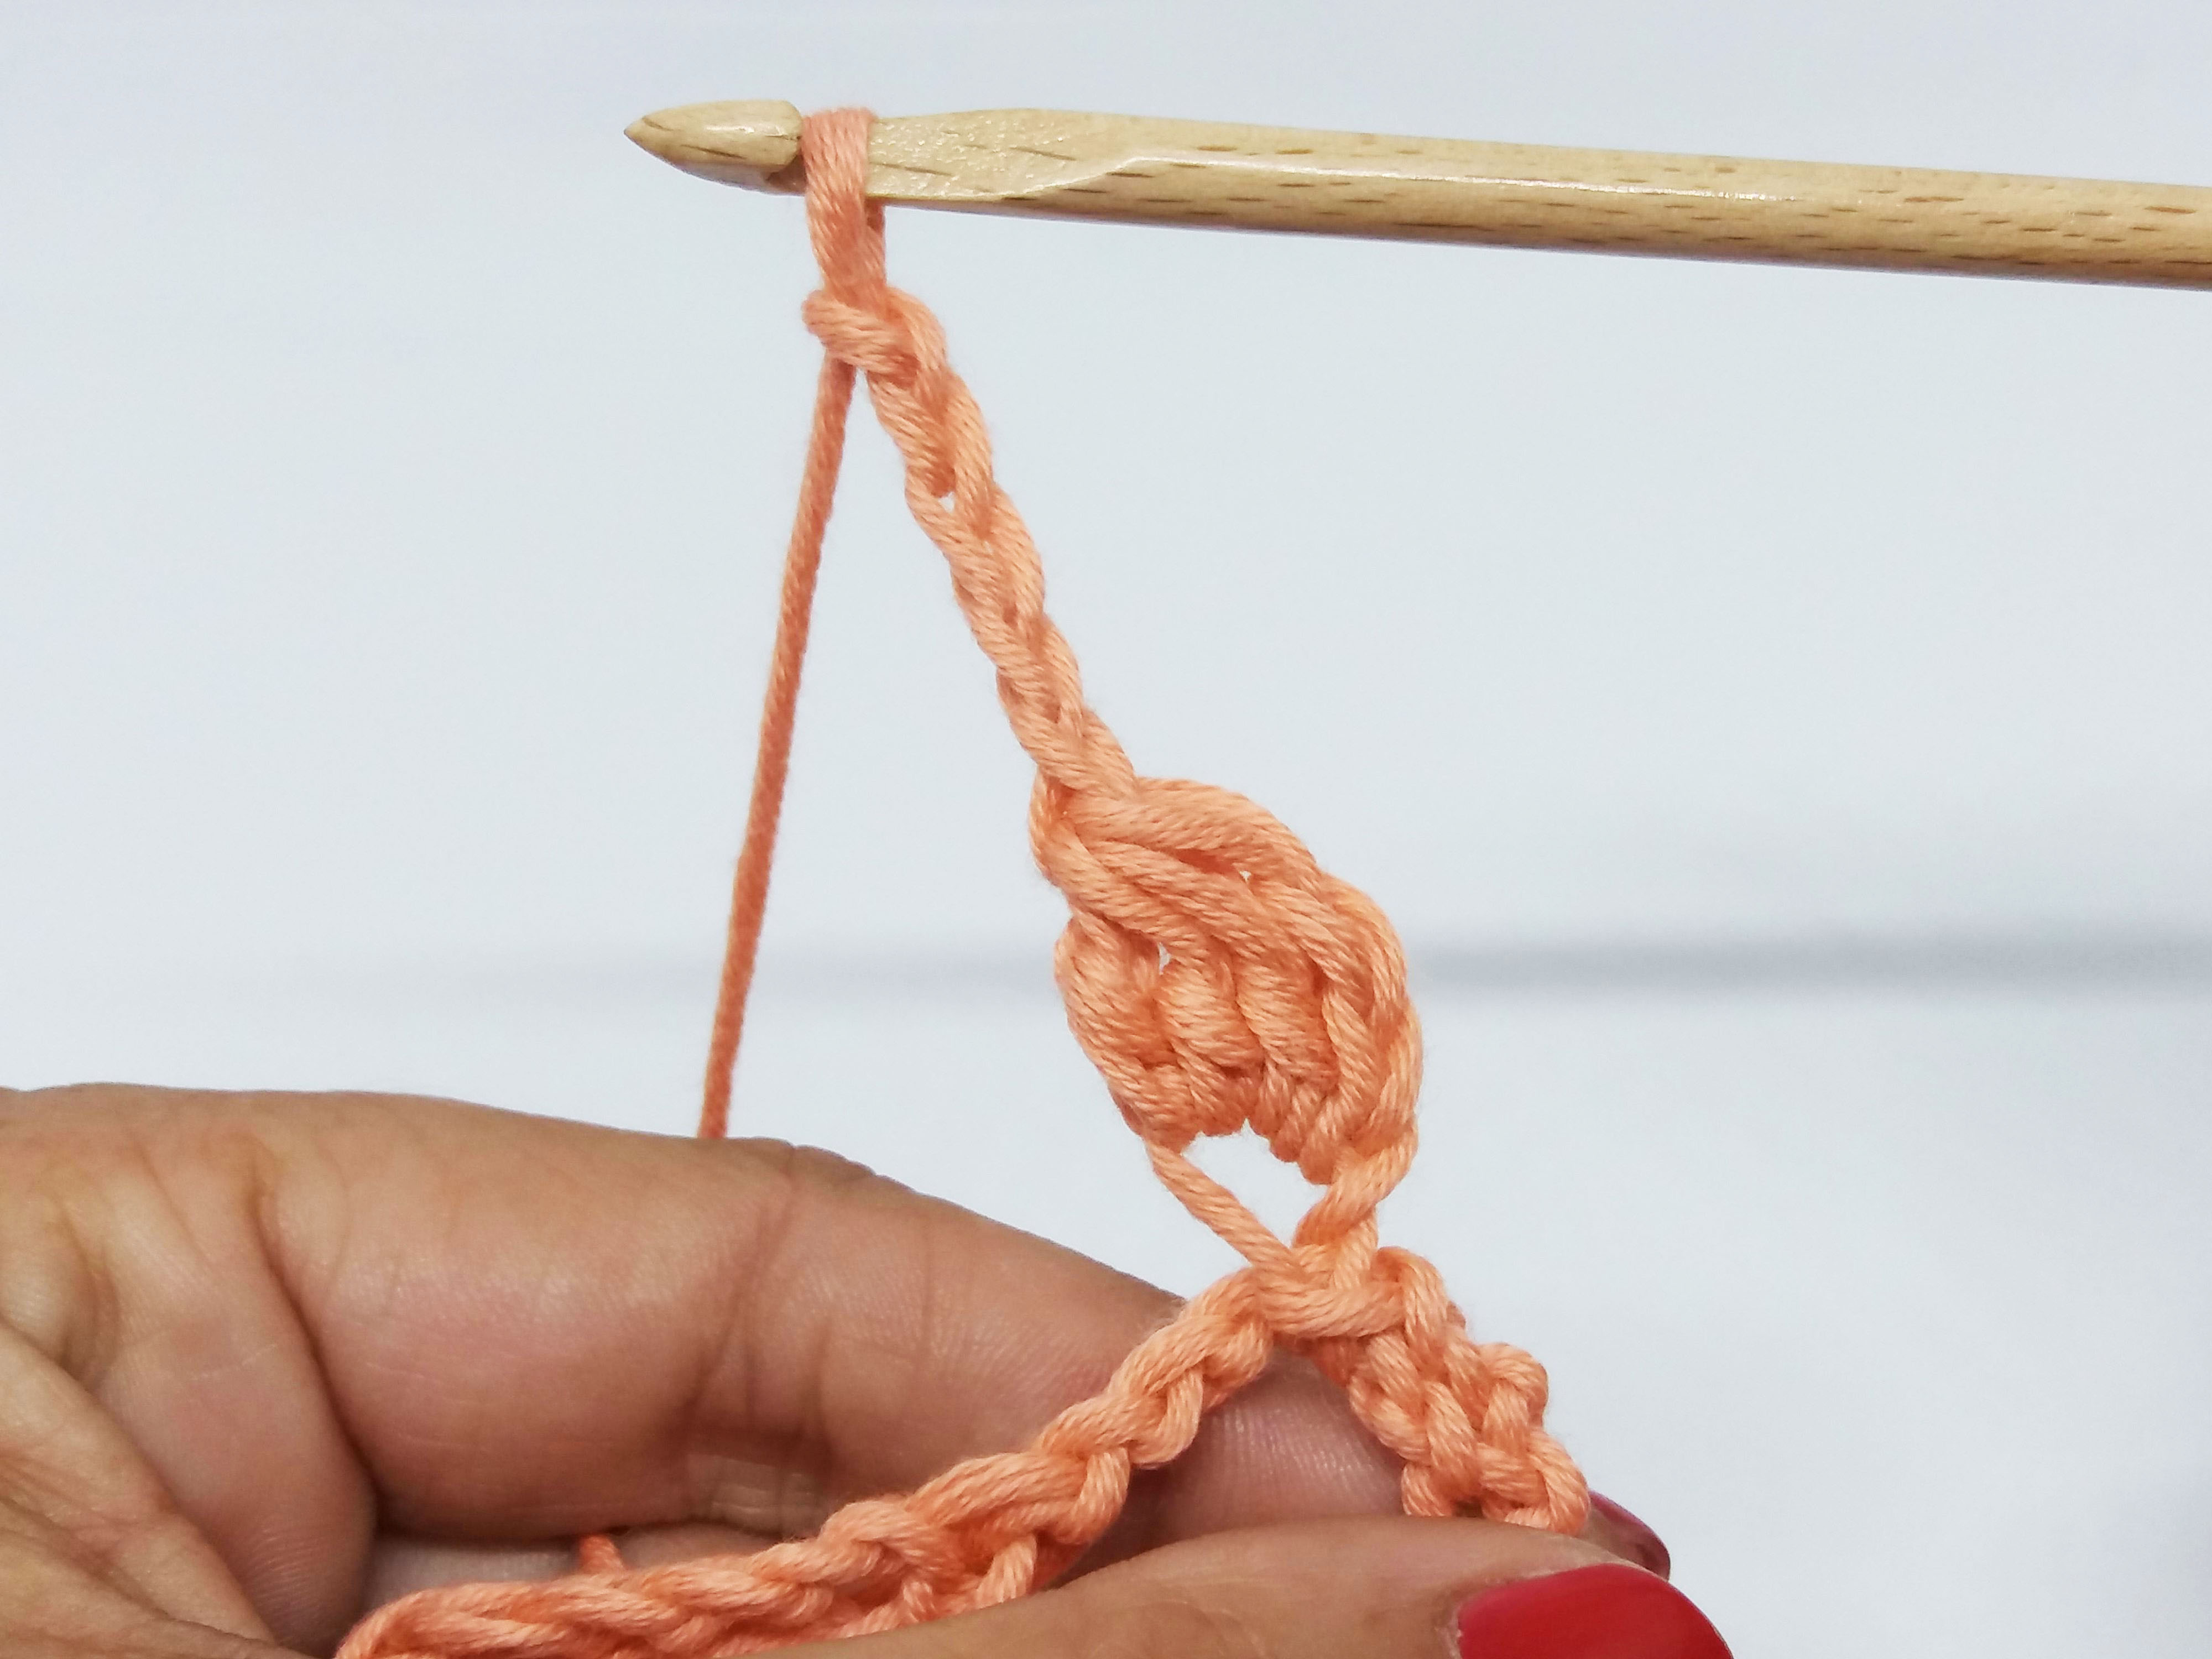

Inside this circle you will crochet the petals of the flower. To crochet the petals of the flower **chain 3, work 2 double crochets closed together, chain 3, work 1 slip stitch**. Repeat from ** to ** twice more.
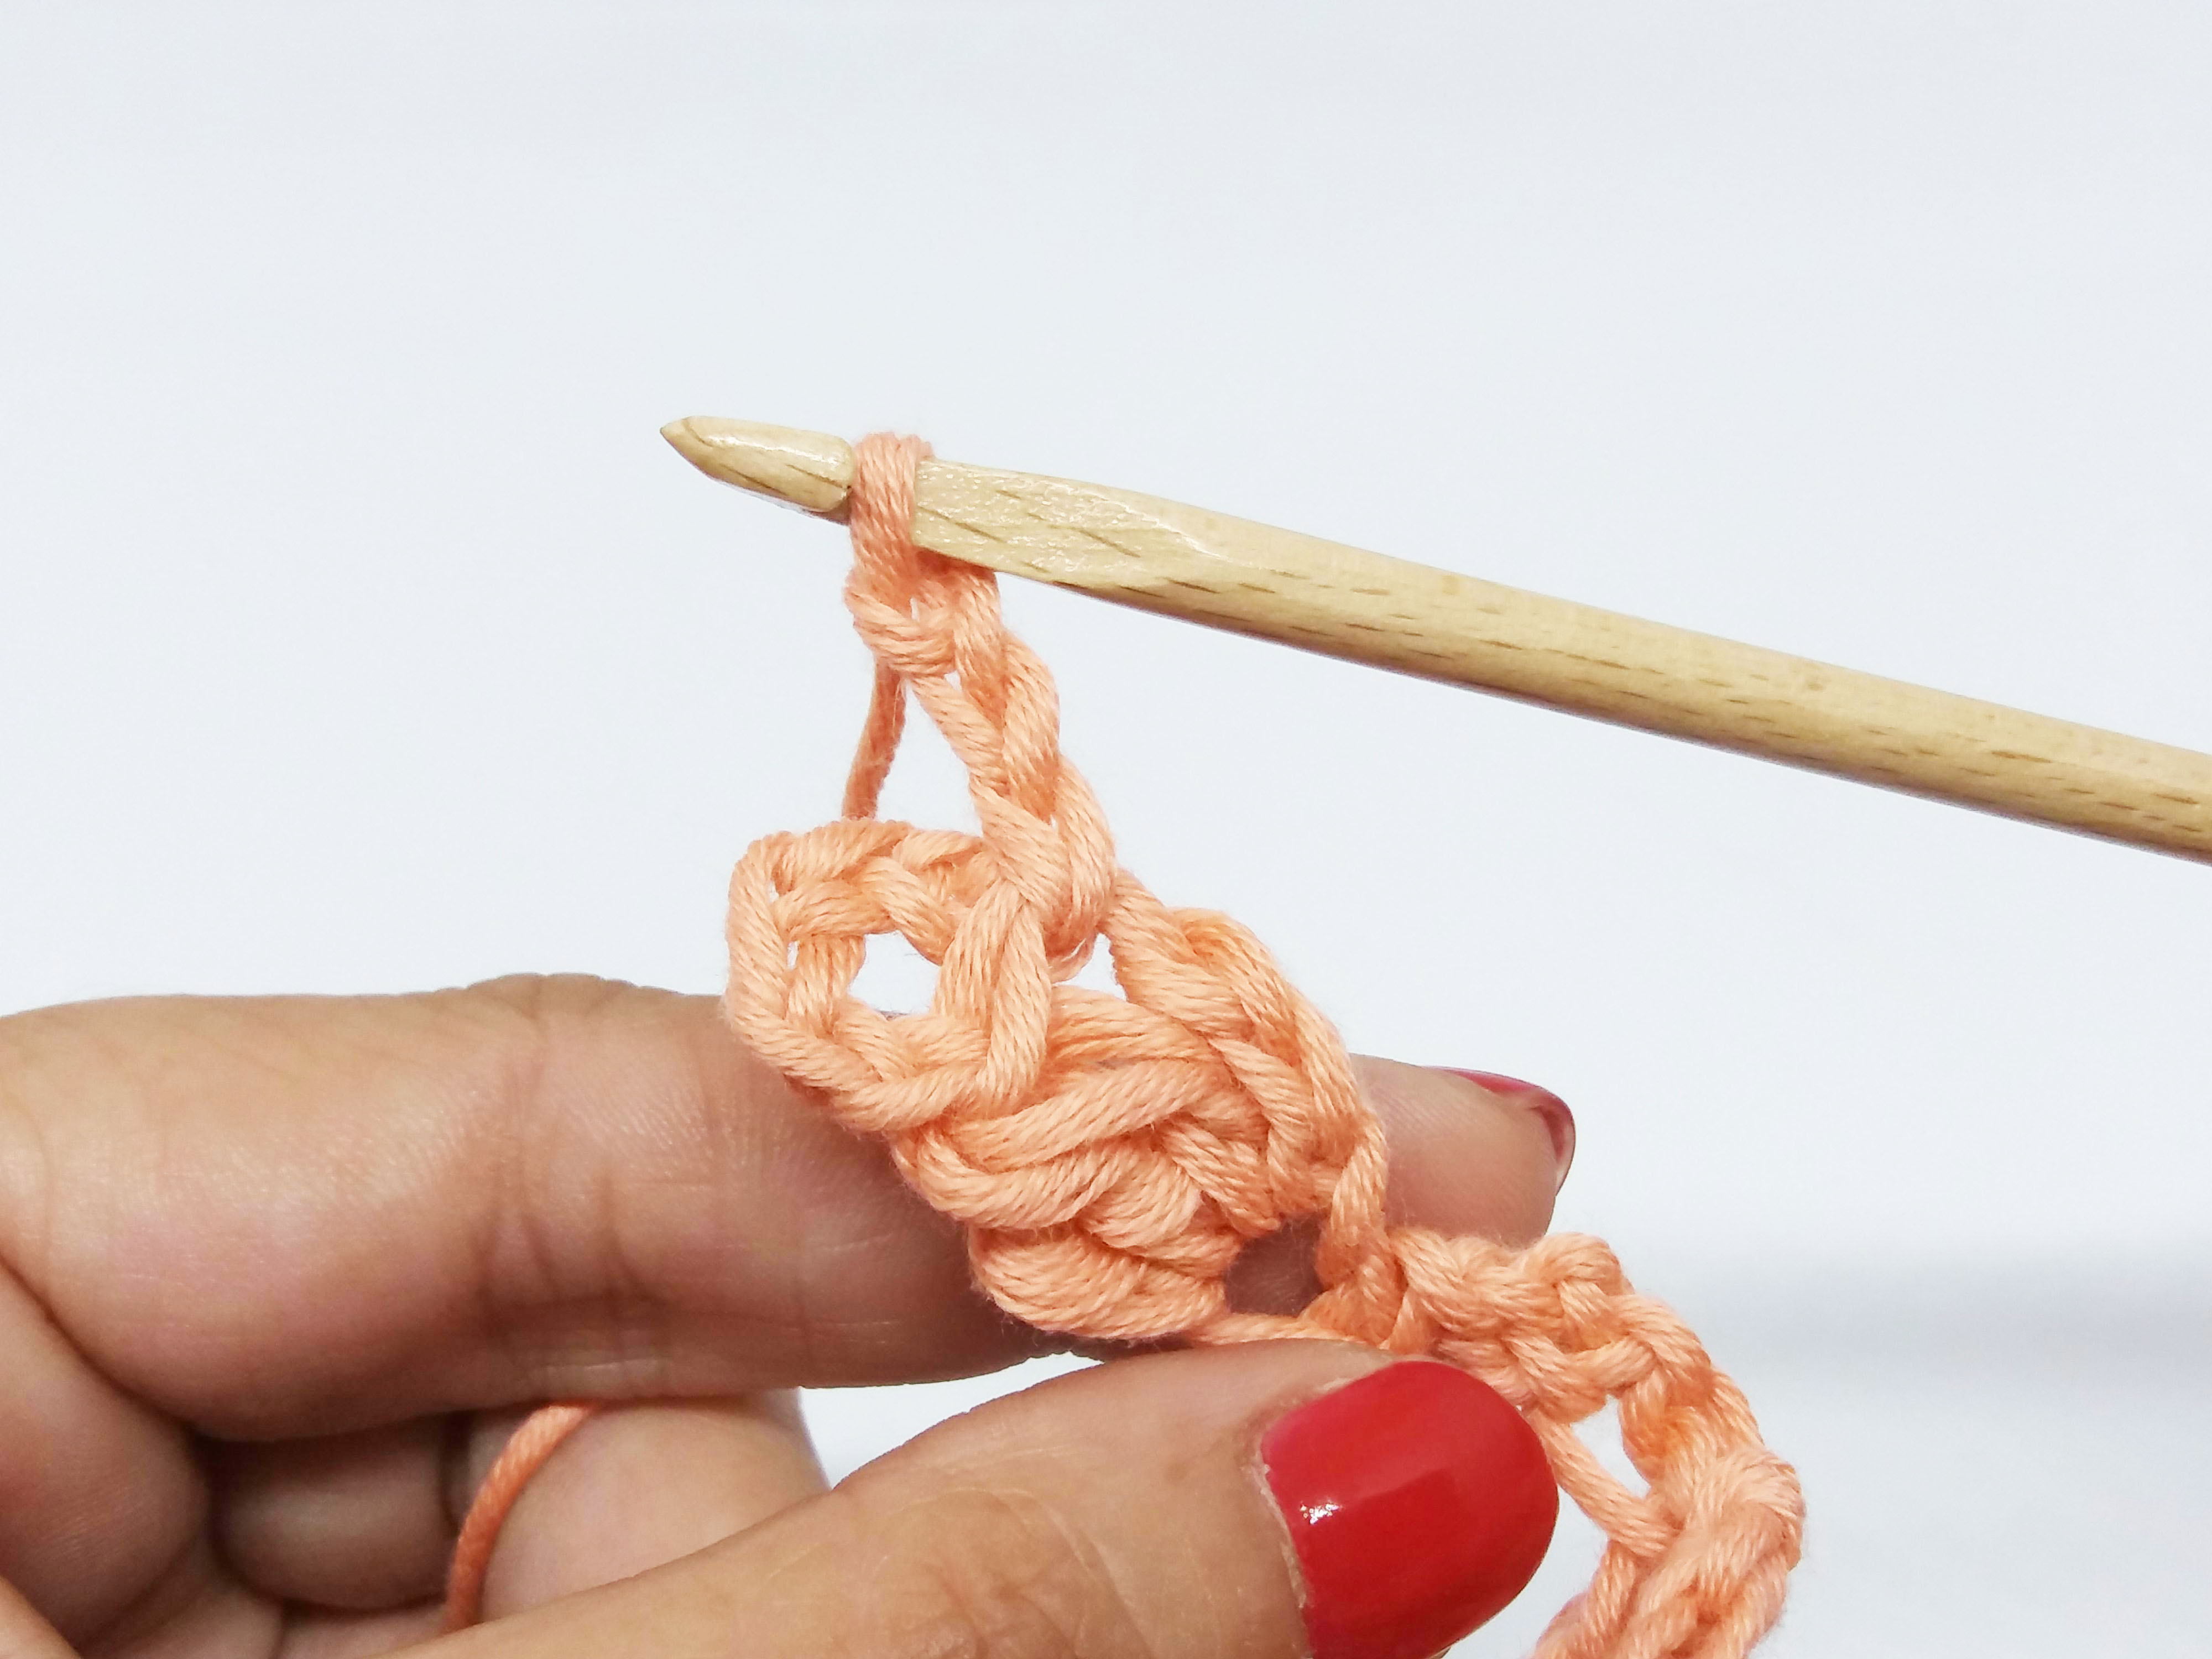
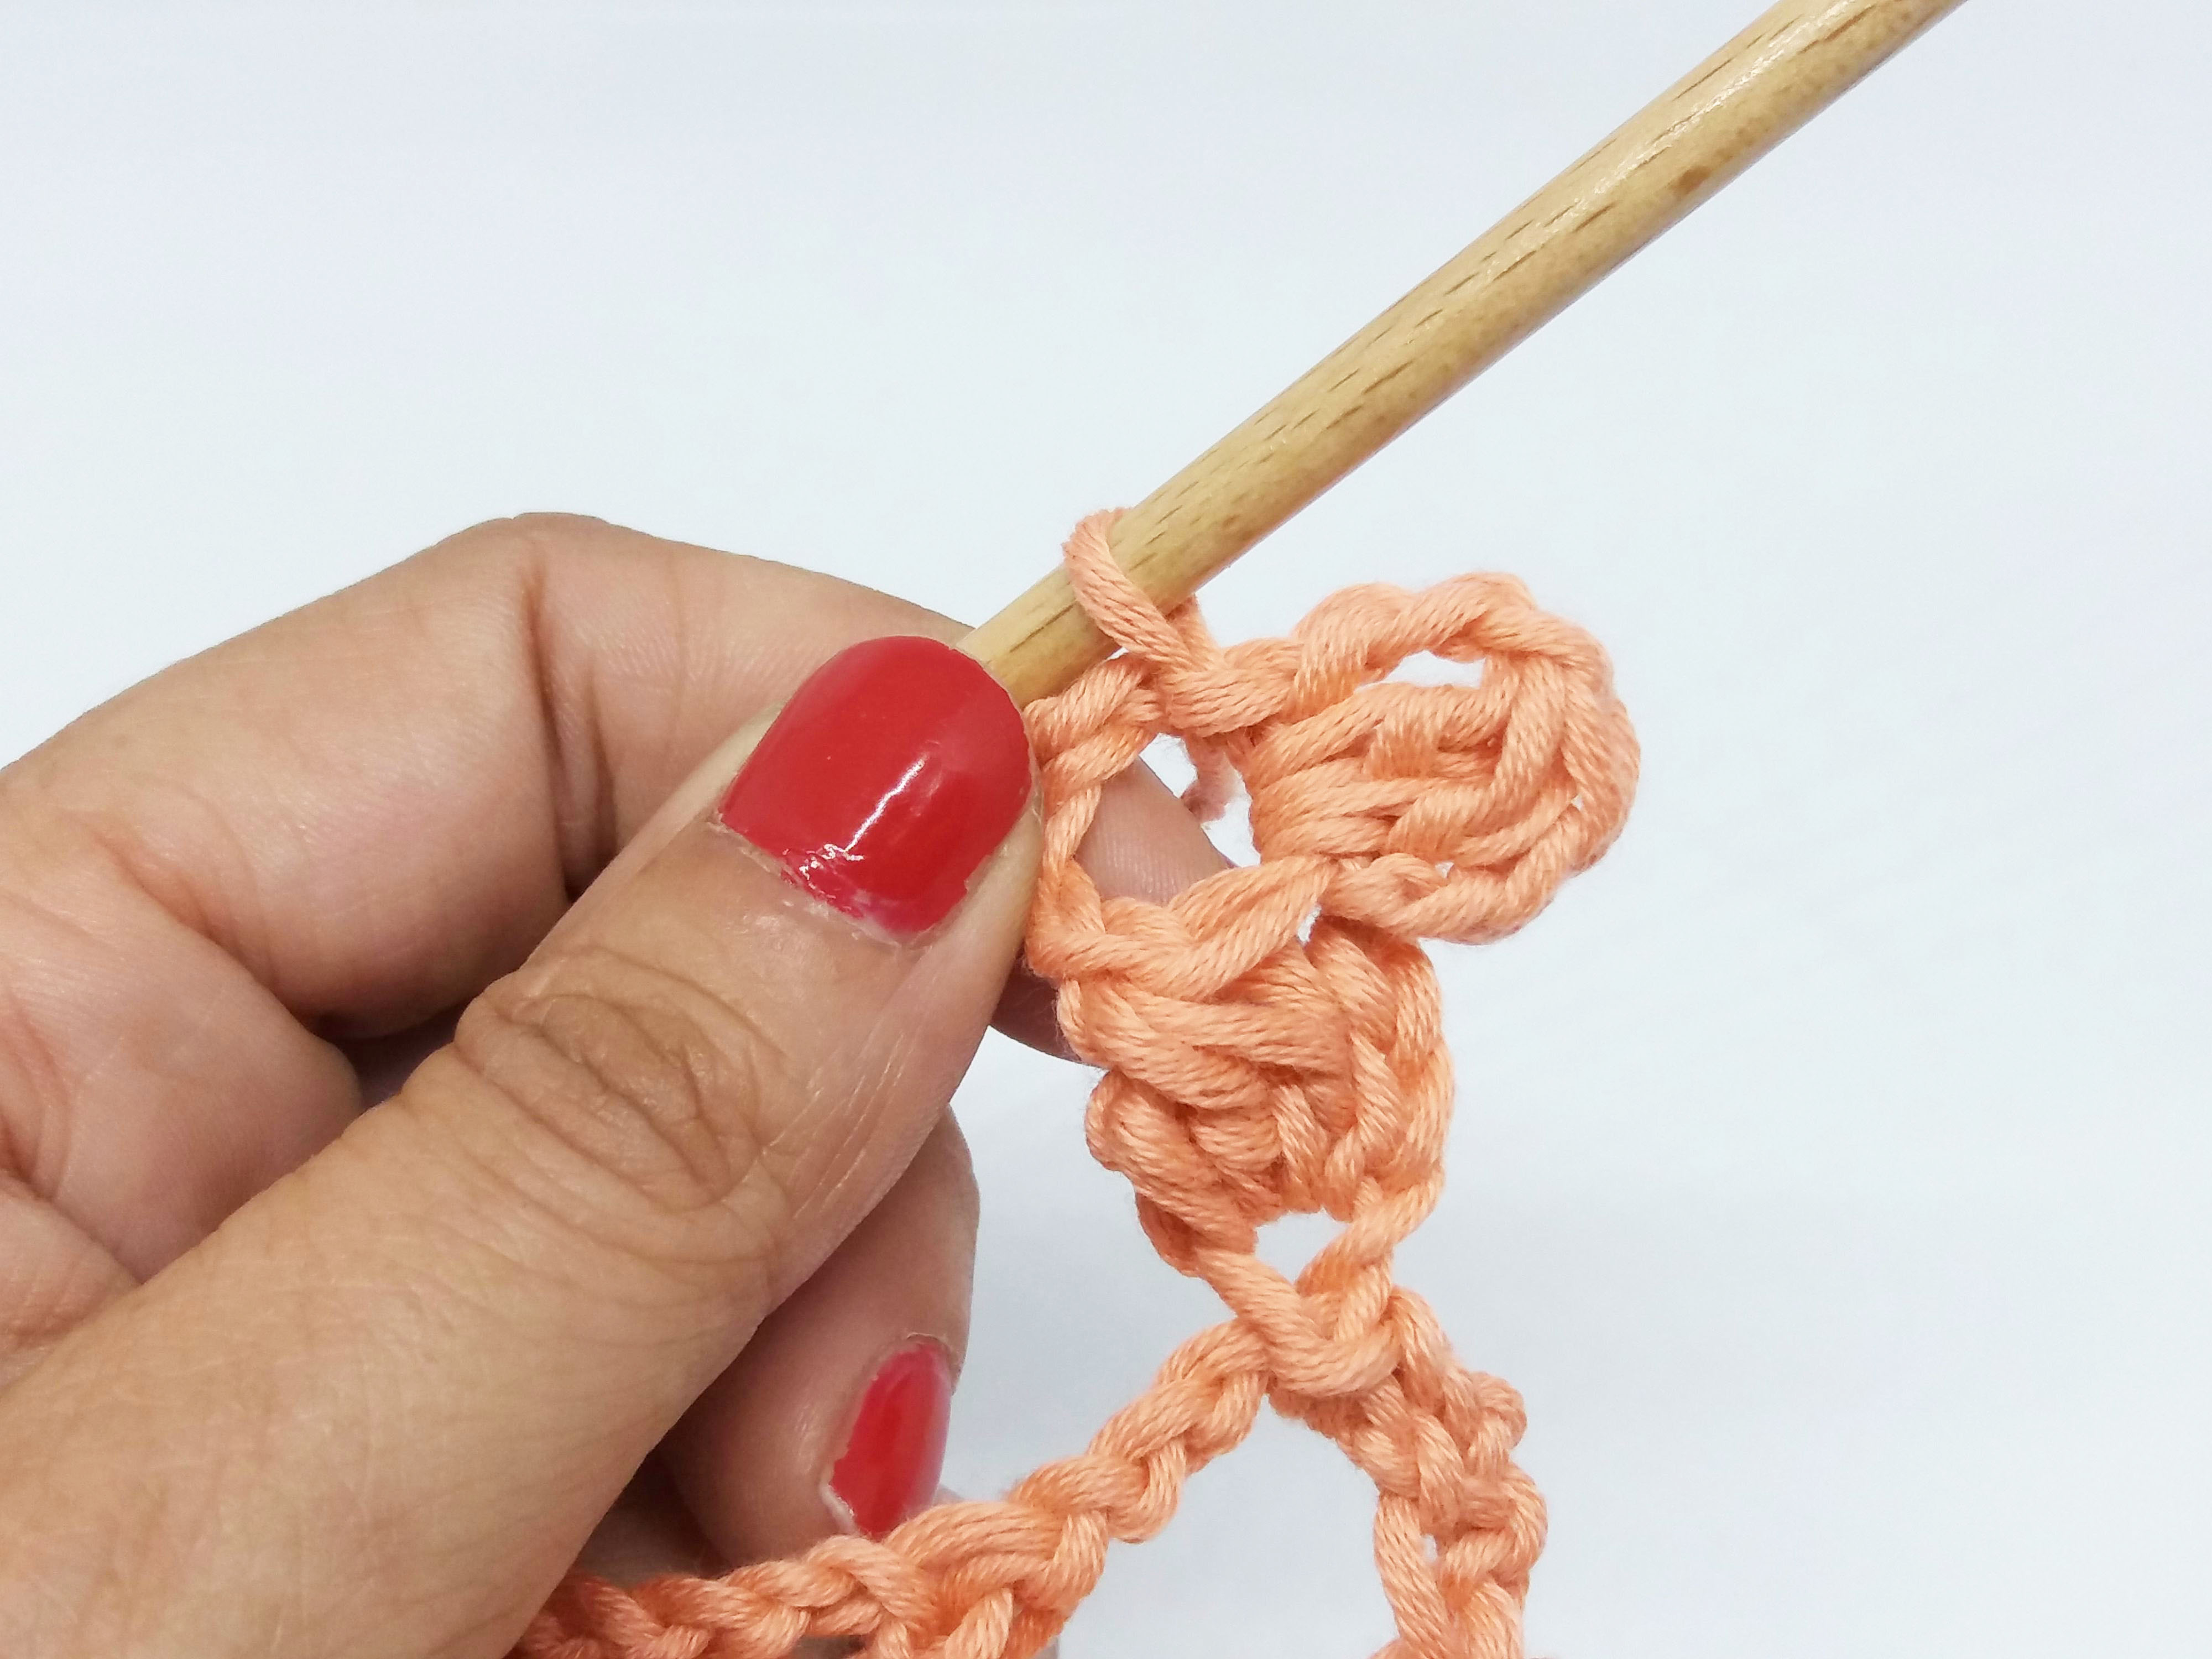
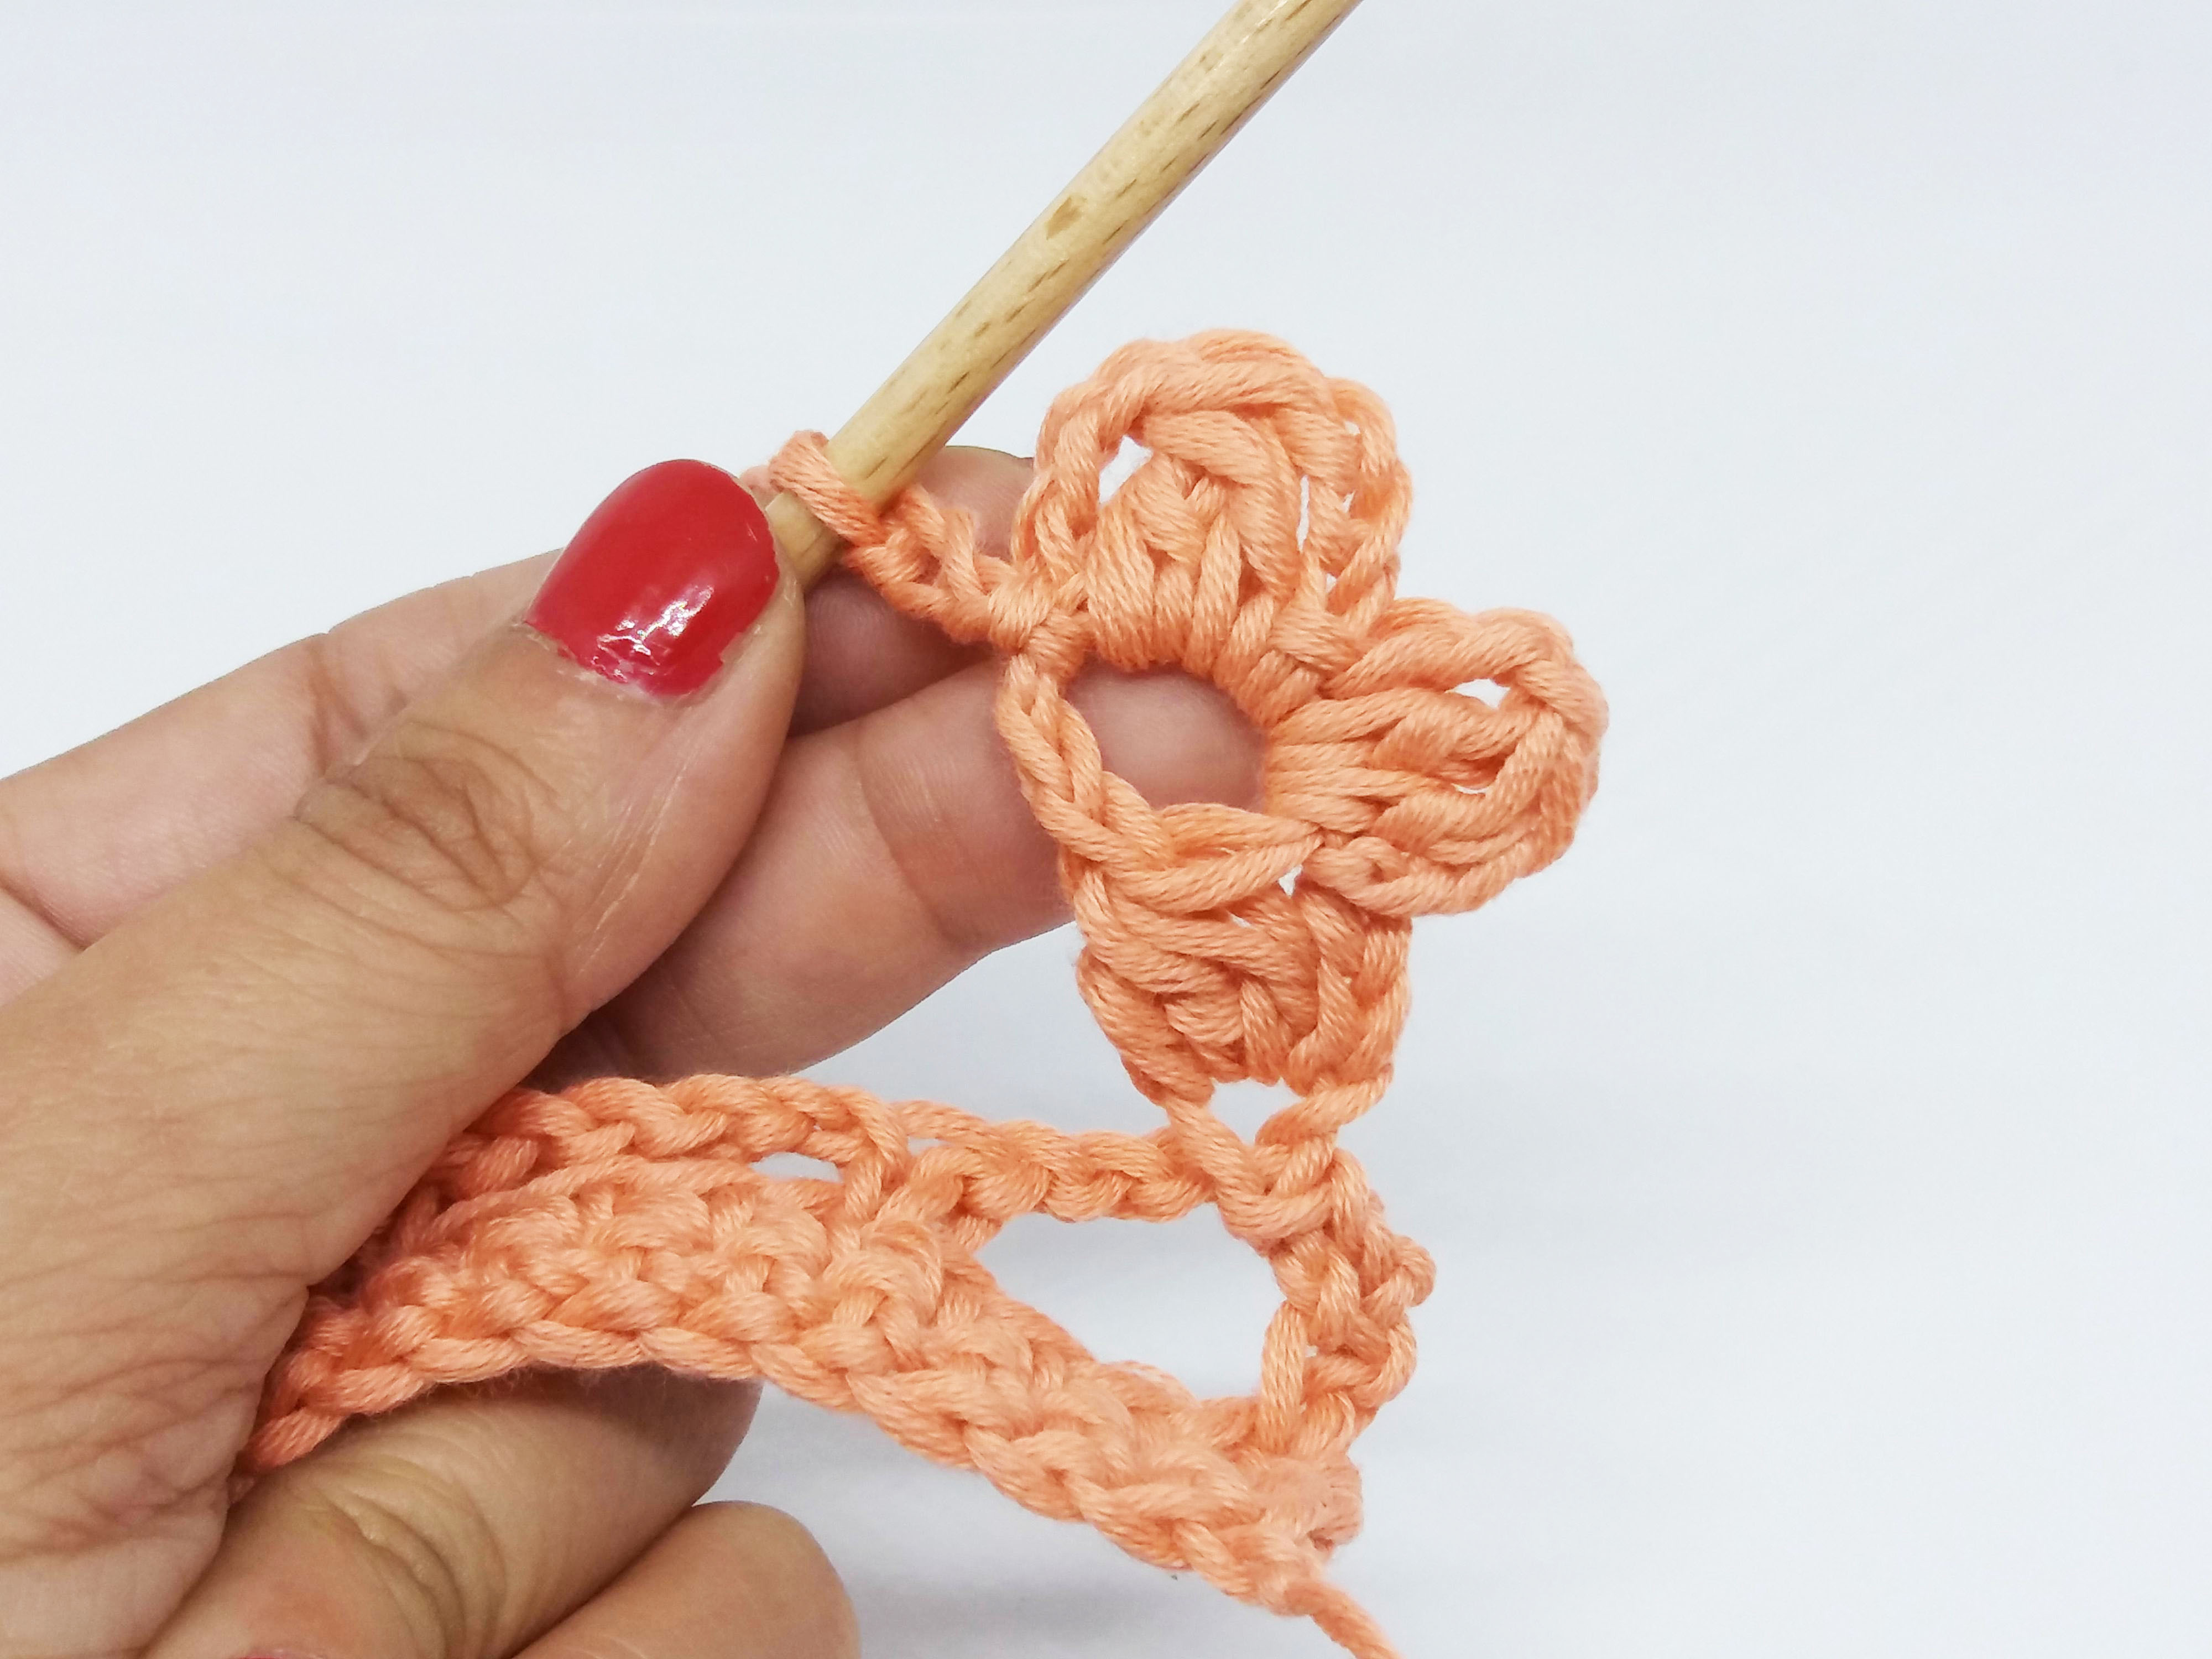

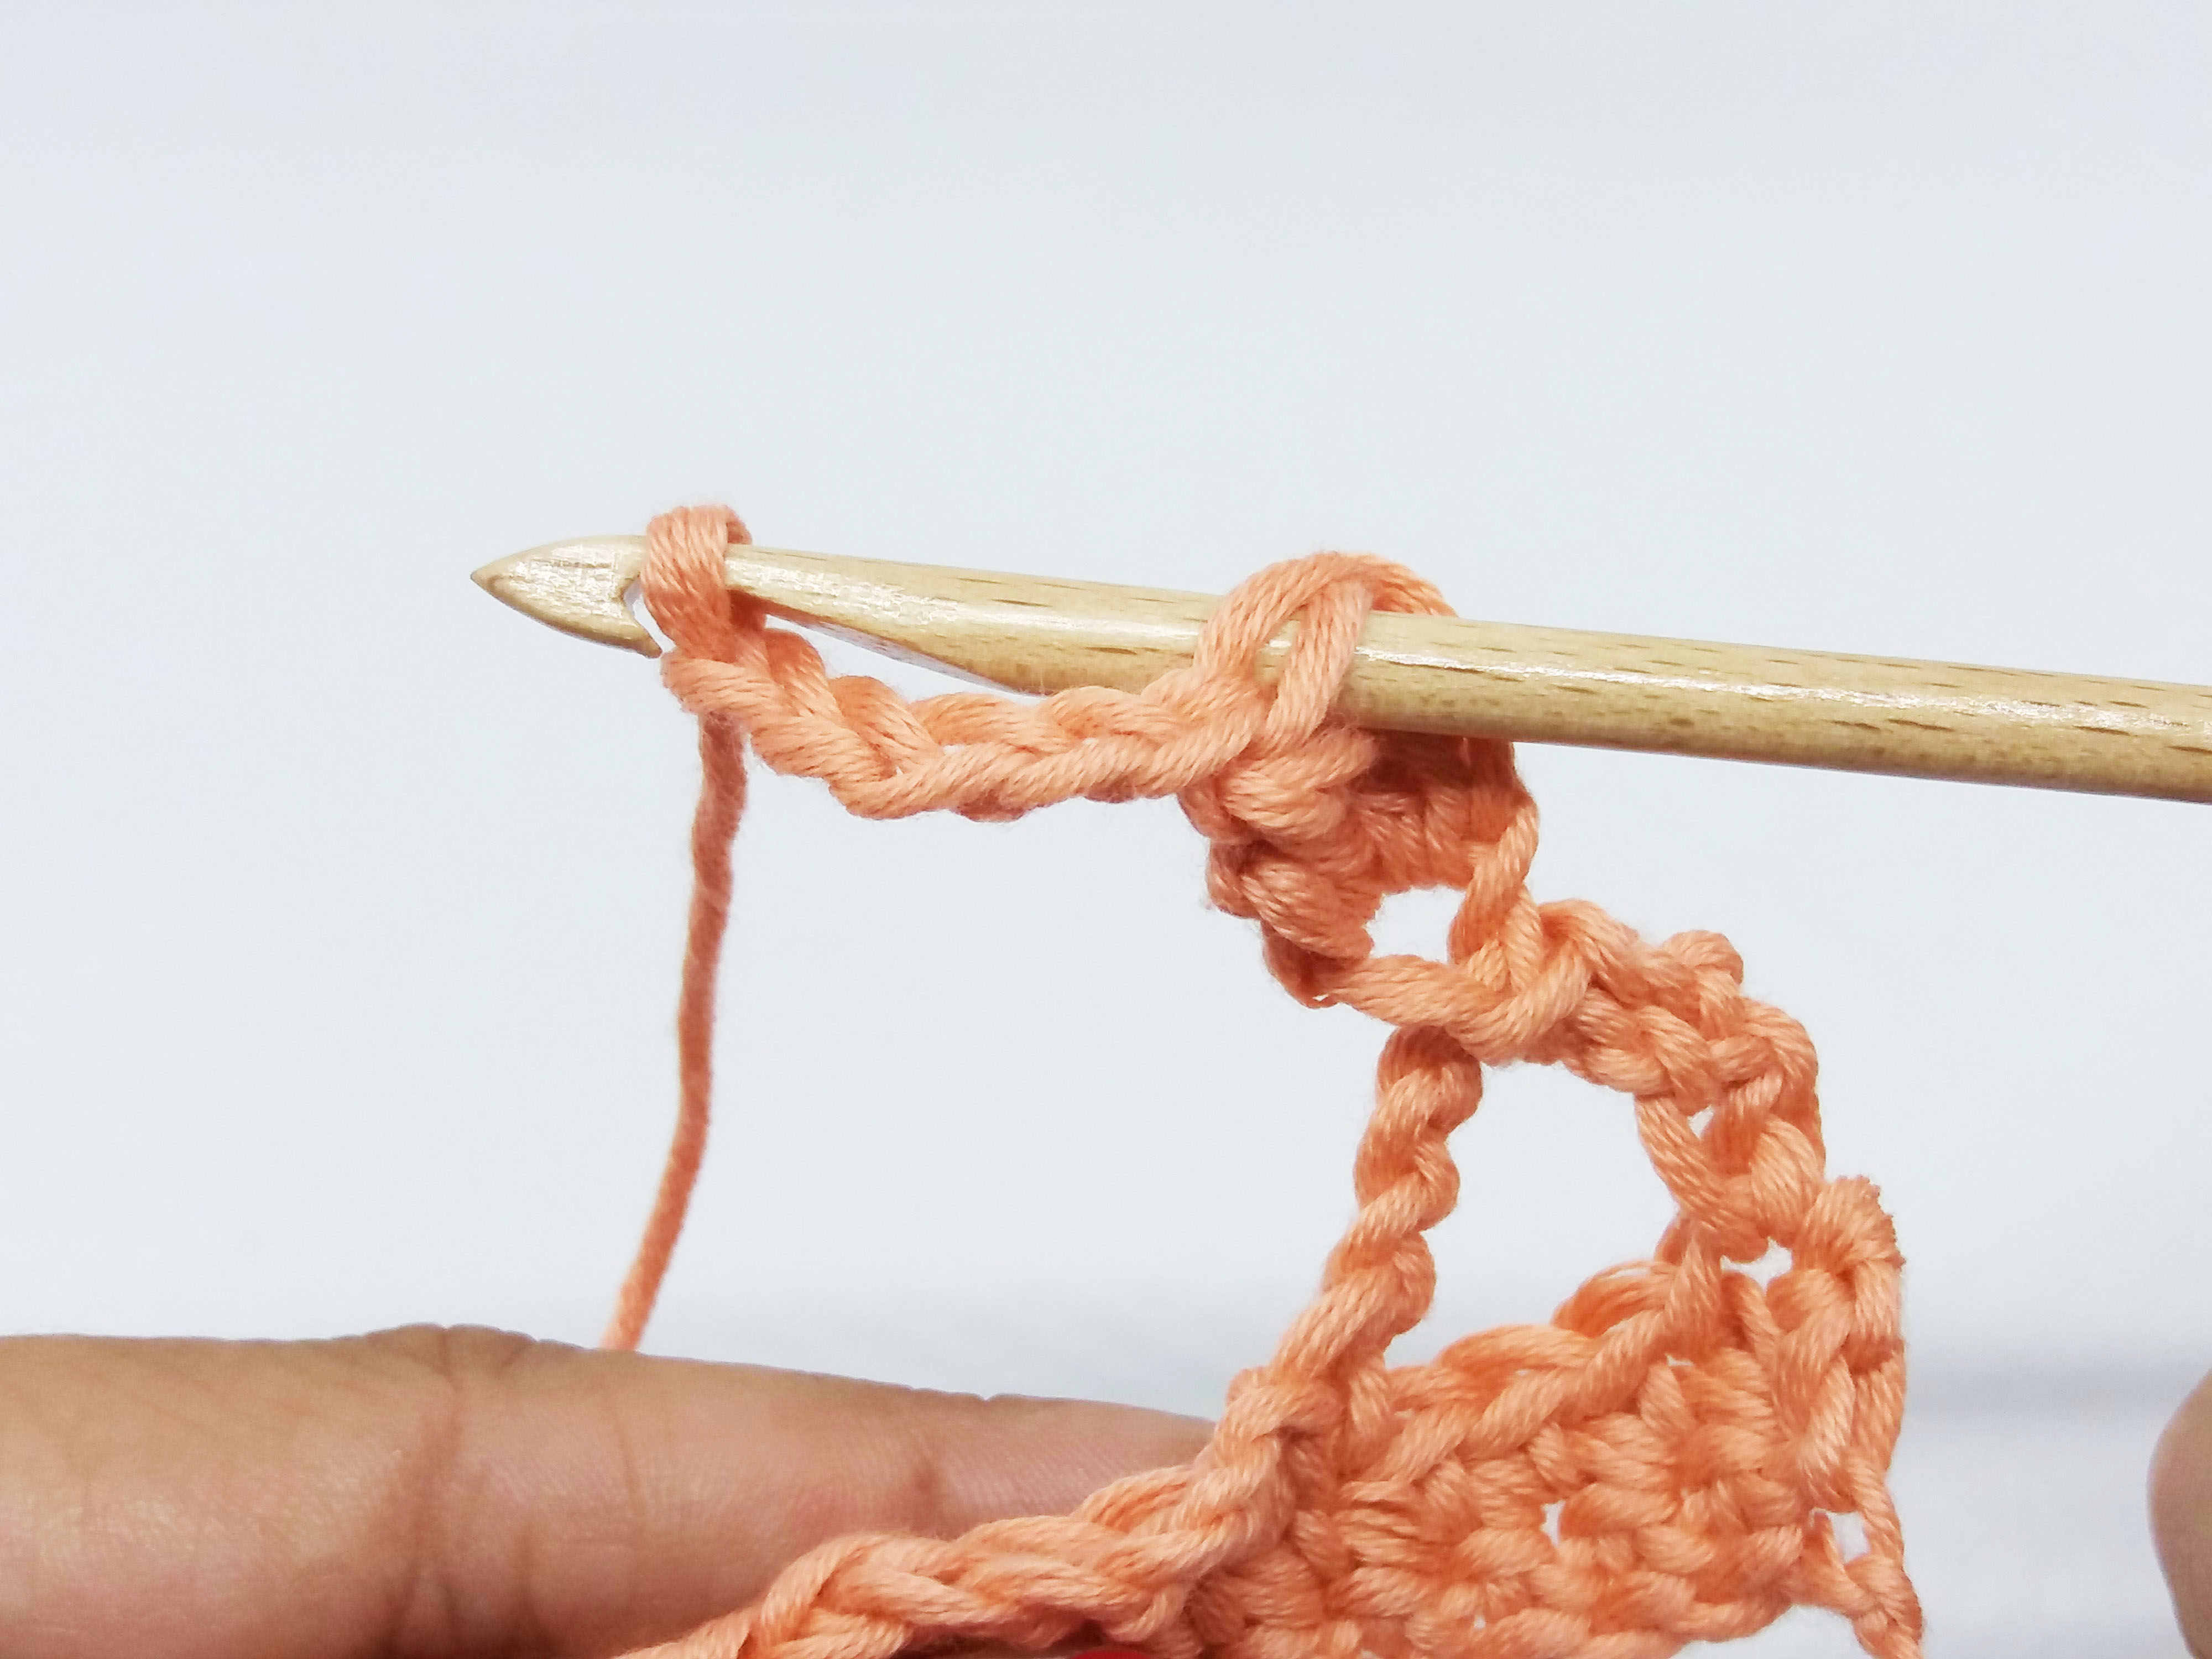
You now have 4 petals. To make the 5th petal chain 3, work 3 double crochets closed together. Work 1 single crochet into the chain space formed by the chains of the previous row*.


To make the remaining flowers, repeat from * to * until the end of the row.

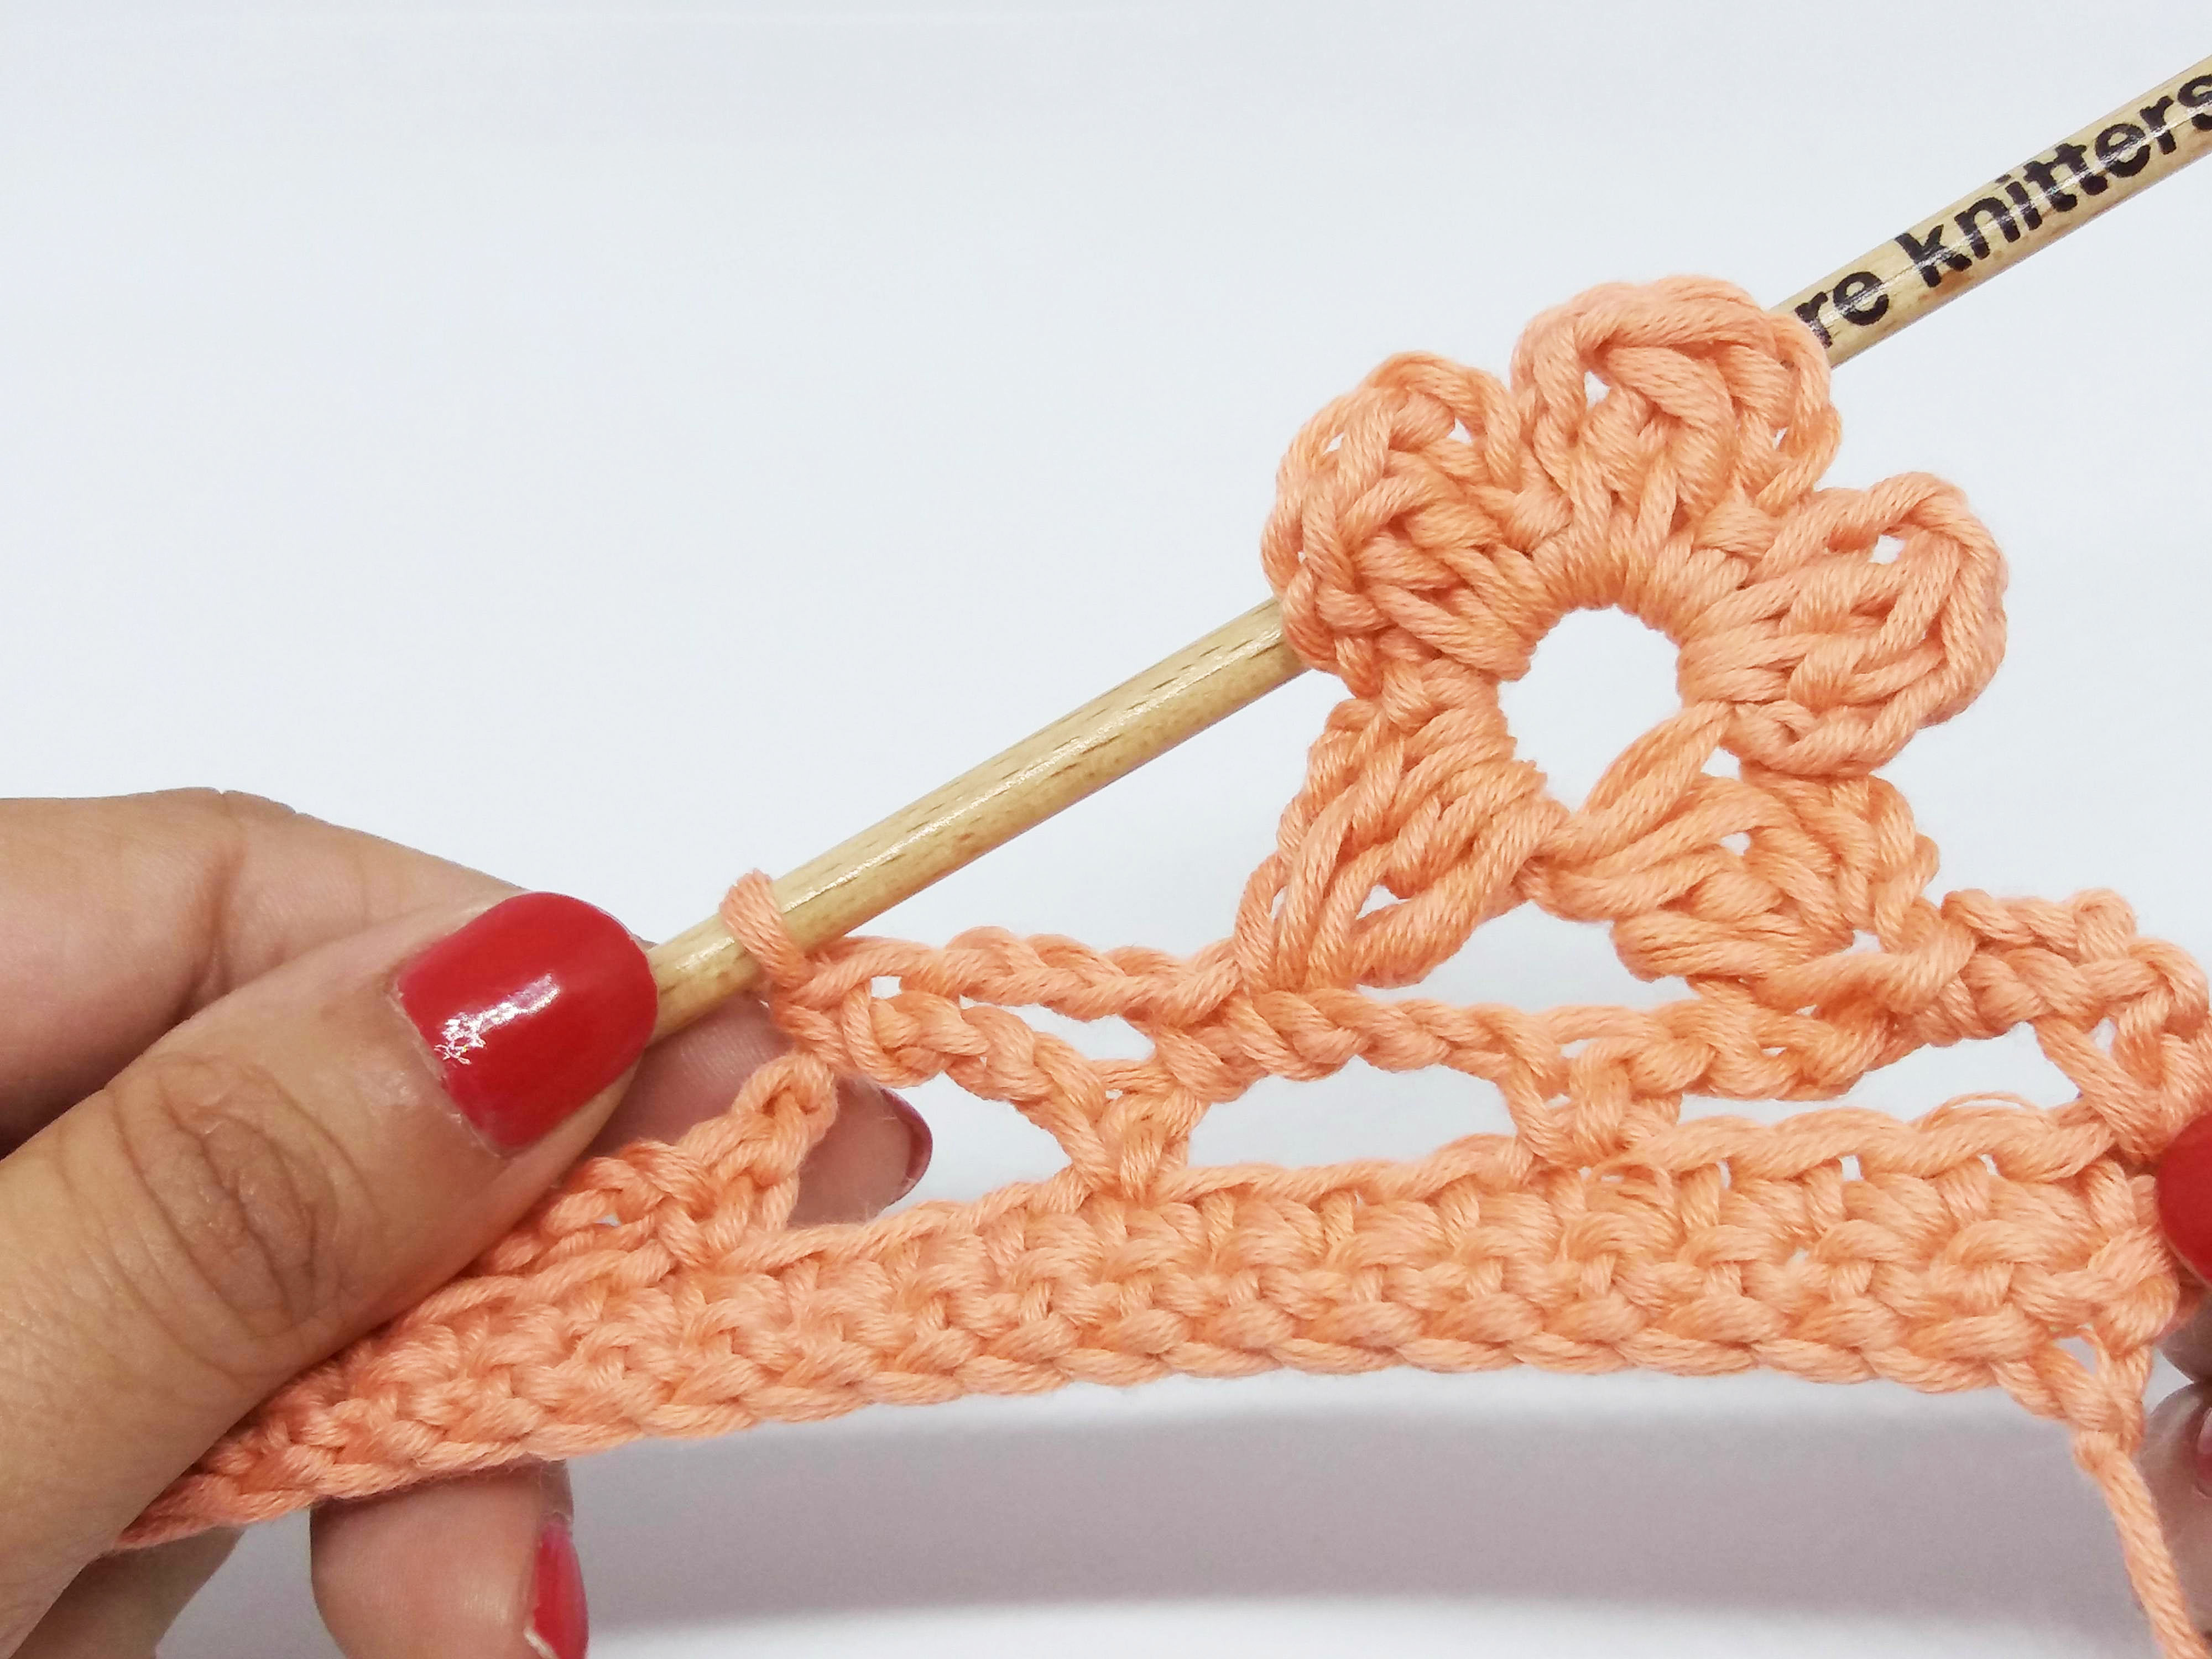
As you can see it’s very easy, and the results are gorgeous. Try with different materials, garments, bags, scarfs, shawls… and remember to take a lot of pictures and tagging us in social networks with the hashtag #weareknitters.